How to Create Reflections with Ripples in Photoshop
A good reflection can make a good image into a great image. For the perfect reflection, everything has to be perfectly still. There can be no wind at all, not even a slight breeze. Any movement will distort the reflection. On the flip side if you want to make a reflection in the water you need to disguise that it’s a fake. This is where learning how to create reflections with ripples in Photoshop comes in handy.
I’m not saying that it’s impossible to get a perfect reflection. However, it is extremely unlikely. There are some breathtaking images out there with stunning reflections. A lot of the time you can look at them wondering if that reflection is real or wondering why you’ve not been able to catch such amazing reflections. Sometimes it just isn’t possible. Other times there’s a tutorial, and this one will teach you how to realistically create reflections with ripples.

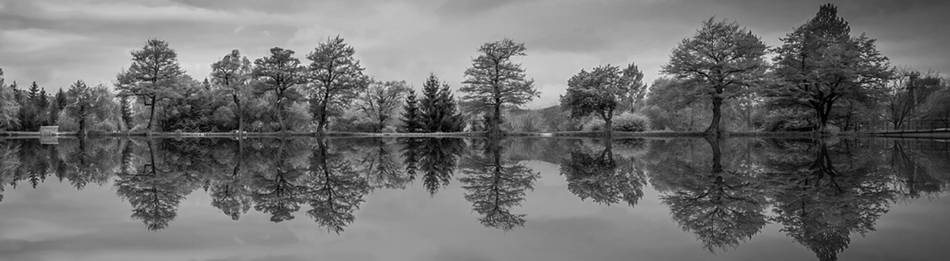
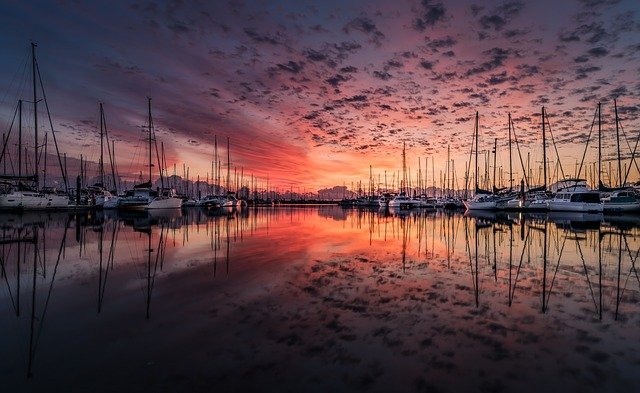
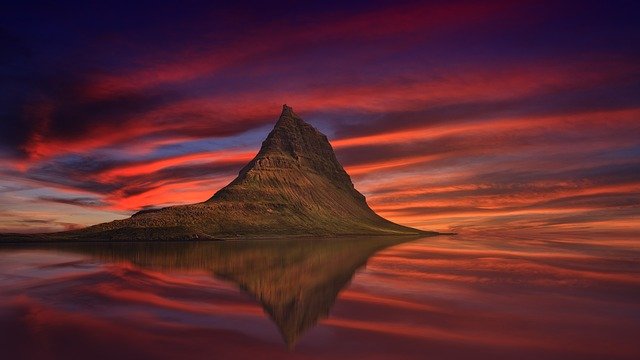
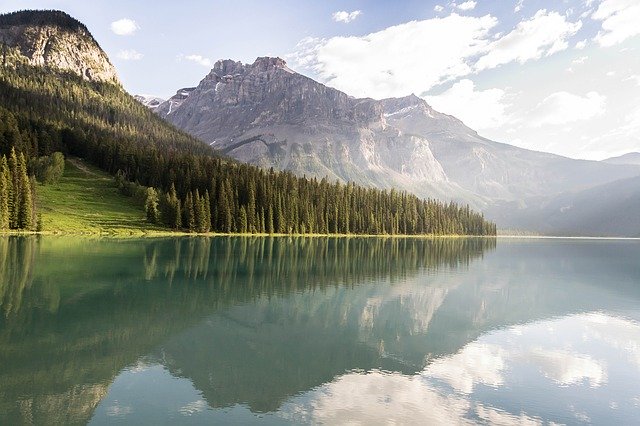
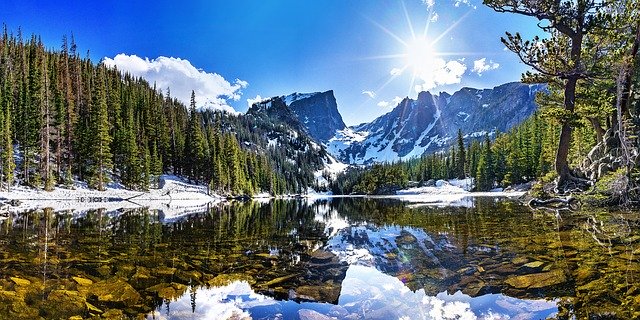
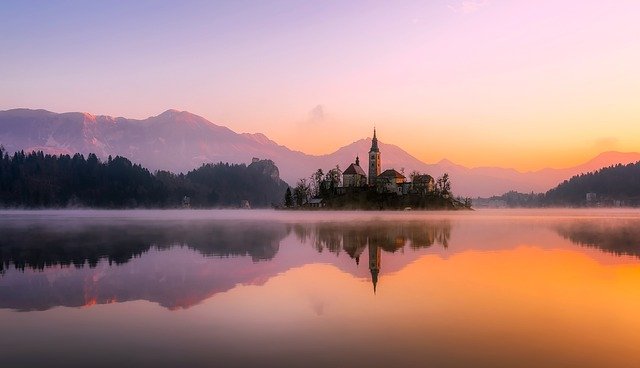
Here are a few images from https://pixabay.com/ which to me the reflections stand out and give the images a real wow factor. But, also had me wondering, are they real or not? They all have a blur or a ripple, and a great amount of detail in the reflection. It is good to challenge ourselves. So, why not try it… using this technique try to create a believable reflection.

Enter your email below and join our community of more than 100,000 photographers who receive regular tutorials and have also

Subscribed to our newsletter,
Downloaded our FREE Photoshop Course
Got our FREE Easy Panel for Photoshop
And have our FREE Essential Guide To Luminosity Masks E-Book
Our Review
This tutorial has been created by PSD who have a really good selection of tutorials on Youtube. The use of displacement maps in this way is very clever indeed and gives a really natural feel to the ripples in the water.
There are three parts to this video:-
- The first part is from the start of the video to around 2:30. This section focuses on making the selection for the reflection, transforming it, and positioning.
- The second section shows us how to make the Displacement map. This is from 2:30 to 5:02 in the video.
- The final section from 5:02 onwards covers applying the Displacement map to the reflection and add some finishing touches.
Quick-Steps to Create Reflections with Ripples in Photoshop
Part 1 – Making the Reflection Selection, Transforming, and Positioning.
1. Make your selection and copy it by pressing Crtl+J on a PC or Cmd+J on a Mac.
2. Vertical Flip the selection by pressing Crtl+T on PC or Cmd+T on a Mac. Right-click and select Flip Vertical, then press enter.
3. Drag the copied and now flipped selection to line up with its original source. You may have to use the crop tool to enlarge your workspace.
4. Right-click on the reflection layer and select Convert to Smart Object. Then go to Filter>Blur> Motion Blur, set the angle to 90 degrees and distance variable, you can always change this later.
Part 2 – Making the Reflection Displacement Map.
1. Open a new window with a canvas size 600×1000. Press Shift+Backspace, when the fill dialogue pops up select Black in the contents box and click OK.
2. Now go to Filter>Noise>Add Noise. Add the maximum amount of noise and tick the box to make it monochromatic.
3. Go back to filter>Blur>Gaussian Blur. Add a slight blur around 1.2 – 1.5 and click ok.
4. Now, at the top of the lares panel click on Channel. Select the Red Channel then go to Filter>Stylize>Emboss. Set the Angle to 180, Height to 1, and the Amount to 500% and click OK.
5. No select the Green channel and do the same. Only this time set the angle to 90 degrees, Height to 1, and the Amount to 500% and click OK.
6. Select the RGB channel and press Crtl+T on a PC or Cmd+T on a Mac to select the transform tool. Right-click and select Perspective.
7. Zoom out to around 5% then, grab one of the bottom corners and stretch it out to the edge of the screen then press enter.
8. Go to File>Save As and save the image as a PSD file and call it something that you will remember such as “ripple displacement map”.
Part 3 – Applying the Displacement Map to make ripples.
1. Go back to the image that you were creating your reflections with ripples and select the layer that is your reflection.
2. Go to Filters>Distort>Displace… change the Horizontal Scale to 10 and Vertical Scale to 40 (this is trial and error). Select the Radio buttons to Stretch to Fit & Repeat Edge Pixels then click OK.
3. When the next box pops up you will need to find the file that you saved as your displacement map. Find the file, select it and click Open.
4. The map will be applied. If you want to change the setting such as the Horizontal or Vertical Scale just click on the displace filter under the smart object and change the settings.
Were not going to cover in detail the finishing touches as they are really dependant on your image.
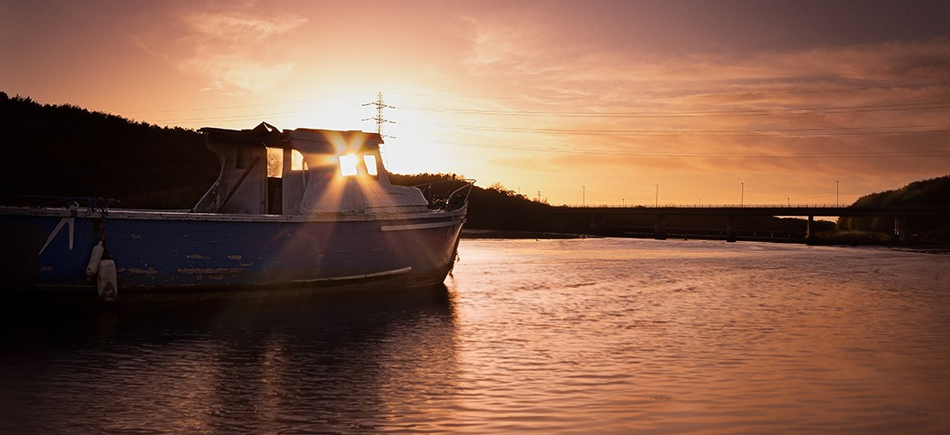
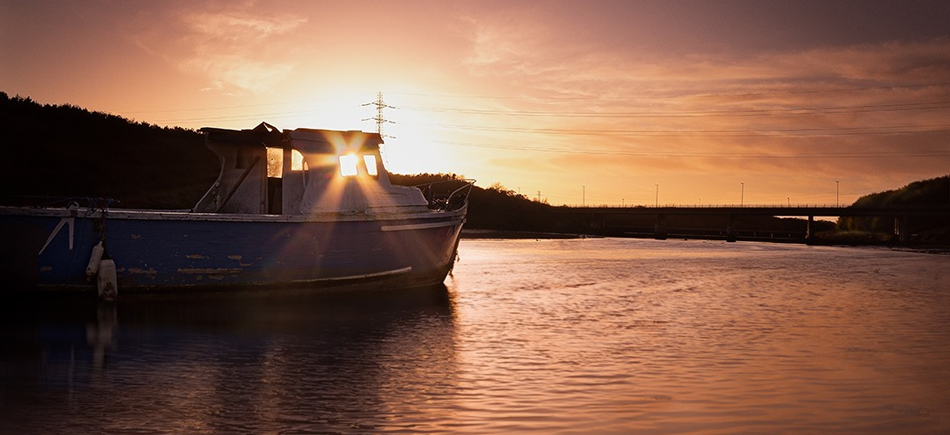
I recently took this image and thought it would be good to use as practise for this technique.
A subtle compliment to the image I think.
[compare]
[/compare]
Thank you for reading this article How to Create Reflections with Ripples in Photoshop, You might also be interested in the articles below. Be sure to sign up for our newsletter for more tutorials and great offers.
Enter your email below and join our community of more than 100,000 photographers who have also
Subscribed to our newsletter.
Downloaded our FREE Photoshop Course.
Got our FREE Easy Panel for Photoshop.
And, have our FREE Essential Guide To Luminosity Masks E-Book.
Additional Resources
I found a brilliant 1-minute video that I had to share, How to Create Reflection.