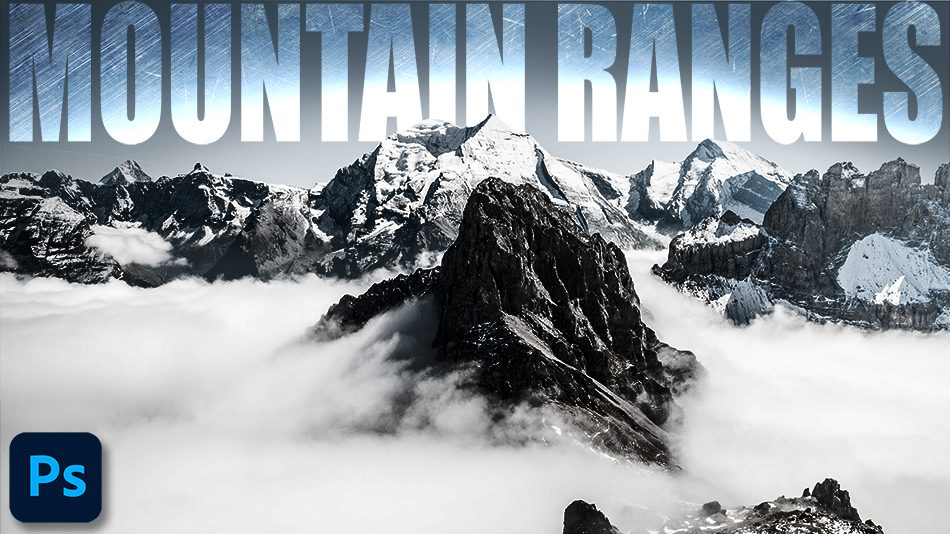
How To Enhance Mountain Ranges In Photoshop
This is a fun tutorial for you to play around with. In this example, we look at How To Enhance Mountain Ranges In Photoshop. Of course, there’s a lot more that can be done with mountain ranges other than what is covered in this 2-minute tutorial. However, this tip can really make a difference. Have you ever looked at a photo with a mountain range in it and been blown away by the towering peaks. The truth is that in reality those peaks might not have been so grand, and that’s why you were blown away by the image. Here we use the Liquify Filter in Photoshop to give mountain peaks a lot more aggression and presence. We’ll also show you how to use this technique on an image with a more complex sky.

Enhancing Mountains In Photoshop
This is a really easy technique to use especially if like in this example you have a clear sky. If you don’t have a clear sky then you need to be careful not to warp the sky too much, after this step-by-step tutorial I will show you a way to use this technique with a more difficult sky and how to protect the sky from being distorted. For now, let’s look at how we enhanced the peaks of this mountain range in photoshop.
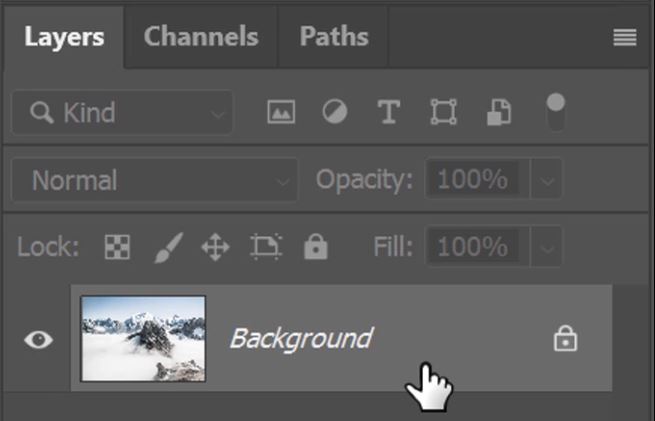
1. Right-click on the space to the right of the image layer thumbnail and title.
2. Select Convert to Smart Object.
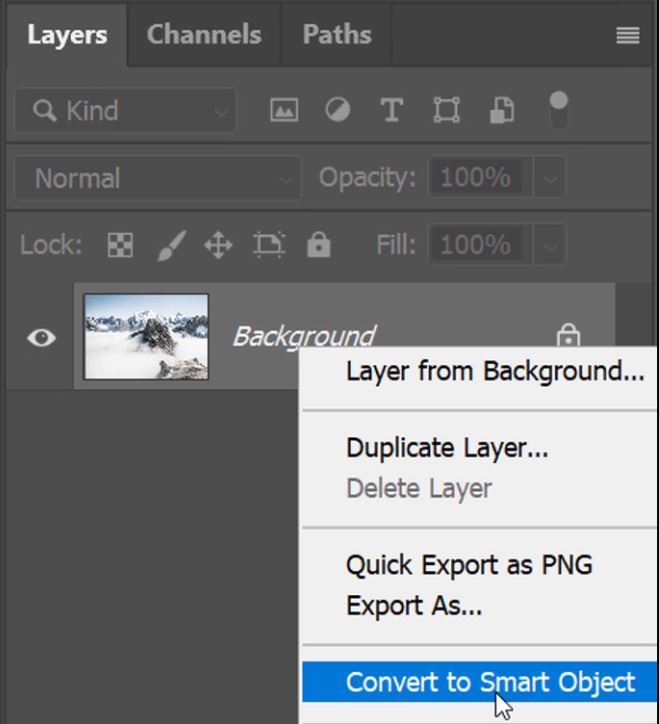
3. Once the image is converted to a Smart Object you will see this symbol in the thumbnail.

– Tutorial continued below –
Enter your email below and join our community of more than 100,000 photographers who receive regular tutorials and have also

Subscribed to our newsletter,
Downloaded our FREE Photoshop Course
Got our FREE Easy Panel for Photoshop
And have our FREE Essential Guide To Luminosity Masks E-Book
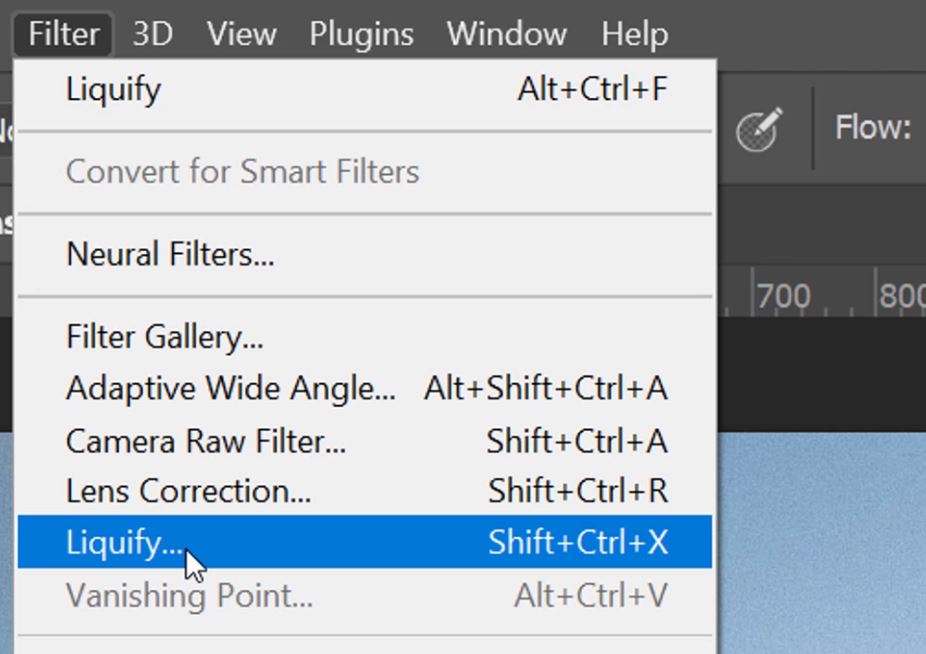
4. Go to the Filter menu and choose Liquify, or you could use the keyboard shortcut Ctrl+Shift+X (PC) or Cmd+Shift+X (Mac).
5. The tool we use to warp the peak is the Forward Warp Tool (W).

6. With the Forward Warp Tool selected change your brush size to suit (hold down Alt or Option + the right-mouse button and drag right to increase your brush size or left to decrease it).
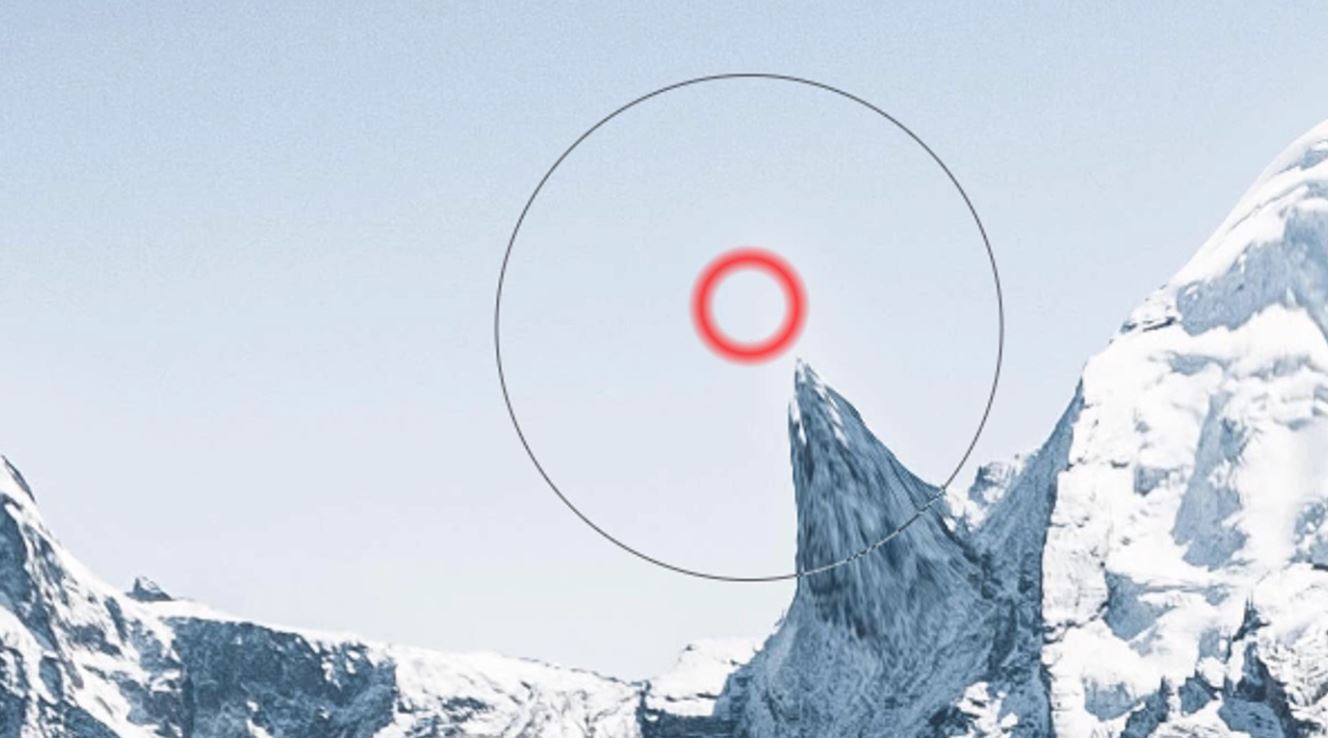
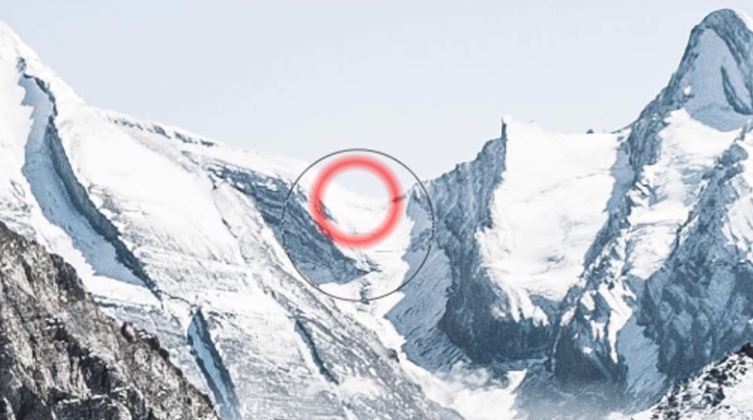
7. Line your brush tool up so that the top of the mountain peak is roughly just below the centre of the brush.
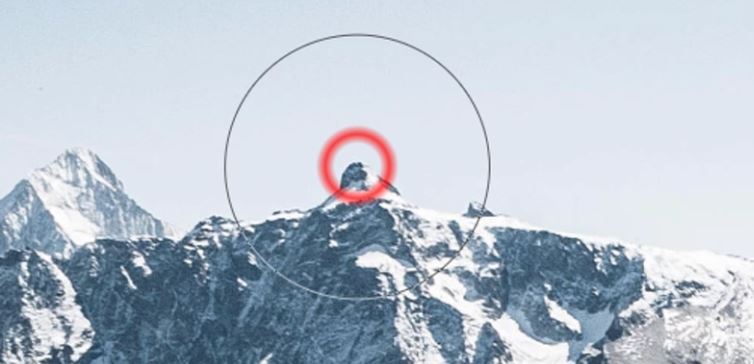
8. Press and hold your left mouse button on the peak and drag your cursor upwards with the left mouse button held down.
9. Release your left mouse button once the peak has been raised to where you want it.
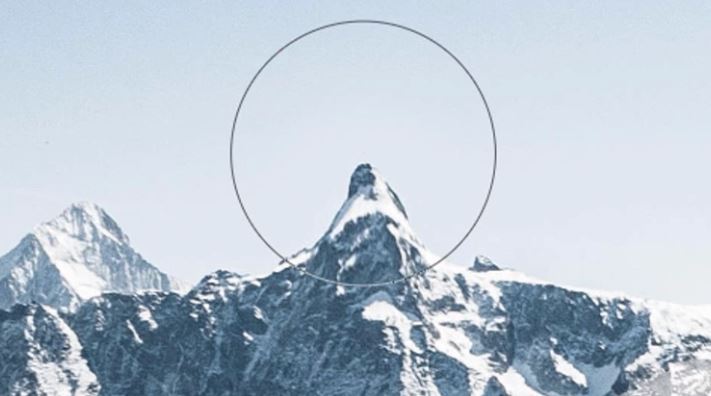
10. Repeat this process several times on the same mountain. Each time, a little bit further down the mountain so that the mountain peak doesn’t look too far stretched.
11. If you do go too far with stretching, select the Reconstruct tool (R) and press and hold the left mouse key over the affected area to repair the damage. Press W to return to the Forward Warp Tool.
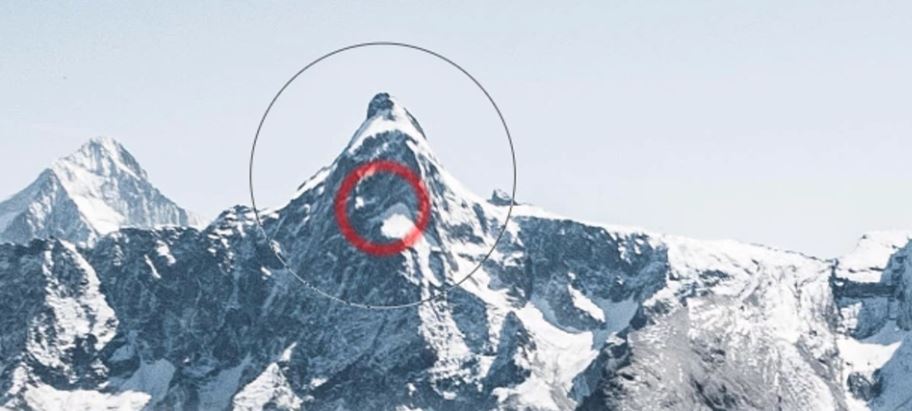
12. You can also lower parts of the mountain by clicking and dragging your mouse cursor downward. In fact, you can stretch the mountain in any direction you like.
13. Use a smaller brush for finer adjustments.
14. Take your time to go over your whole image, I rushed through this in the tutorial because there’s a lot to pack into 2-minutes.

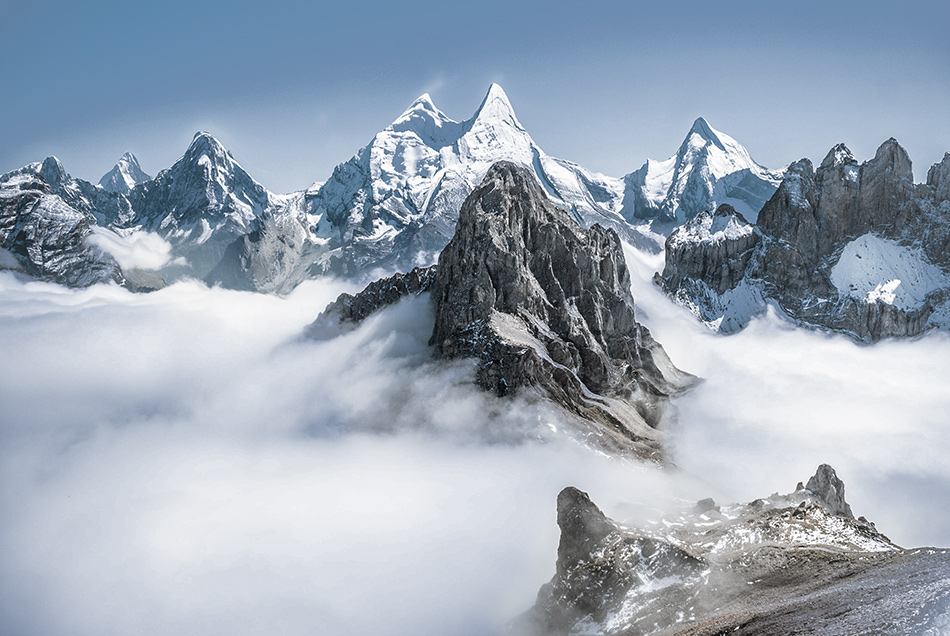
Photo by samsommer on Unsplash
How to Enhance Mountains with a Complex Background in Photoshop
If there is a complex sky behind the mountains when you enhance them, there is a strong likelihood that the details in the sky will become disfigured. Follow the steps above to enhance mountains in photoshop, but with one main exception. The first thing you need to do is to copy your background layer. Convert the copied layer into a Smart Object and go from there.
1. Copy your background layer by selecting it and pressing Ctrl+J or Cmd+J.

2. Carry out all of the steps above until you’re happy with the exaggerated peaks you have created.
3. Once you have your enhanced mountains in using the Liquify Filter click OK.
4. You should now be back in Photoshop and have to top layer selected with the enhanced mountains.

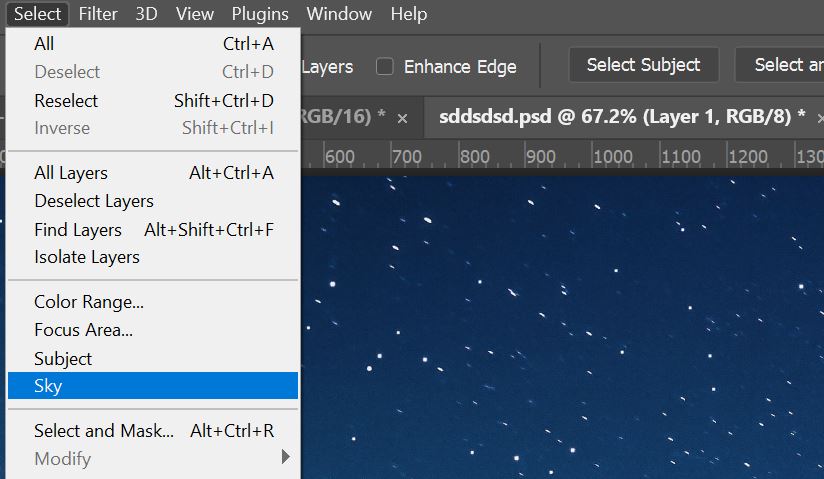
5. If you’re using Photoshop CC 2021 (version 22 or later) got to the Select menu and choose the Sky option to make a selection of the Sky. If you’re not using CC2021, try using the Quick Select tool to make a selection of the Sky.
6. When you have an active selection of the sky, hit the Add Layer Mask icon.

7. This will apply a mask to your image that hides the enhanced mountains.
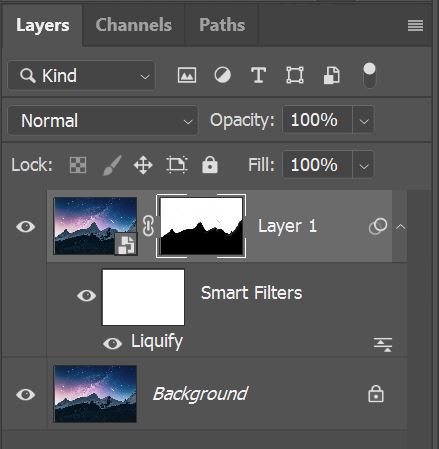
8. We need to invert the mask by pressing Ctrl+I or Cmd+I. This will hide the sky from the top layer and show the original and unaffected sky.
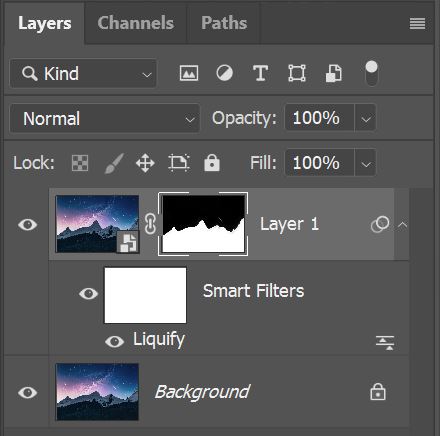
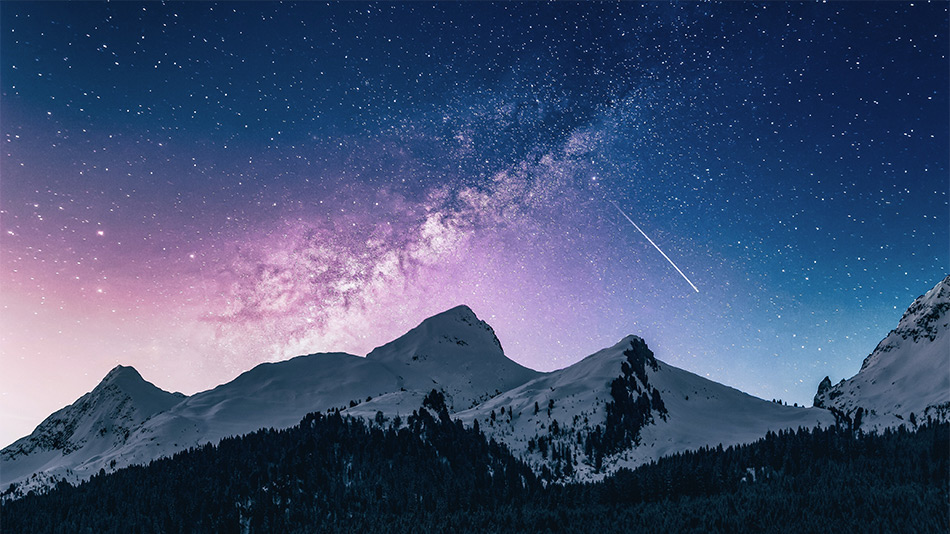
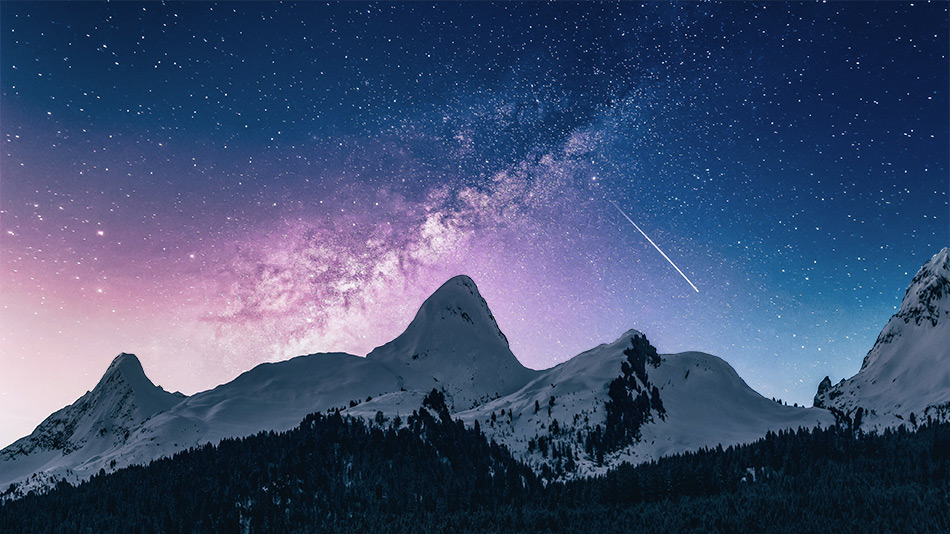
Photo by Benjamin Voros on Unsplash
Other Articles That Might Interest You
How To Create A Dramatic Landscape With Adobe Photoshop
How To: Optimize a Landscape in Photoshop
Thank you for reading this article on How To Enhance Mountain Ranges In Photoshop, be sure to sign up for our newsletter for more tutorials and great offers.

Enter your email below and join our community of more than 100,000 photographers who have also
Subscribed to our newsletter.
Downloaded our FREE Photoshop Course.
Got our FREE Easy Panel for Photoshop.
And, have our FREE Essential Guide To Luminosity Masks E-Book.
FREE Photoshop Course

The Art Of Photography

Raya Pro for Photoshop
