An Awesome Vignette Technique in Photoshop
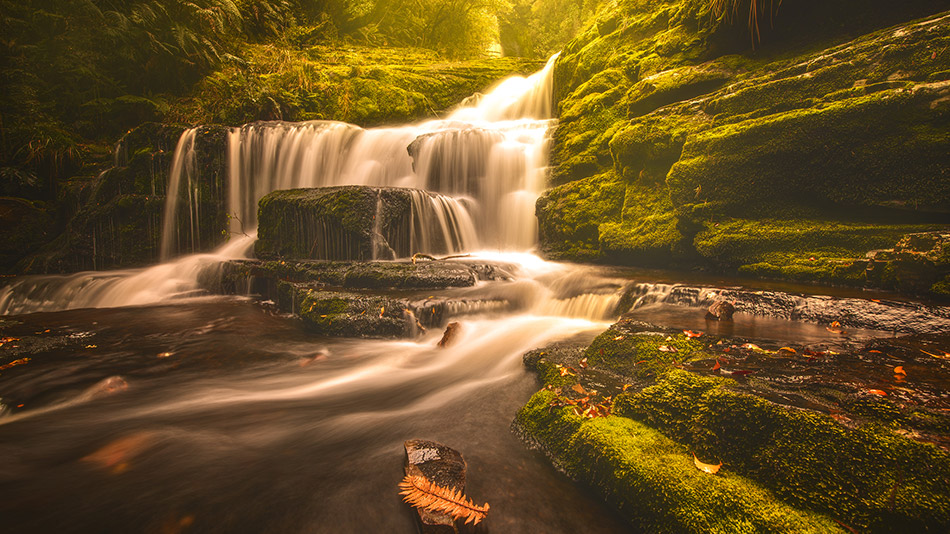
The purpose of a Vignette is to draw the attention of a viewer to a point of interest in our images. There are a load of ways to make vignettes in Photoshop. We also have some incredible function in Raya Pro for creating really effective manual vignettes. In this tutorial, we’ll quickly look at the conventional way to make a manual Vignette. Then we’ll look at an awesome vignette technique in Photoshop using Blend If that is fast, controlled, and fun.
The Conventional Way To Create A Vignette In Photoshop.
The usual method for creating a vignette in Photoshop is to either use a Curves adjustment and darkening the mid-tones. Then we use the Brush tool with a black foreground and brush out the areas that we want to remain bright. By making this shift in luminance we help to draw attention to the brighter parts of the image. Fulfilling the purpose of a Vignette.
1. Add a Curves Adjustment Layer.
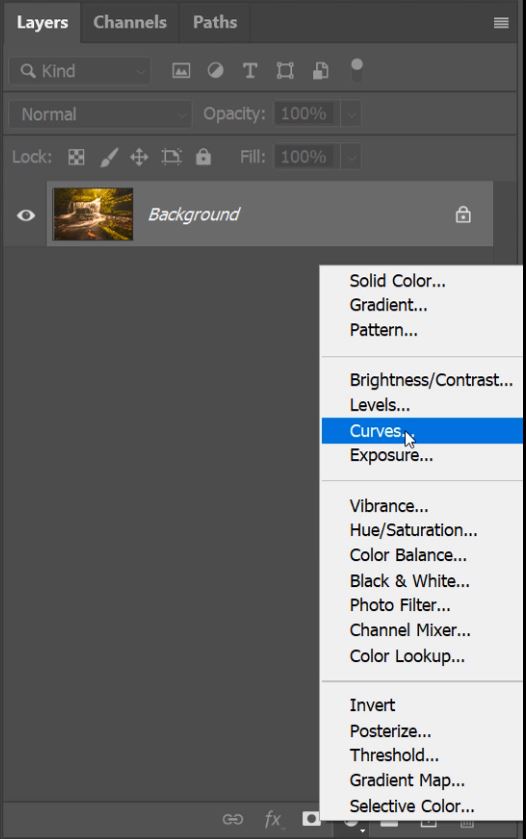
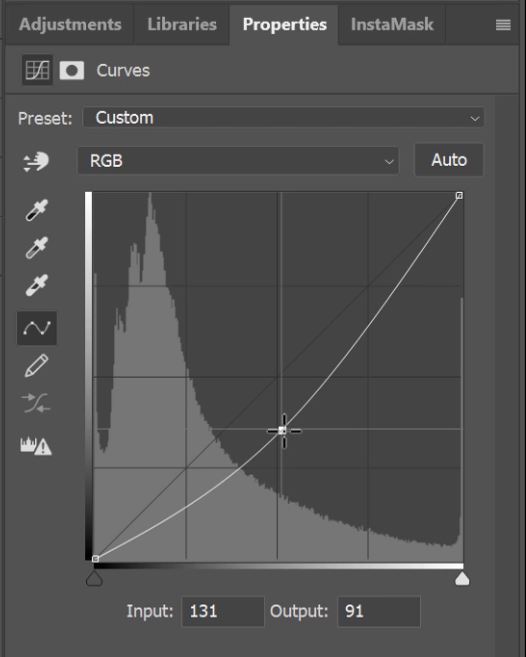
2. Lower the middle of the curve to darken the highlights.
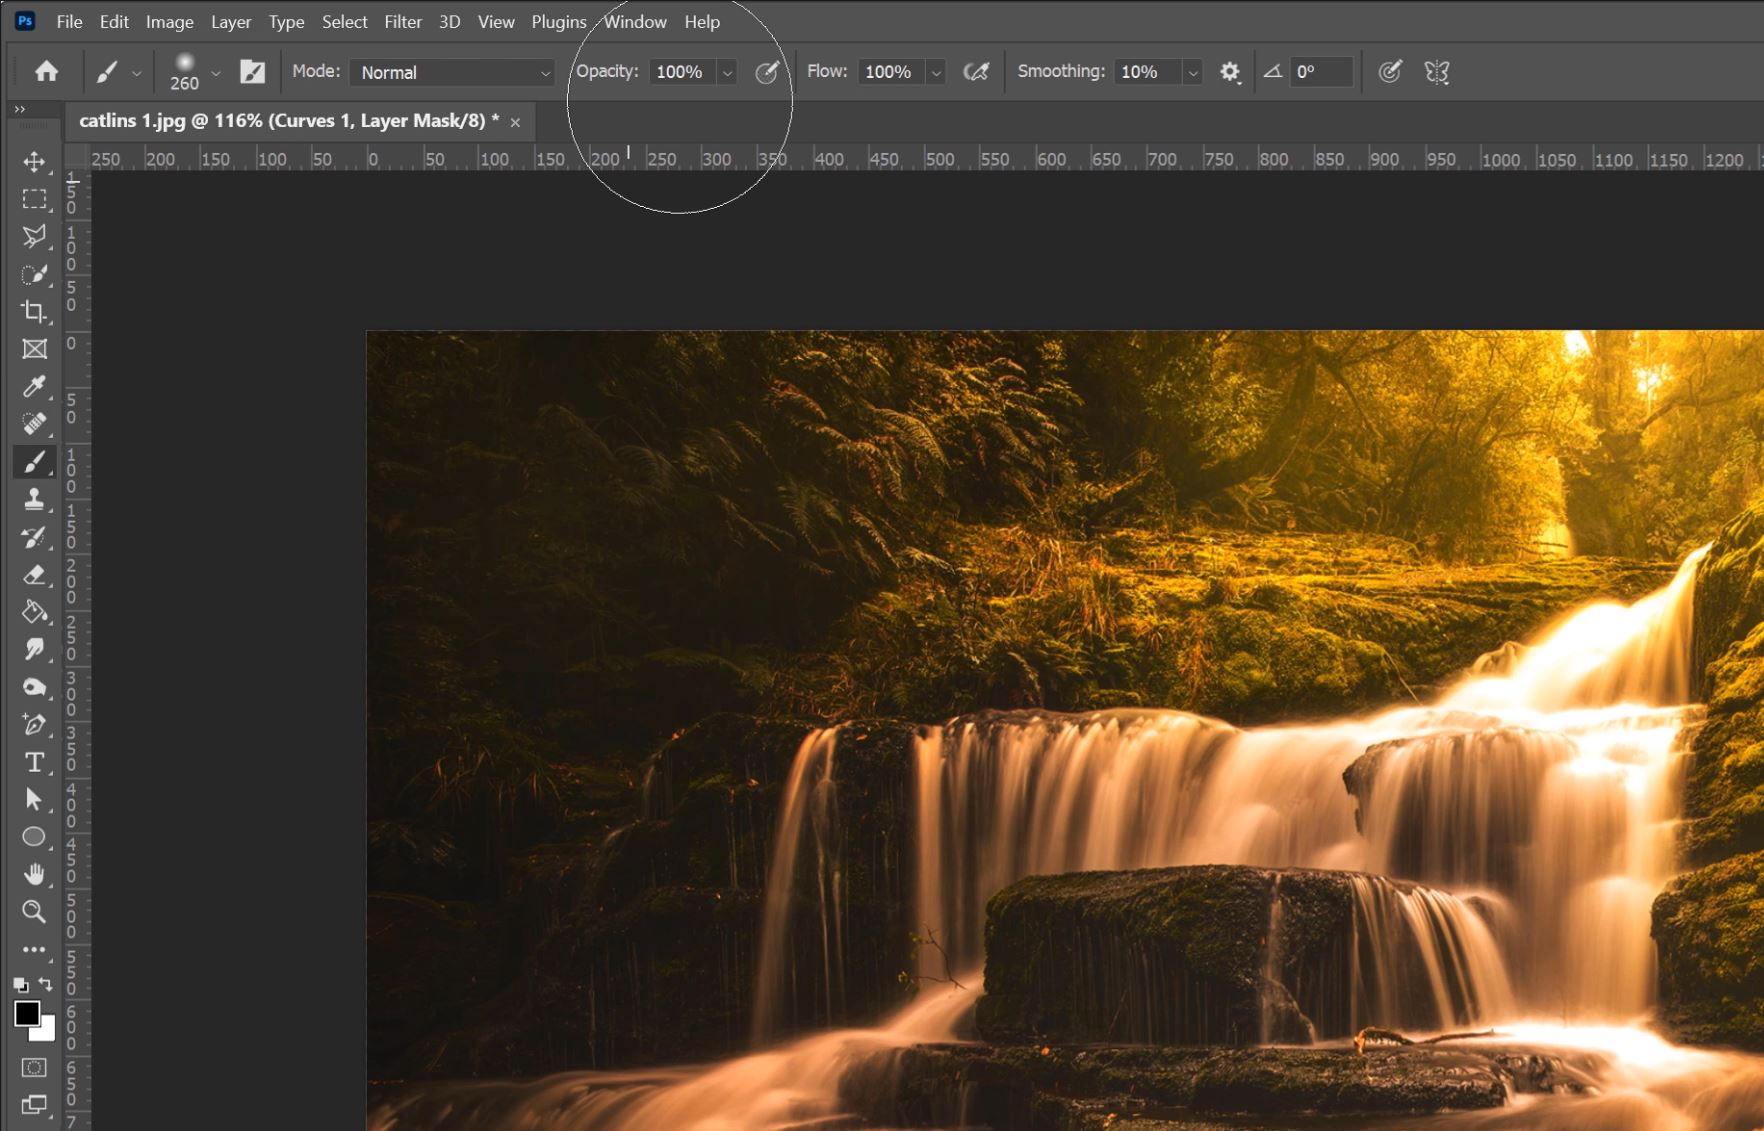
3. Select the Brush Tool and a black foreground. You can vary the opacity to make gradual changes.
– Tutorial continued below –
Enter your email below and join our community of more than 100,000 photographers who receive regular tutorials and have also

Subscribed to our newsletter,
Downloaded our FREE Photoshop Course
Got our FREE Easy Panel for Photoshop
And have our FREE Essential Guide To Luminosity Masks E-Book
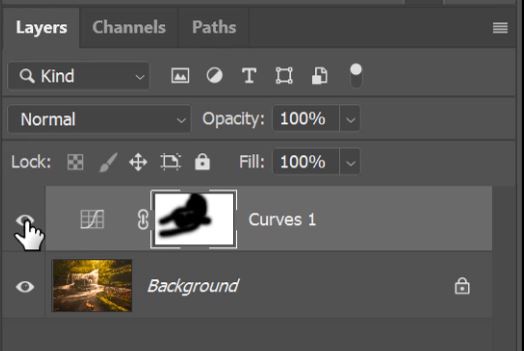
4. Simply brush over the area that you want to restore brightness too.
Try An Awesome Vignette Technique in Photoshop
The usual method for creating a vignette in Photoshop is to either use a Curves adjustment and darkening the mid-tones. Then we use the Brush tool with a black foreground and brush out the areas that we want to remain bright. By making this shift in luminance we help to draw attention to the brighter parts of the image. Fulfilling the purpose of a Vignette.
1. Add a Curves Adjustment Layer.
2. Lower the middle of the curve to darken the highlights.
3. Double-click on the space to the right-hand side of the layer mask on the curves layer.
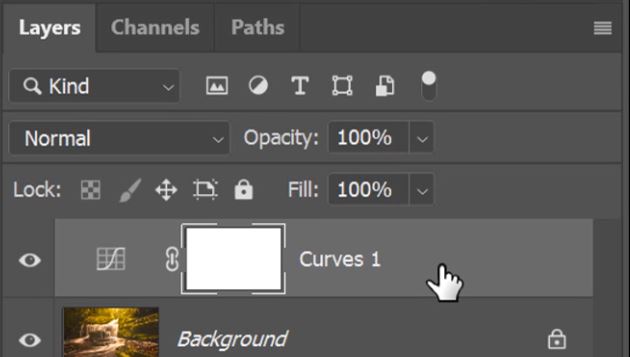
4. Under the Blend If section, slide the white control of the ‘This Layer’ to the left.

5. You will start to see the lighter areas of the image start to brighten.
6. At first the brightening is very harsh so, to soften it, hold down the Alt or Opt key and slide the innermost slider further left.

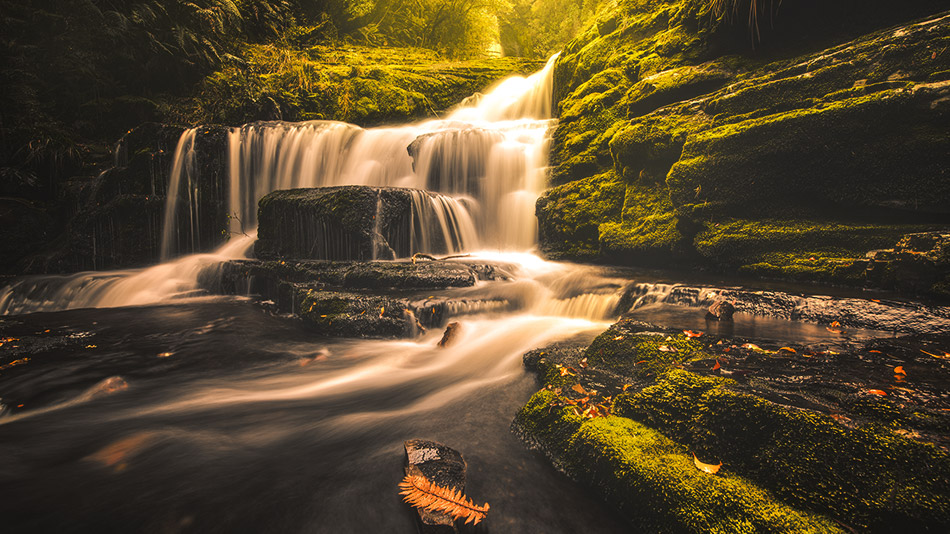
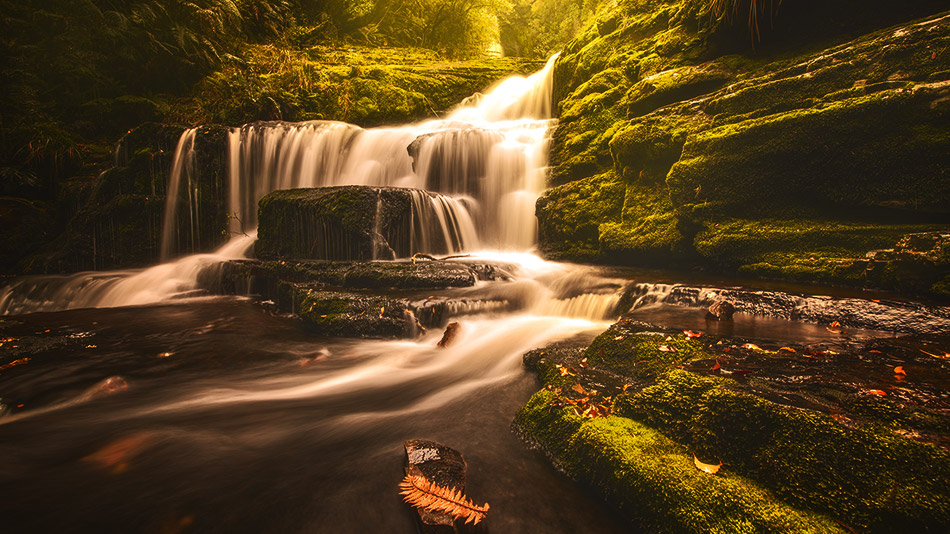
7. That has now softly and smoothly restored brightness to the lighter areas in the images and created a very controlled vignette.

Alternative Methods for this Awesome Vignette Technique
You don’t have to just use a Curves adjustment layer. This is when you can really start to experiment with this technique.
1. Use a Hue/Saturation adjustment layer and reduce the saturation.

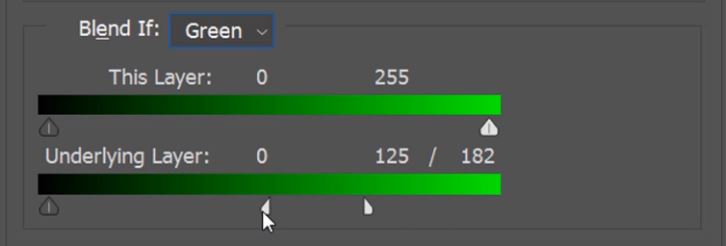
2. I changed the Blend If target from Gray to Green to bring back the greens.

3. Because we want to restore colour from the underlying layer in the brighter areas, I moved the white slider from the Underlying layer.
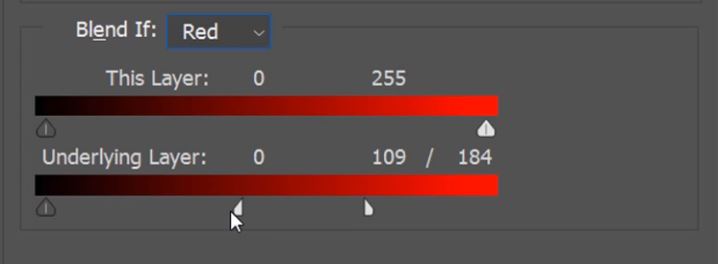
4. I repeated the same process with the Reds selected.
You can have a real play around with this technique and come up with some very surprising and exciting results.
