Photography Exposure Bracketing for Beginners
Exposure bracketing is a great way to ensure you capture a photo at the correct exposure. It is also essential to HDR photography and exposure blending. By using the brighter parts of a darker exposure we are able to recover detail that could be blown out by a balanced exposure such as bright skies or windows in real-estate photography. We can also use information from the darker parts of a brighter exposure to brighten shadowed areas and restore detail. This is the fundamental principle of HDR photography and Exposure Blending which is reliant on working with bracketed exposures. Photo Genius has put together this excellent tutorial video for Photography Exposure Bracketing for Beginners.
Photography Exposure Bracketing for Beginners
Automatic Exposure Bracketing – AEB
Some cameras can be set to Automatic Exposure Bracketing (AEB) where others can’t. In some cases, setting up AEB can be more difficult than using manual bracketing. For example, my Sony A7 has a dial on the top of the camera that I can use instantly to raise or lower the exposure value (EV). I find It is much easier to manually adjust the EV for each shot using the dial than it is got go into the menu and set the drive mode to continuous bracketing. Of course, this is my personal preference. Whereas on my Canon, it’s pretty much the exact same process to set up AEB as it is to manually adjust the EV so on my Canon I always use AEB.

Balanced image (EV=0)
Overexposed 1 stop (EV+1) will have more information in the shadows.

Underexposed 1 stop (EV-1) will have more colour and detail in the highlights.
– Tutorial continued below –
Enter your email below and join our community of more than 100,000 photographers who receive regular tutorials and have also

Subscribed to our newsletter,
Downloaded our FREE Photoshop Course
Got our FREE Easy Panel for Photoshop
And have our FREE Essential Guide To Luminosity Masks E-Book
Bracketing For HDR Photography
High Dynamic Range (HDR) photography is a technique where an image is processed to show as much information as possible by having the highest dynamic range of luminance possible. This doesn’t mean that the images are excessively bright because brighter images can also be overexposed and wash out information. With a darker image, you generally tend to find more colour and detail in the brighter areas or highlights. Conversely, brighter images give us more detail and information in the shadows or darker parts of a normally exposed image. When we take the sky from a dark image and the shadows from a bright image, then merge them into a balanced image the end result is HDR.
HDR image processing is a bit old now and doesn’t offer great levels of control over editing. There are often unwanted artefacts in our images from HDR processing especially if there are any moving objects. A far superior way to use images from exposure bracketing is by Exposure Blending using Luminosity masks. Exposure blending is the techniques most world-class photographers use nowadays to produce the best HDR images out there. We previously published an article on 7 Examples of How Exposure Blending is Superior to HDR that you might enjoy reading.
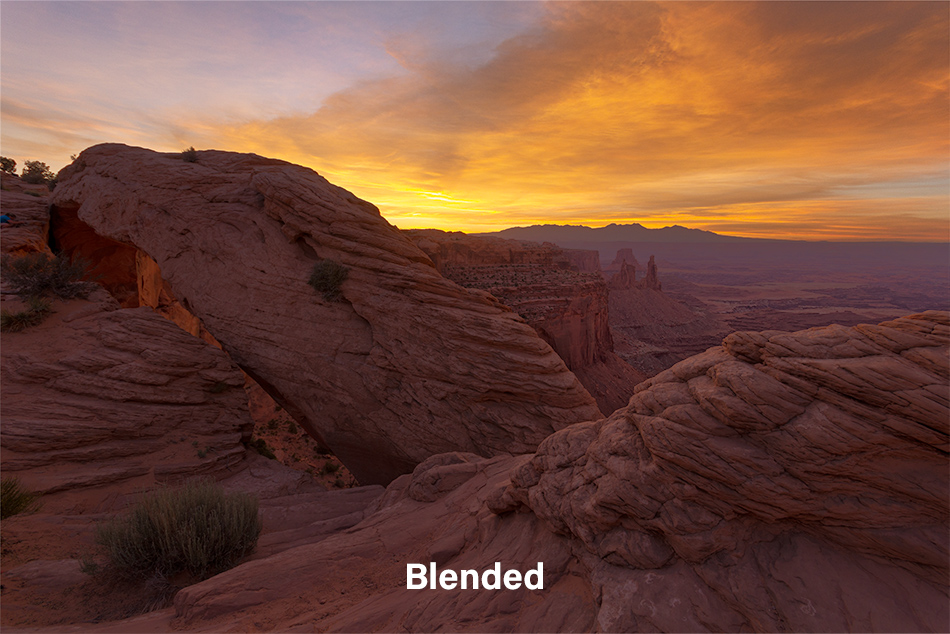
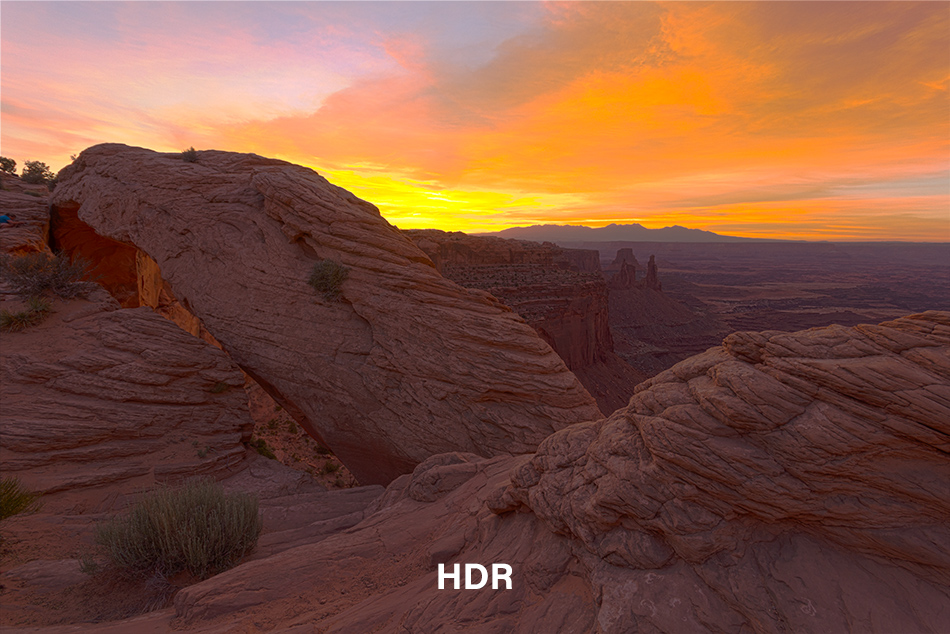
Below are examples of a balanced exposure, an overexposed exposure, and an underexposed exposure blended. Compare a blended image with the HDR image. We blended the exposures manually using exposure blending and luminosity masks from Raya Pro. And, then we used Photoshops Merge to HDR pro. You can decide which one you think is better.
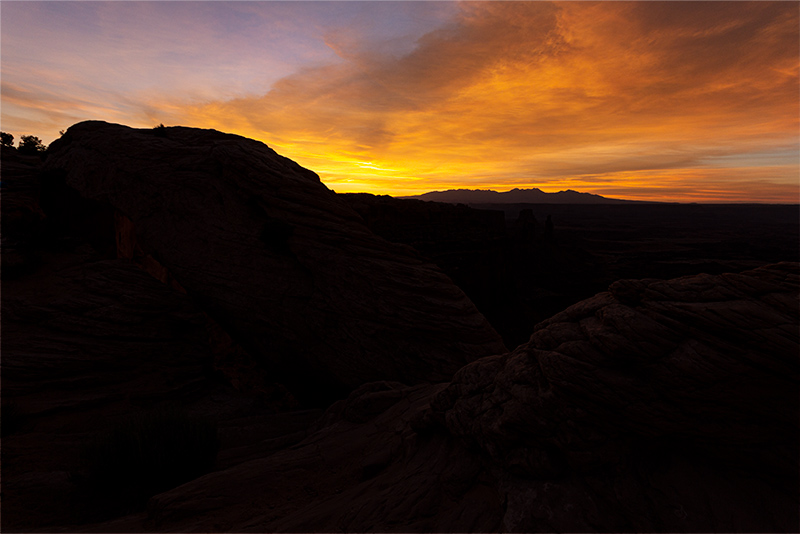
Under Exposed EV -2 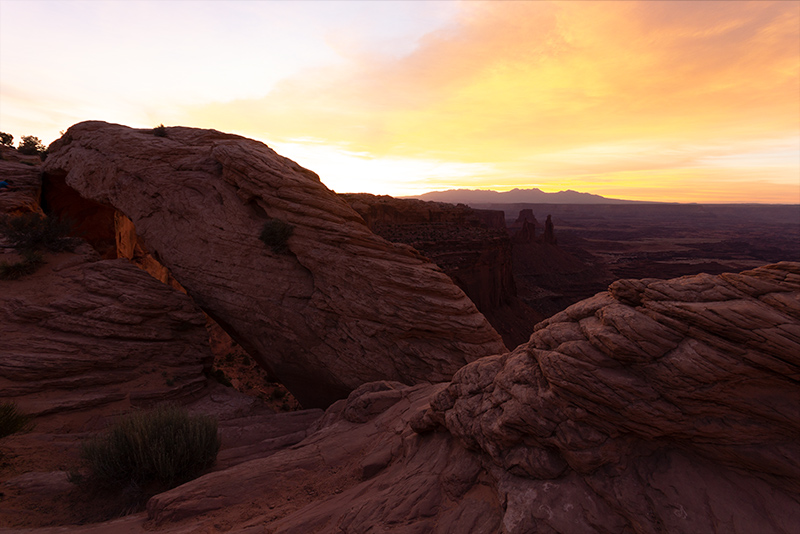
Balanced EV 0 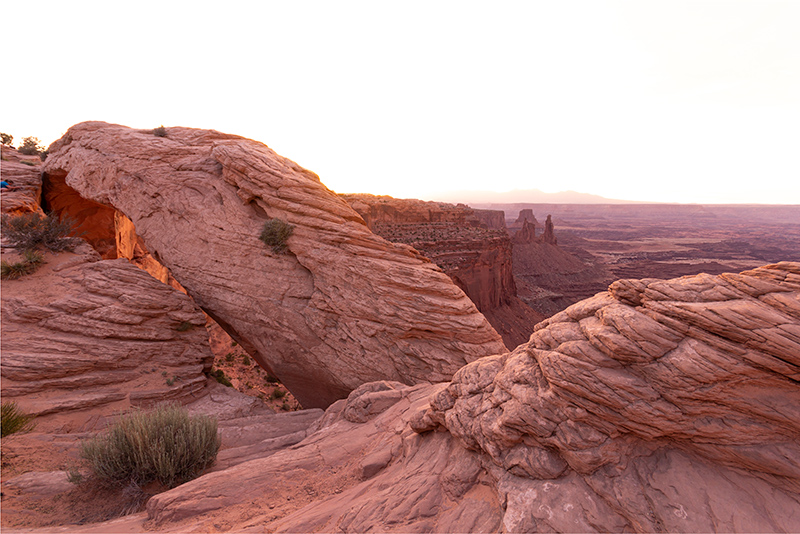
Over Exposed EV +2
