How to Fix a Blowout in Photoshop
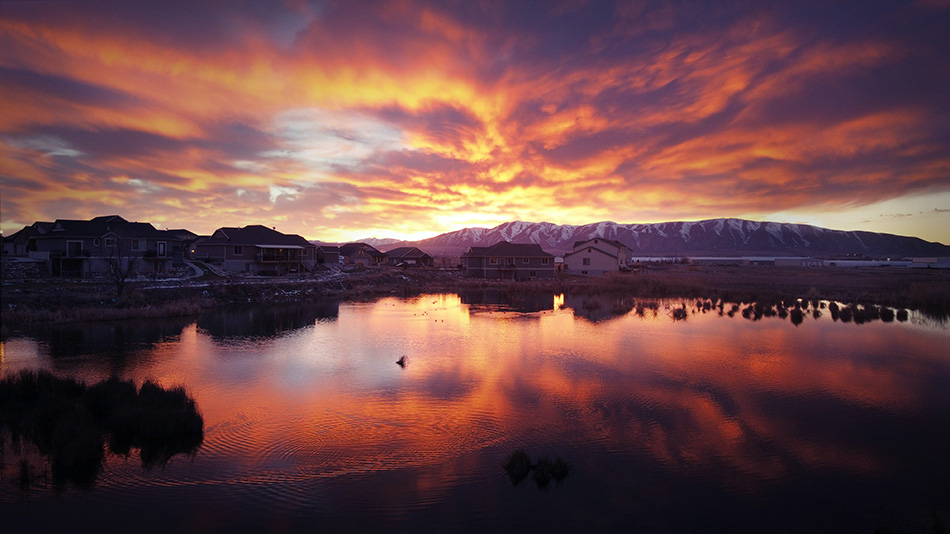
Blowouts occur when there is excessive light in a contrasting scene. Such as in this tutroial where we have the sun setting behind some mountains. The light from the sun is illuminating the bottom of the clouds fantastically, giving them a fiery glow. On the mountain ridge you can see the last glimmer of the sun before it disappears beyond the horizon. Such lighting of clouds only occurs for a very short period of time so the shot had to be taken there and then. Sadly, that last remnant of sun has caused a blowout. In this tutorail, we’ll show you How to Fix a Blowout on the Horizon in Photoshop.
If you wish to experiment with this, I would really appreciate it if you included my name (Duke McIntyre) and www.shutterevolve.com when you publish your image. If you post your published image on our Facebook page I’d be happy to check it out.
A Blowout or just Overexposure
How can we tell if we have a blowout in photoshop? A blowout is extreme overexposure. We know that a blowout is an extremely brightly lit area. This is a tell tail sign of overexposure. But how can we tell the difference between extreme overexposure (blowout) and just overexposure? The big difference is that with a blowout, there is no data left in the blownout proportion of the image. This means it often appears as a bright, flat blob, with no texture at all. Overexposure on the other hand may appear very similar to a blowout, however, there is one massive difference. Data is still contained in the overexposed areas. Now if data is present, it can be recovered. If like in a blowout, there is no data then there’s is nothing to recover and that is what we must fix.
An easy way to test if you have a Blowout or just Overexposure is by adjusting the exposure slider. If you shoot in RAW then you can use Lightroom or Adobe Camera Raw to do this. Open your RAW file in either of the mentioned programs, then under the basics sections pull the Exposure slider to the left. If it is overexposure then the details, textures, and colurs can be restored. But if it is a Blowout, then it will just get darker and no detail or texture will appear. If you shoot in Jpeg then you can always use the Exposure Adjustment Layer, but that won’t really help as meta data isn’t saved in Jpeg files so you might as well not bother and just go straight into fixing a blowout in photoshop. That’s one of the reasons why we always suggest you shoot in RAW.
-Tutorial Continued Below-
How to Fix a Blowout on the Horizon in Photoshop
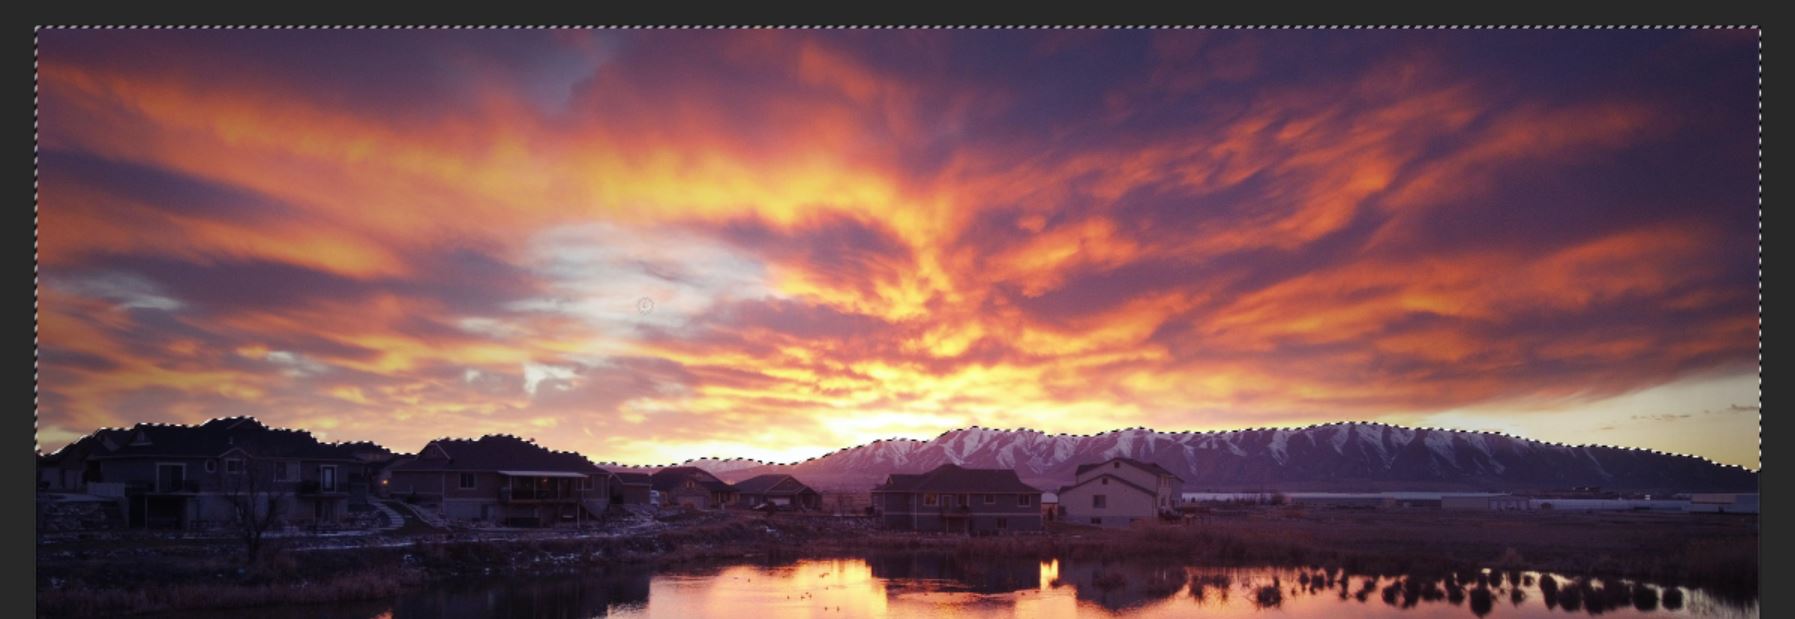
1. The first thing we need to do is make a selection of the sky. Because there’s a lot of contrast between the sky and the horizon, the Quick Selection Tool is perfect for this demonstration. So we select the Quick Selection Tool.
2. Left-click and drag the cursor over the sky to select your target area.
3. Release the left mouse button once you have a complete selection.
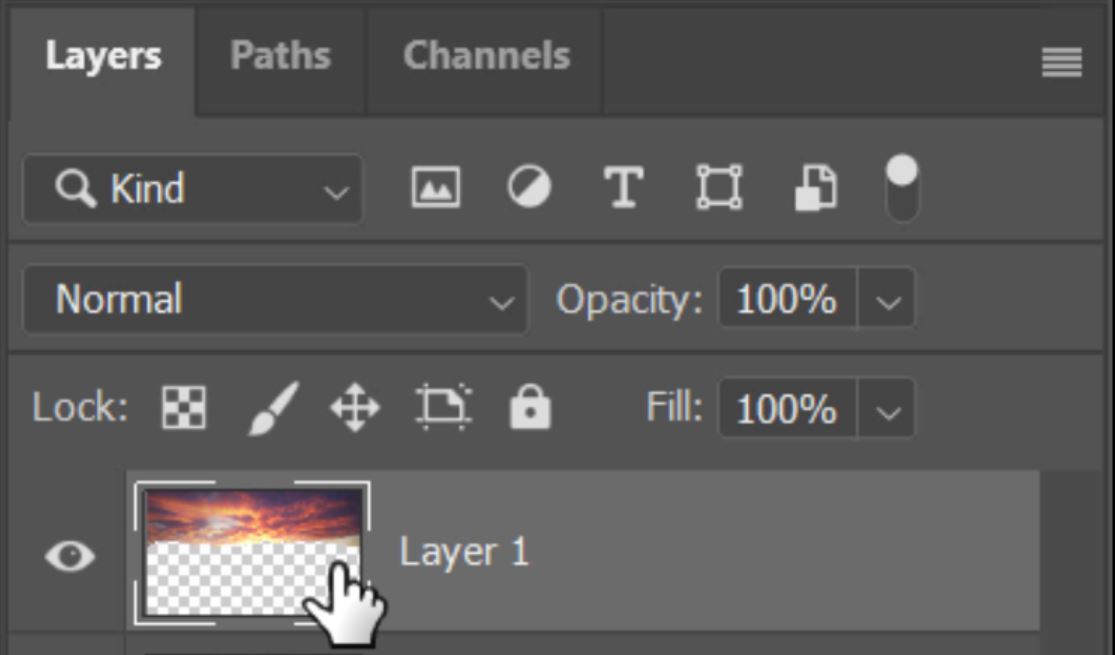
4. Press Ctrl+J (Cmd+J Mac) to copy your active selection into a new layer.
5. Press Ctrl+T (Cmd+T Mac) to activate the Transform Tool. You should now see Transform Controls on the corners and edges of the layer.
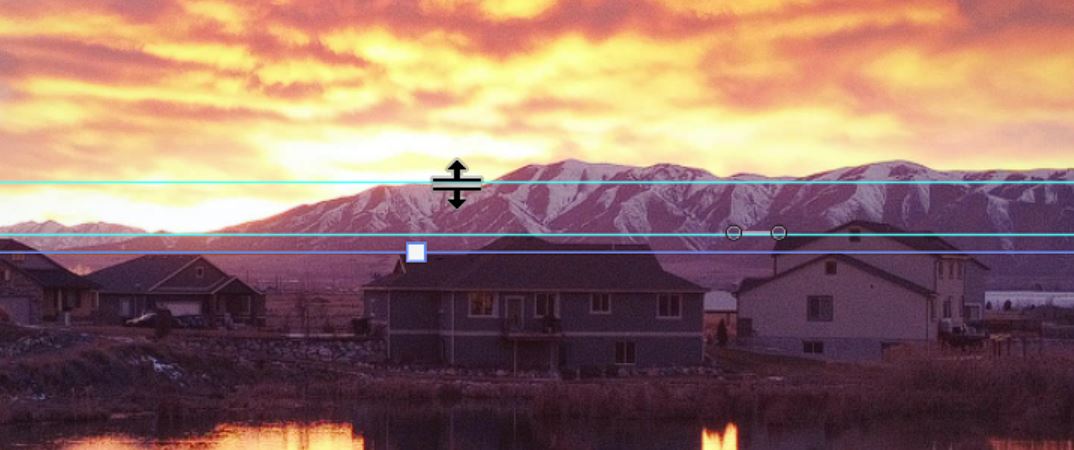
6. THIS IS OPTIONAL BUT ADVISED. Drag down guidelines from your rulers to help indicate where the blowouts need to be lowered to.
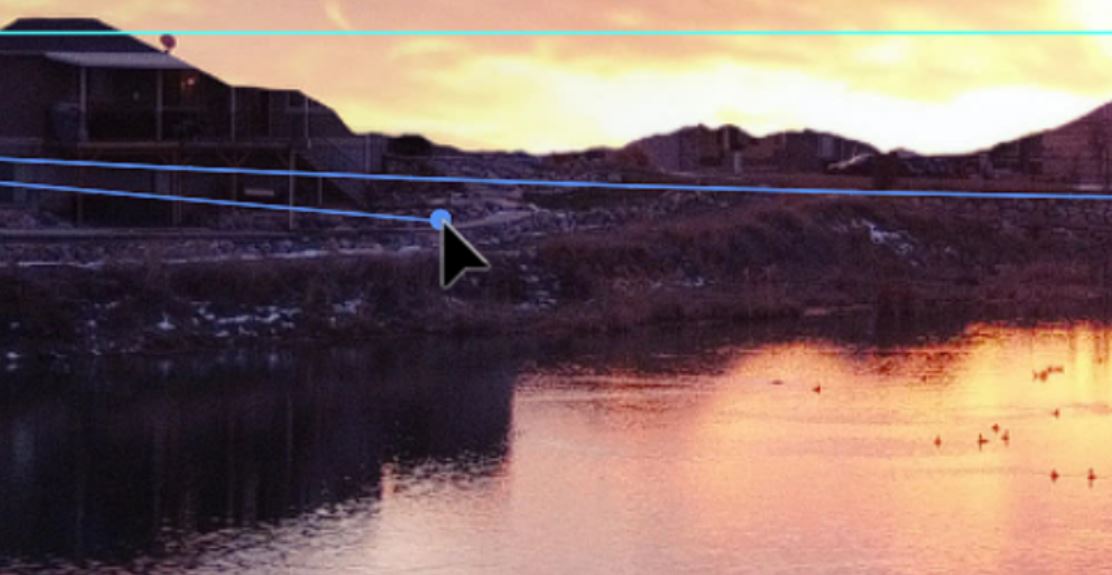
7. Right-click on the layer to access the various Transform options and select Warp.
8. You can now drag the bottom Warp Transform Controls downward to stretch the sky so the blowout lowered beneath the horizon.
9. Make sure you balance the scene by lowering both sides. They don’t have to be warped by the same amount, just so much as to balance the scene.
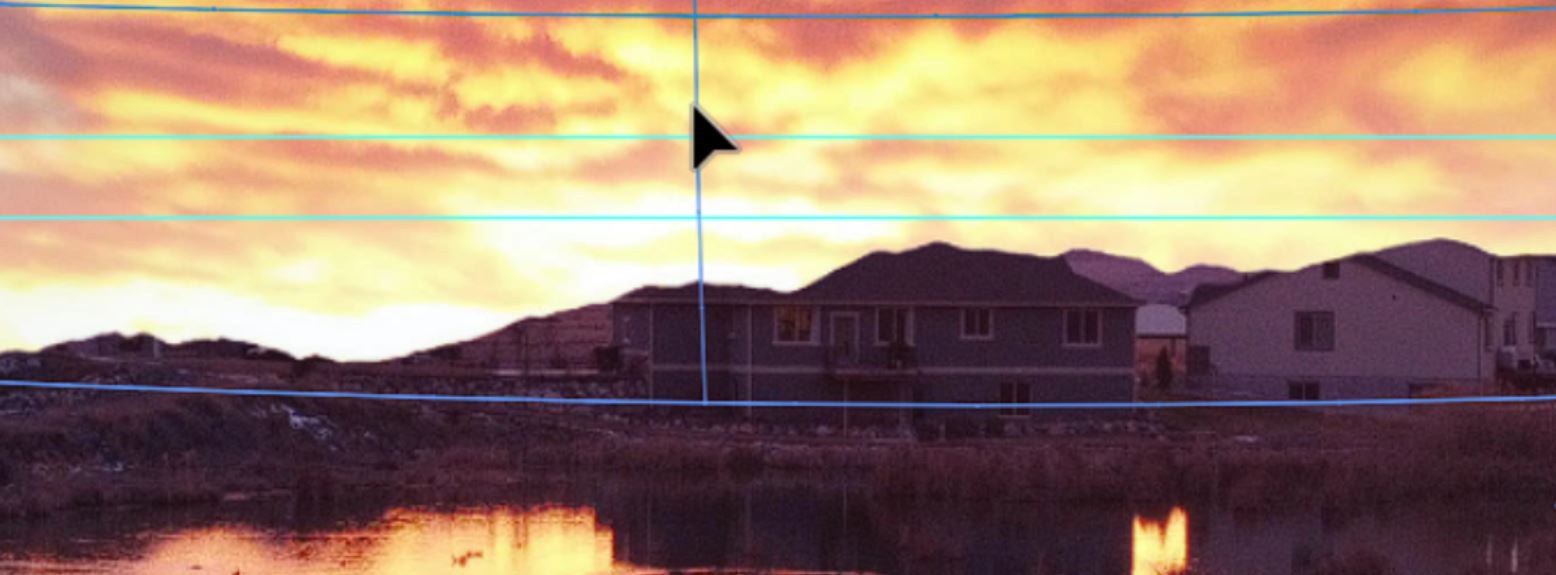
10. If a more direct warp is needed you can click and drag on the layer itself instead of the Transform controls and warp the layer as well.
11. Select the Background layer. This will also apply the warp that you just created.
12. If it isn’t still selected from earlier, select the Quick Selection Tool again.
13. This time we’re going to make a selection of the buildings and the mountains on the horizon.
14. Once the buildings and mountains have been selected from the original image, we need to select the layer with the warped sky again.
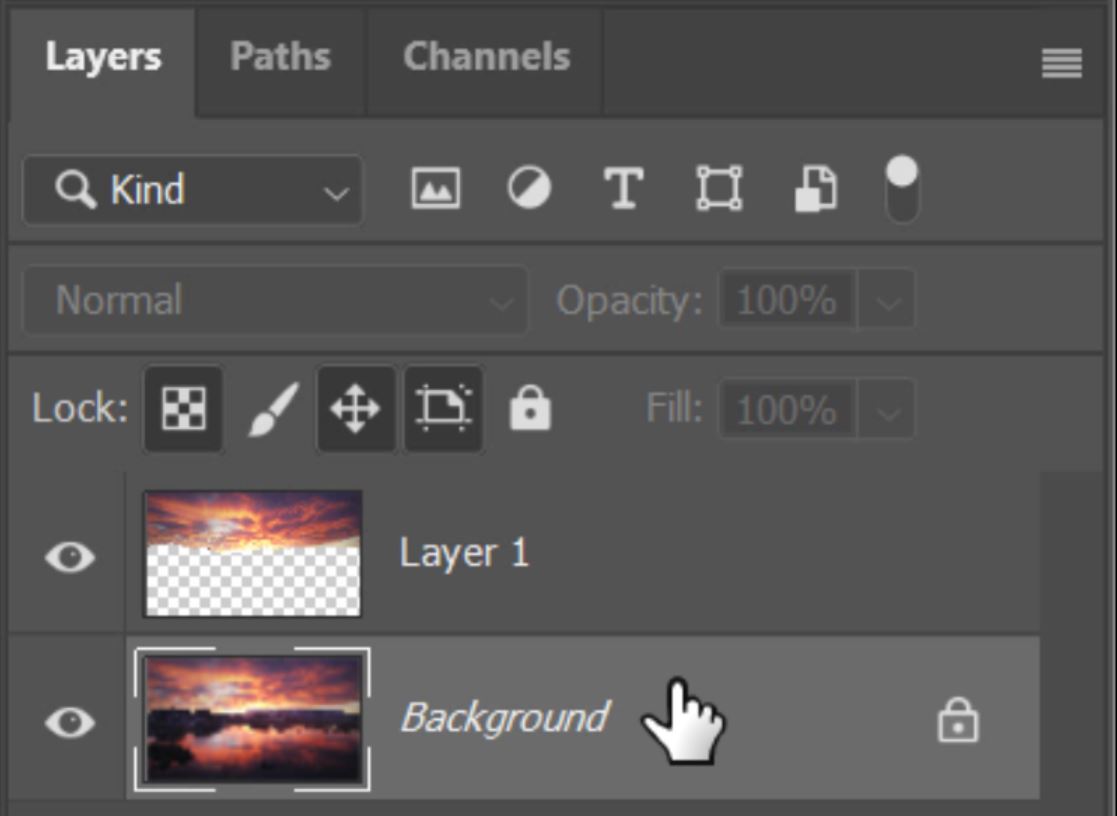
15. Simply press the DELETE key to delete the sky from the top layer that is covering the buildings and mountains from the original image.
16. To fade the new sky in and restore a little hint of the blowout, add a layer mask to the top layer by clicking on the Add Layer Mask icon.
17. Select the Brush tool, a black foreground, and set the brush opacity to around 30%.
18. Paint once over the horizon where the buildings and mountains meet the sky.
19. Then paint once more time, but this time just over where the blowout was, just to give the appearance that that is where the sun is, and it’s just fallen behind the mountains.
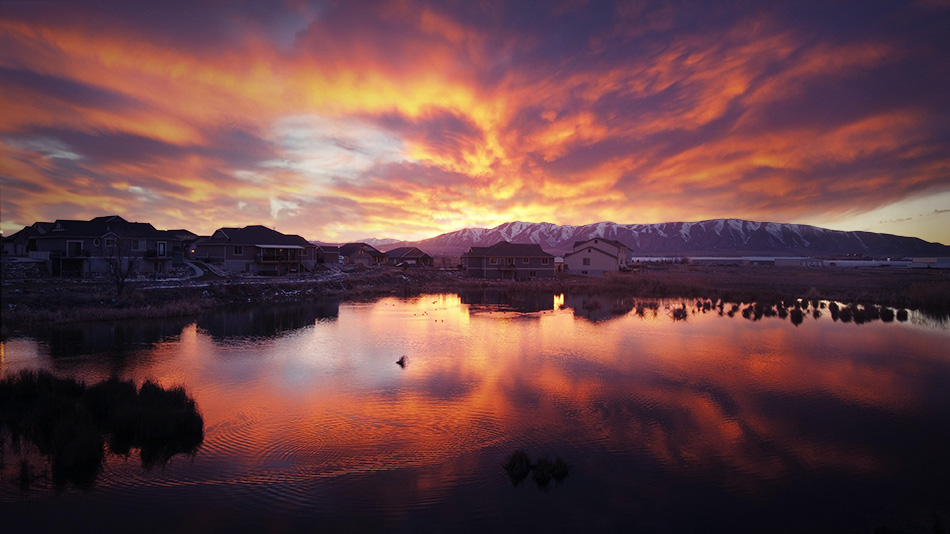
Take a look at the before and after images below where we have removed the blowout.
