How to Make a Woodland Photo More Inviting
Woodland provides us, photographers, with tiny havens. Little pockets of woodland appear almost anywhere and once you enter woodland the outside world disappears. You could be in the middle of a city with a woodland park or out in the countryside, and no one would know the difference. Especially if the trees are dense, look for a composition where you can use nature to hide the environment beyond. Because woodland is so plentiful and accessible, we see a lot of woodland photos. Sadly many of them are much the same. Following this Photoshop editing tutorial, we take an ordinary woodland photo and show you How to Make a Woodland Photo More Inviting.

If you wish to experiment with this, I would really appreciate it if you included my name (Duke McIntyre) and www.shutterevolve.com when you publish your image. If you post your published image on our Facebook page I’d be happy to check it out.
What Makes Woodland More Inviting
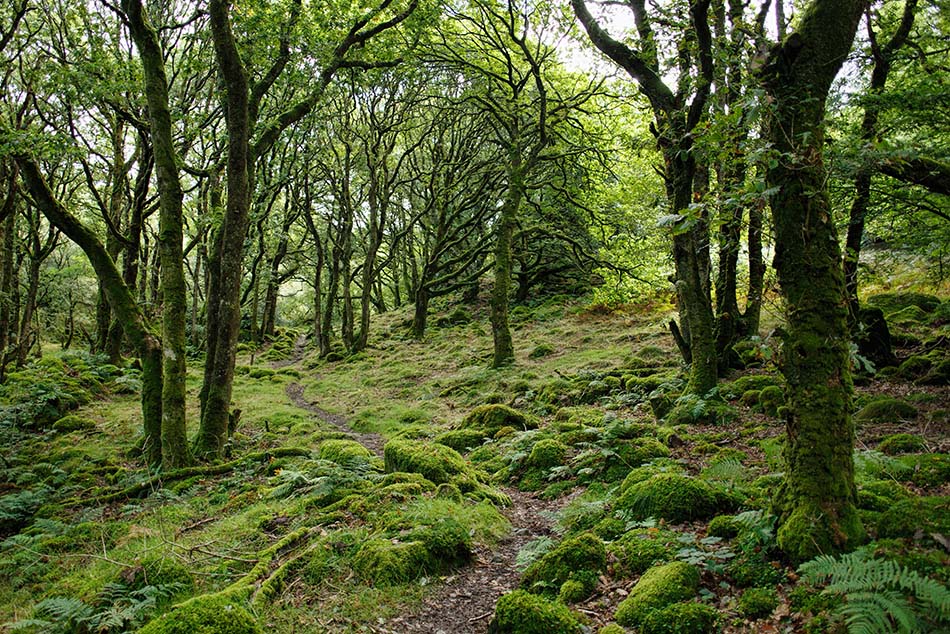
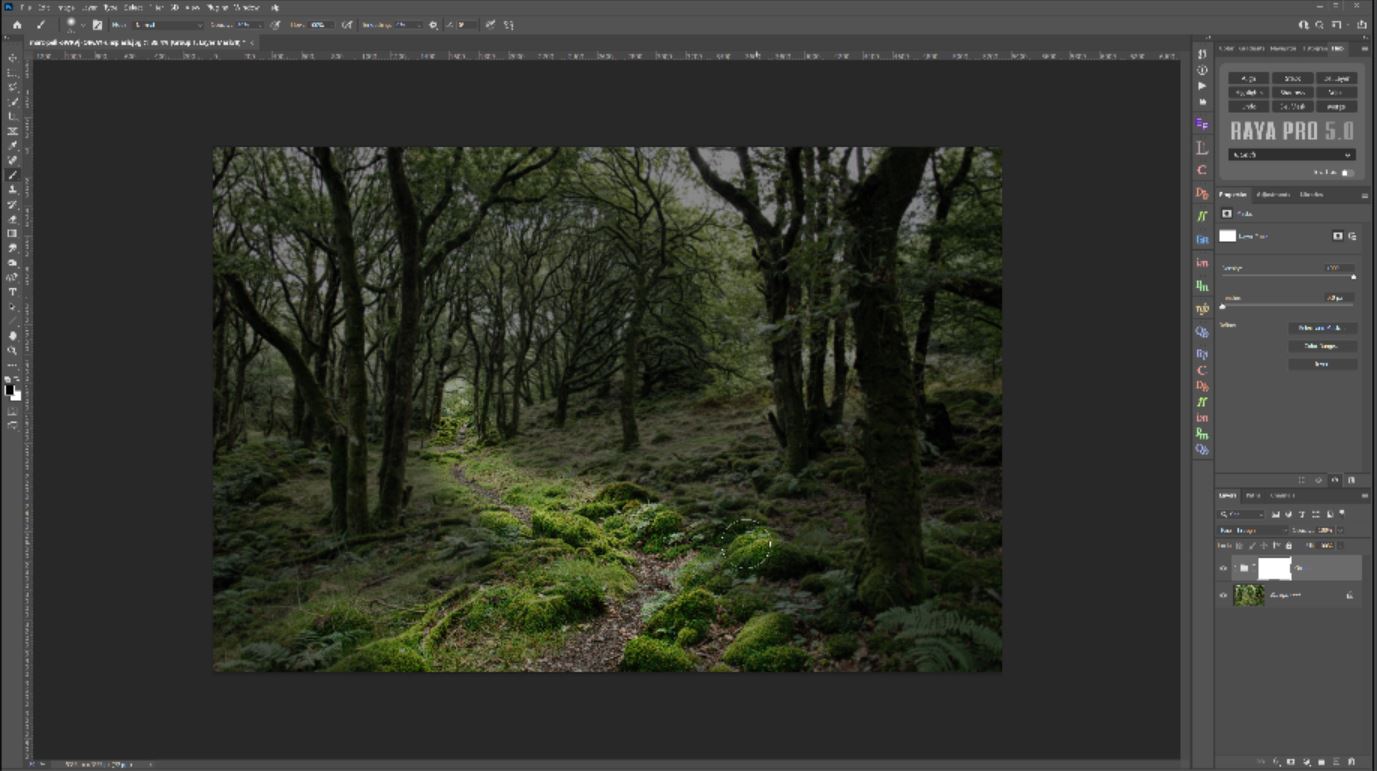
We chose this image by Marc Pell because it has a good compositional layout.
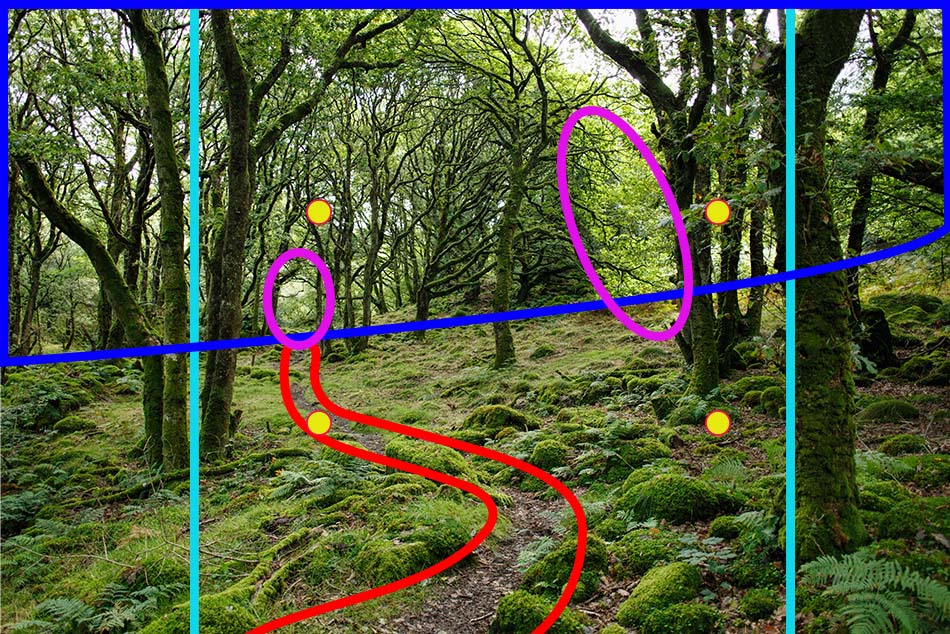
- The interesting parts of the image are framed by trees on either side of the composition (turquoise).
- There are leading lines with the pretty obvious path that leads you through the woodland (red).
- A good balance between the canopy and undergrowth (blue).
- Gaps in the trees give us focus points (magenta).
- Rule of thirds the yellow spots contain interesting areas.
Sadly, what the image lacks is depth. I suspect the image was taken on an overcast day around midday. The reason why I make this assumption is based on light in the image, it is diffused and is casting very little shadow. To make the scene more inviting we make the fringes less important by blurring them slightly, then we add some shadows for depth. Also by removing shadows in important areas we create intrigue that just invites further exploration.
-Tutorial Continued Below-
Enter your email below and join our community of more than 100,000 photographers who receive regular tutorials and have also

Subscribed to our newsletter,
Downloaded our FREE Photoshop Course
Got our FREE Easy Panel for Photoshop
And have our FREE Essential Guide To Luminosity Masks E-Book
How to Make a Woodland Photo More Inviting
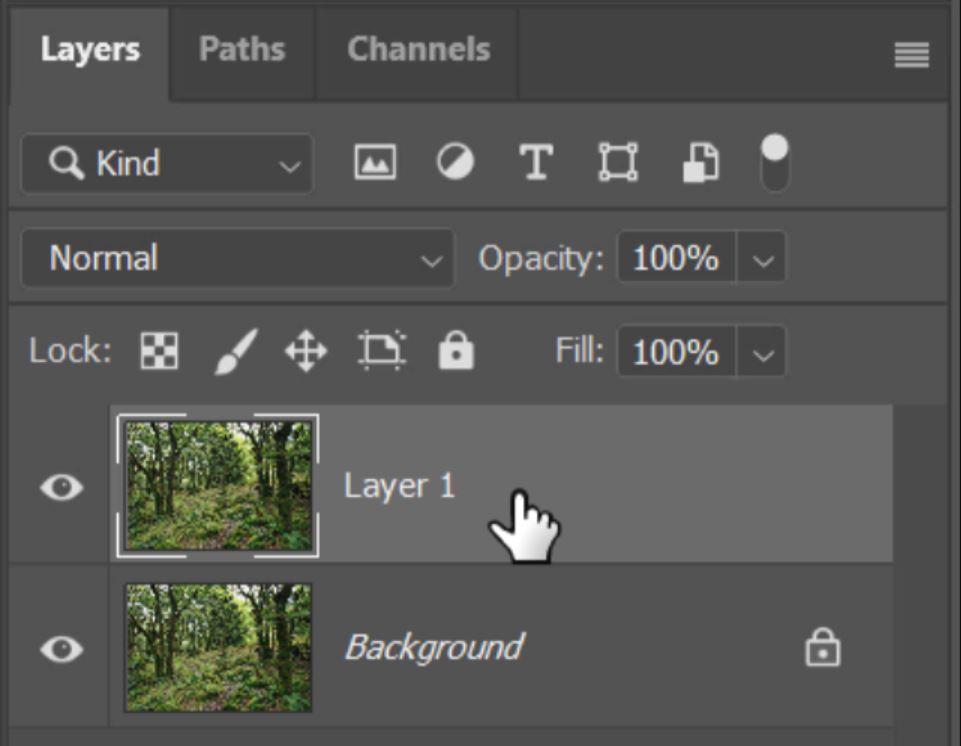
1. Left-click on the image layer to select it.

2. Press Ctrl+J (Cmd+J Mac) to duplicate the layer.
3. Go to the Filter menu and add a Gaussian Blur, this will be used to soften some of the textures. By doing this we hope to use it to take attention away from unimportant areas.
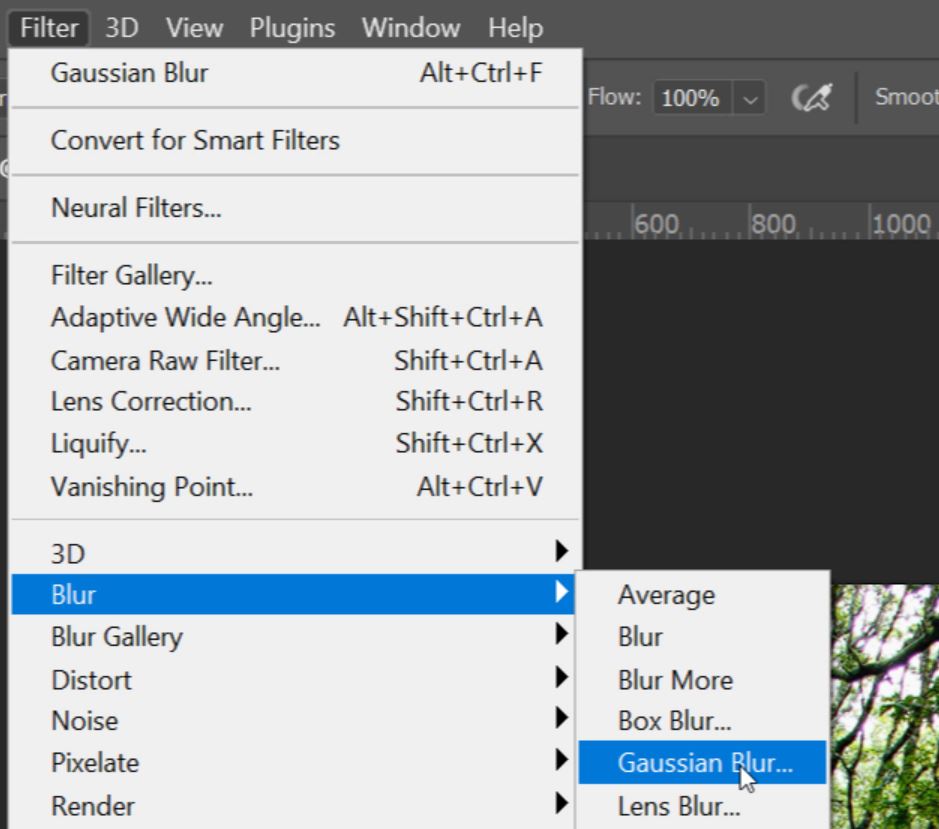
4. We don’t want the Gaussian blur to be so strong that it completely blurs out information. For that reason, we only need to set a relatively small radius then click OK to apply the Gaussian Blur.

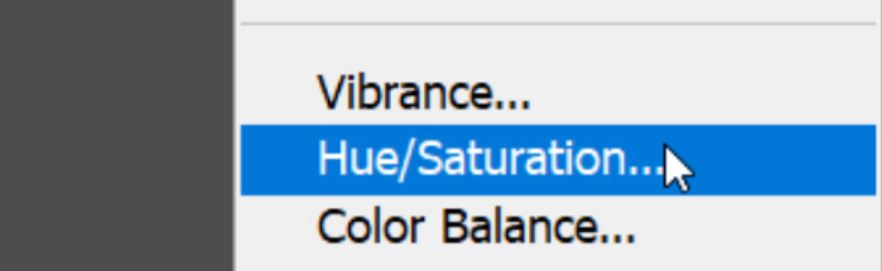
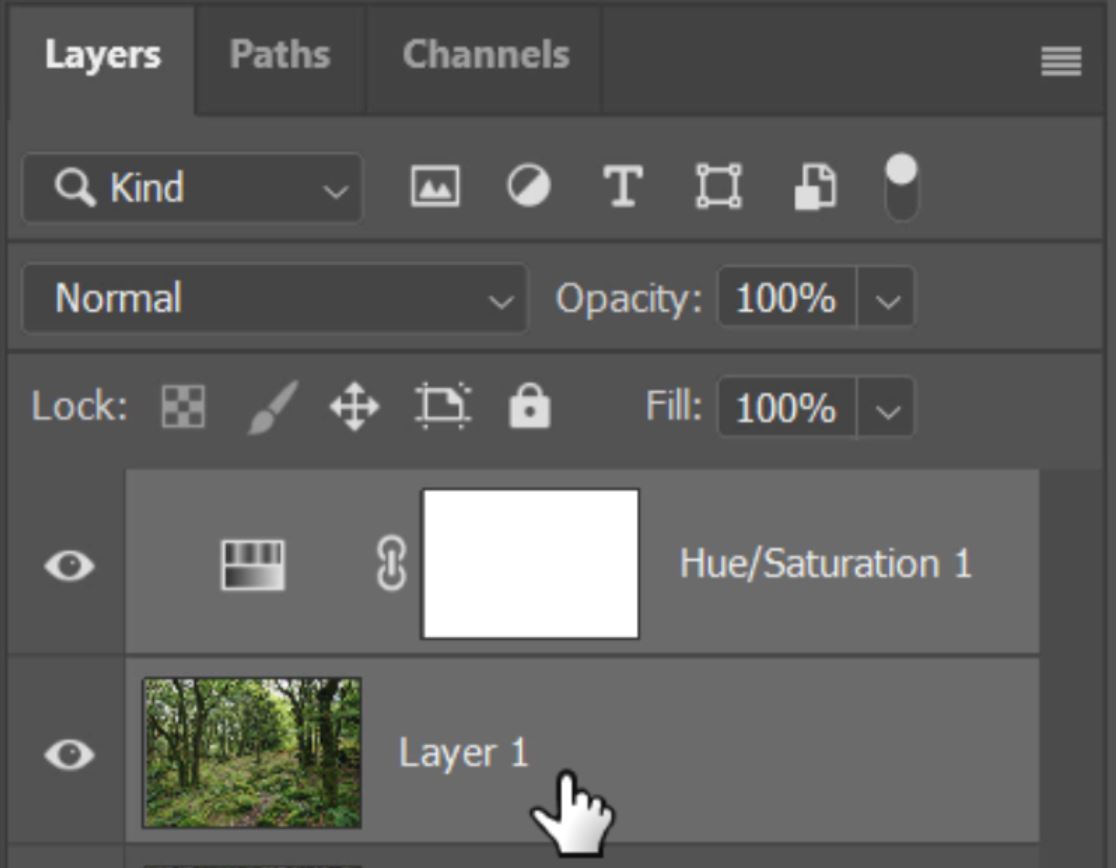
5. Now we need to soften and darken the colour tones, to do this we click on the icon to add a New Adjustment layer.

6. The adjustment layer that we’re going to use is a Hue/Saturation adjustment layer.
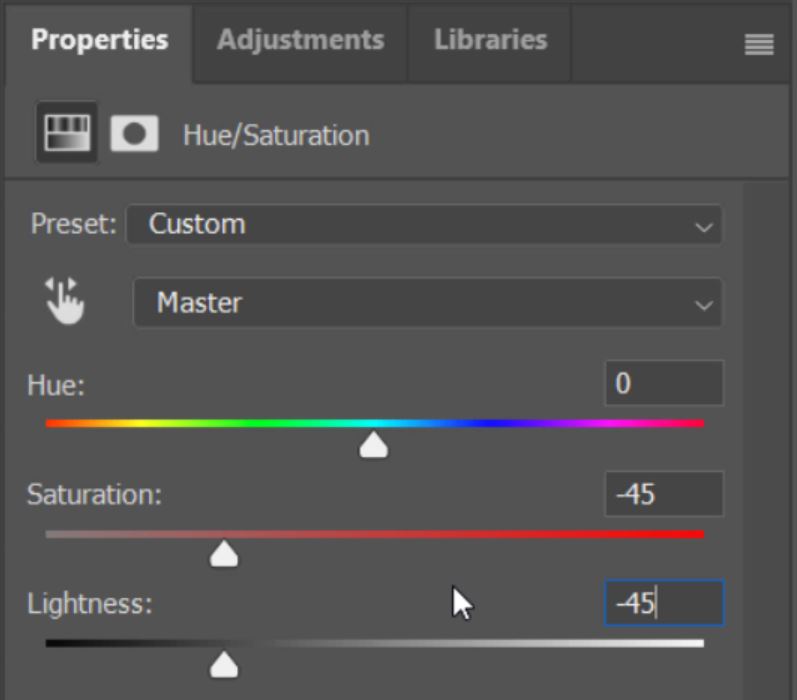
7. The color saturation in the original image is quite strong in this example so we need to heavily reduce the Saturation.

8. Because we want to create some shadows in the undergrowth, we also reduce the Lightness as well.
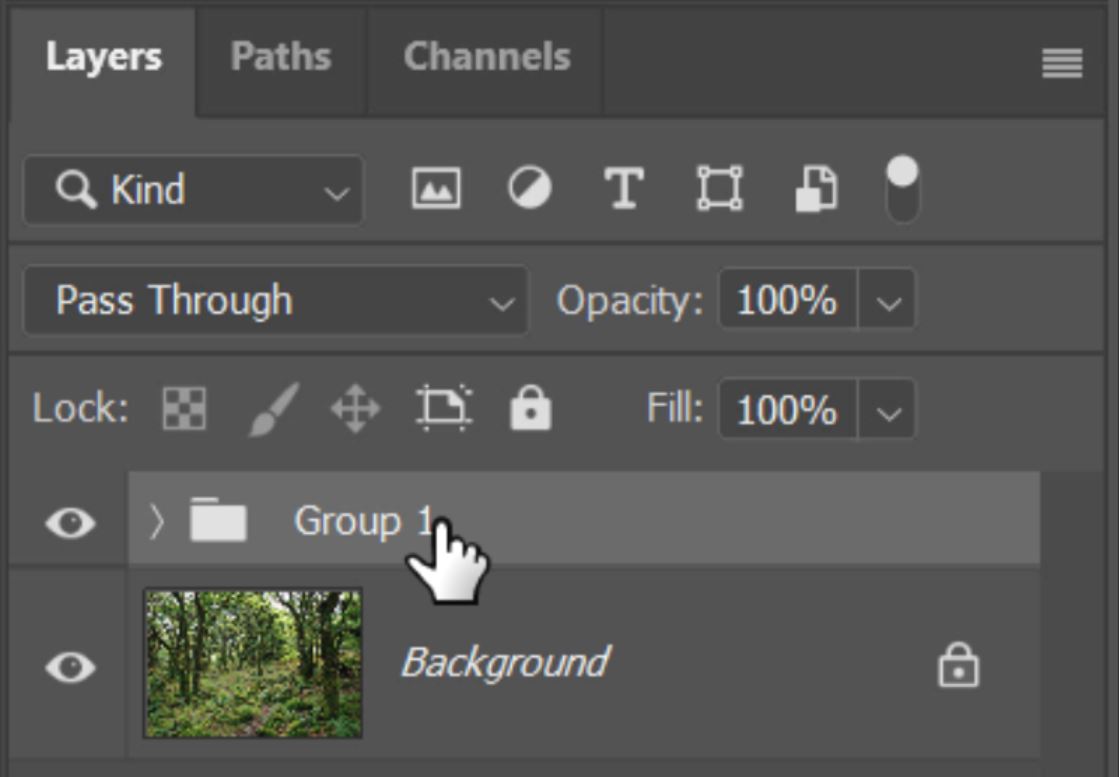
9. Hold down the CTRL key (Command for Mac) and left-click on the layer below the Hue/Saturation layer. This should be the duplicated image layer that we added a Gaussian Blur to. Now both layers should be selected.
10. Press Ctrl+G (Cmd+G Mac) to create a new group containing the selected layers.
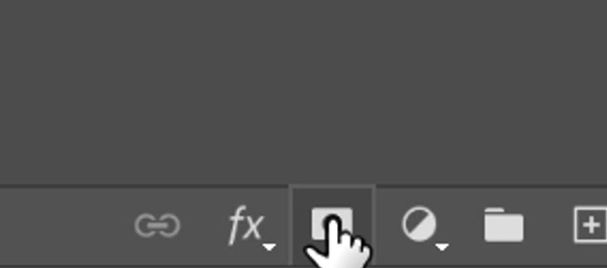
11. Add a Layer Mask to the new group by clicking on the Add Layer Mask icon.
12. Press B to select the Brush Tool or click on the Brush Tool icon.

13. Set your foreground colour to Black.

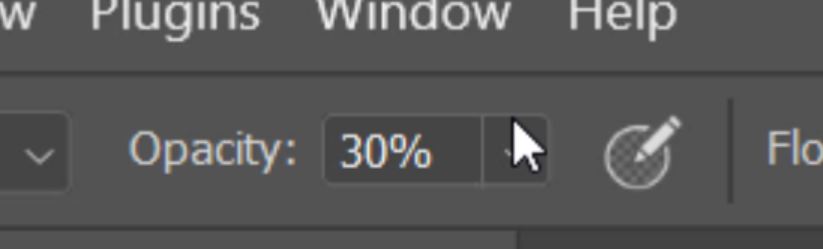
14. Set a low Brush Opacity, in this demonstration, we set ours to 30%.
15. Now start to brush over areas that you want to shed some light on. These areas will be of interest that will help guide viewers through your scene, such as the pathway.
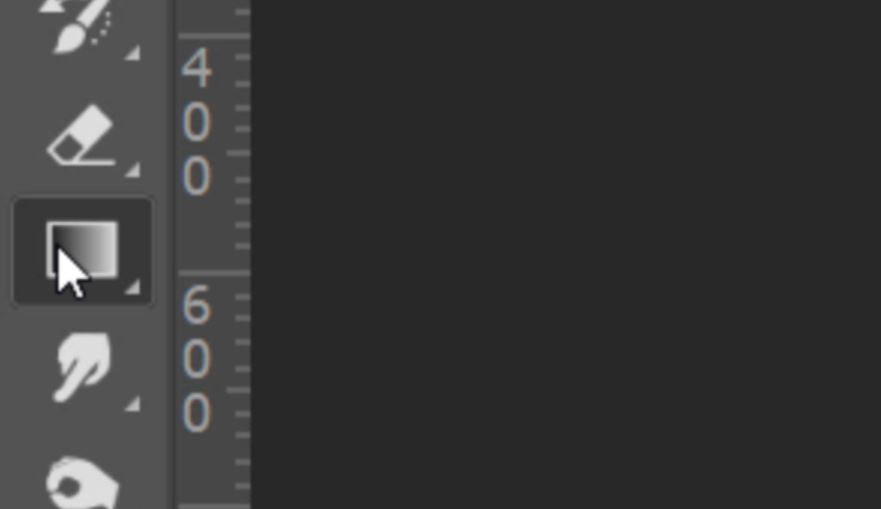
16. To brighten areas in a more automated way you can use the Gradient Tool. To select the Gradient tool press G or click on the Gradient Tool icon.
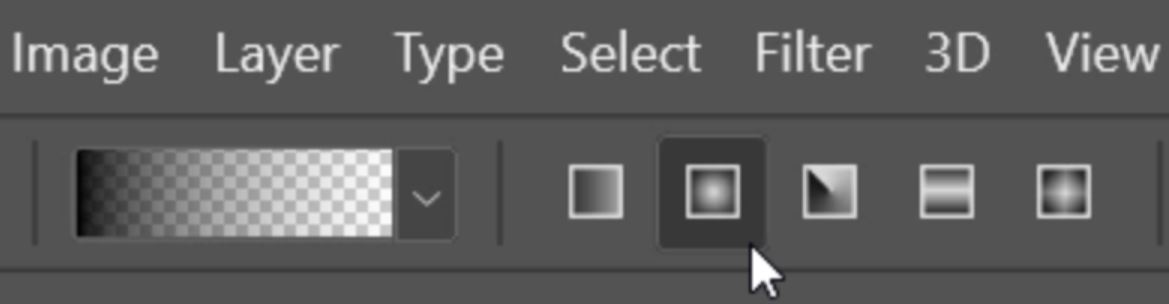
17. To change the type of Gradient you need to click on the small down arrow in the Gradient Tool setting menu.
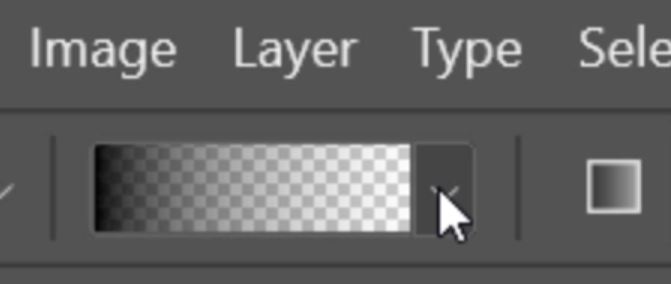
18. In the Basics section, you will find the foreground to transparent fill. This is the one we need for a more uniform fill.

19. Select the Linear Gradient Fill type to fade in a straight line.
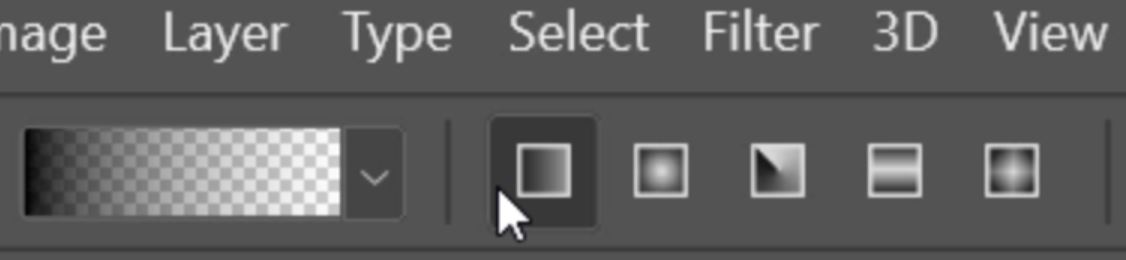
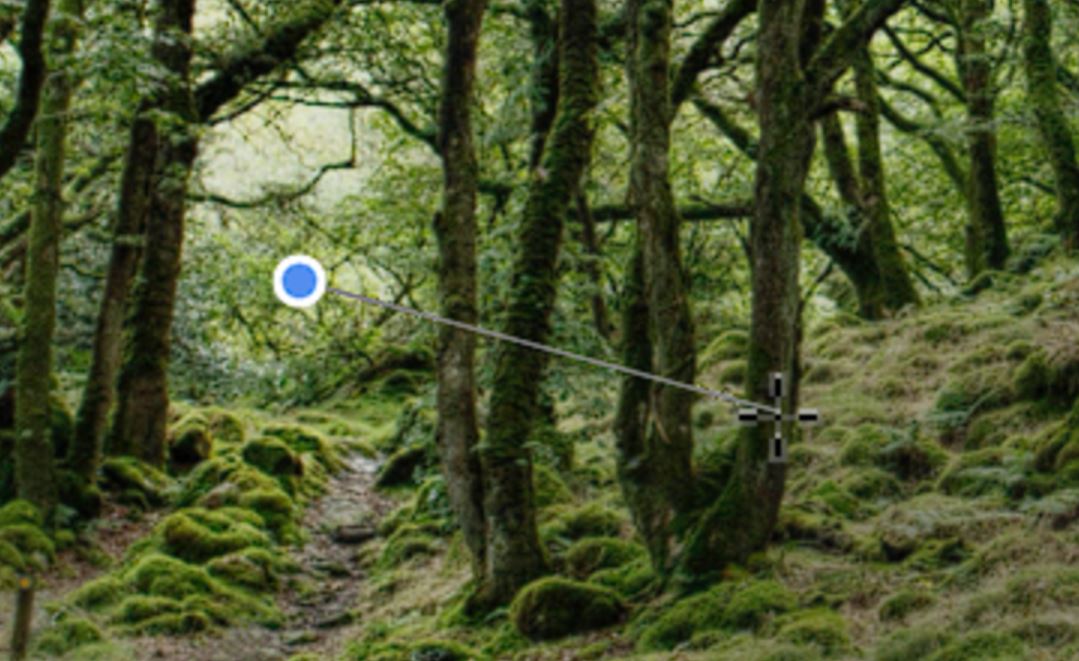
20. Left-click on the area that you want to be bright, holding down the left mouse button, drag to where you want your gradual fade to finish. In this example, we want to brighten the canopy along the same angle of the horizon, while keeping the undergrowth shaded. Release the mouse key when you’re happy with the position of your fading.

21. You can use any type of Gradient. We also used the Radial Gradient.
22. When you click and drag this time, the centre will be brightest and will fade from the centre outwards. We used this to emphasise the opening at the end of the pathway and other areas where we thought the light would hit and created interesting depth.
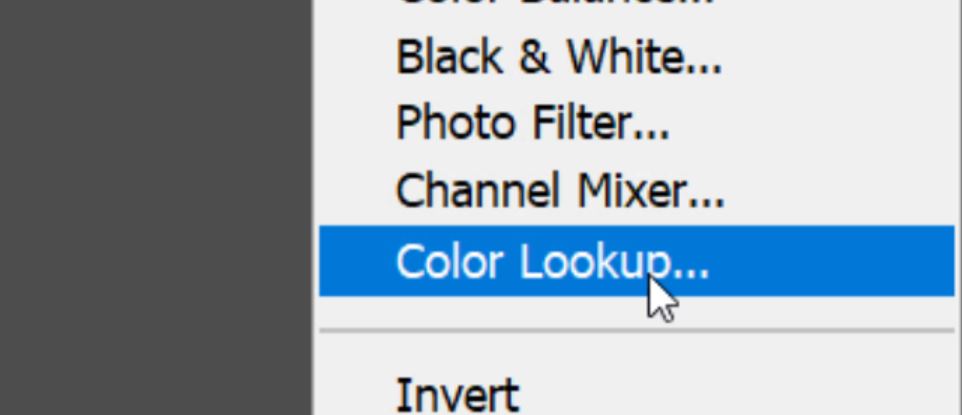
23. The green tones are still a bit strong. To combat this and bring in a natural color shift we used another Adjustment Layer. This time we used a Color Lookup.
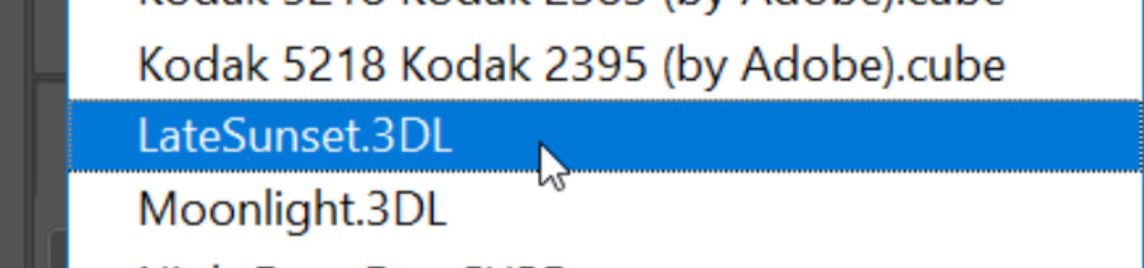
24. In the properties window, click on the down arrow in the top box to change the color lookup type.

25. We used the LateSunset LUT as it matched the effect that we were looking for, but please, don’t be scared to flick through the various types.
26. Our final adjustment was to reduce the opacity level of the Color Lookup layer to lighten its effect on the final image.
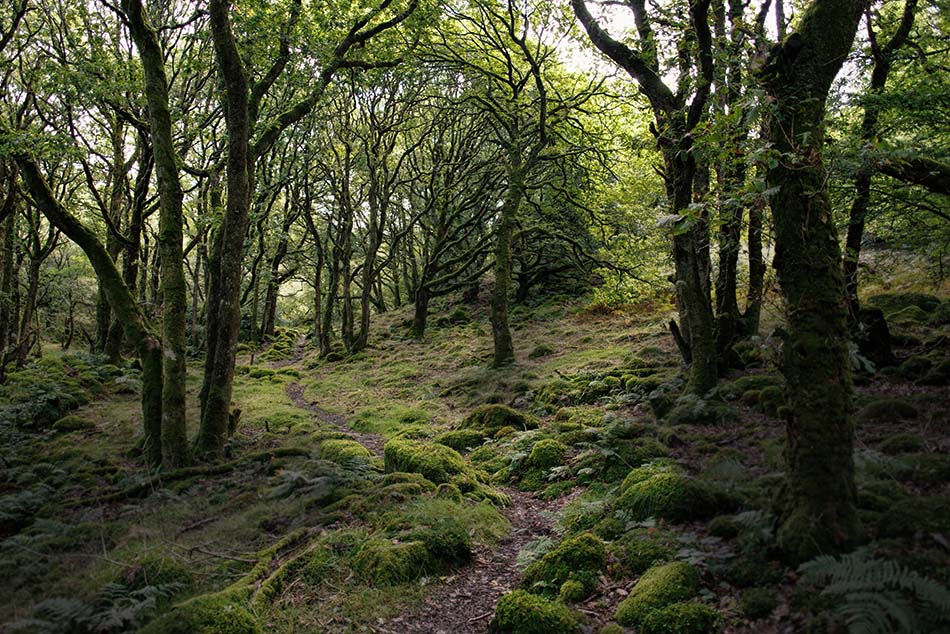
Now the scene has a greater depth and the pathway invites you in for a stroll. Take a look at the before and after images.