How To Fix a Strong Halo in Photoshop
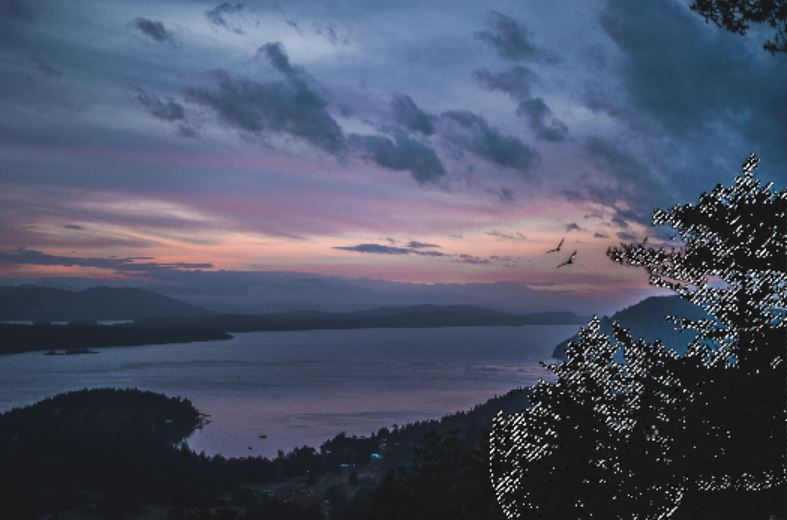
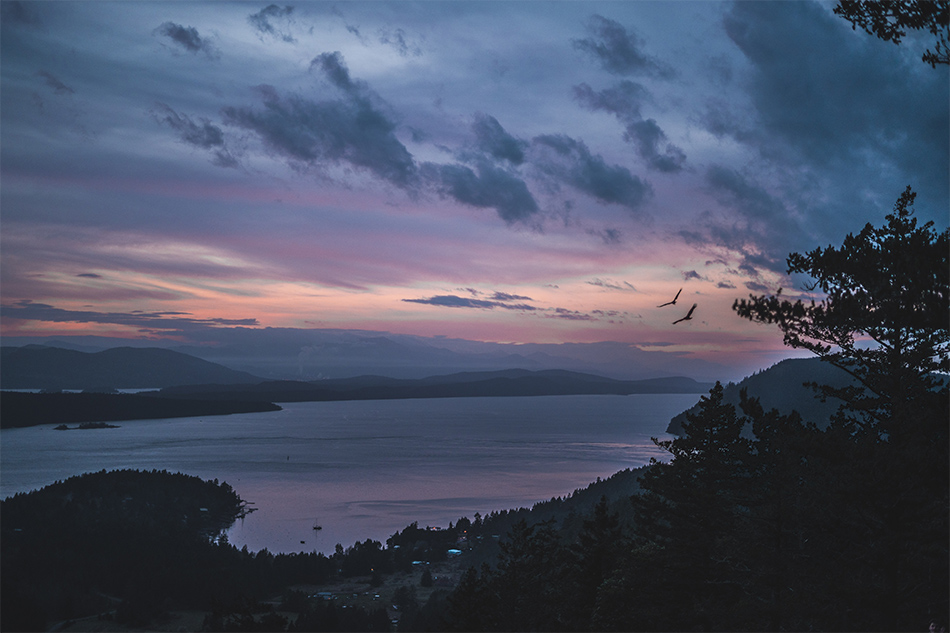
Halo’s can appear naturally in photography, in a similar way to an optical illusion. Where lighter tones meet darker tones there’s sometime a sense that the tones are even brighter than they really are, thus creating a halo effect. However, a strong halo is usually the result of poor expsoure blending. It’s also a tell tale sign that the image has been edited. Most images are edited, but the art is to make them look natural and un edited. The image we use in this tutorial is a lovely images, that in my opinion is spolied be a really nasty Halo. So, for that reason I’m going to use it to show you How To Fix a Strong Halo in Photoshop.

If you wish to experiment with this, I would really appreciate it if you included my name (Duke McIntyre) and www.shutterevolve.com when you publish your image. If you post your published image on our Facebook page I’d be happy to check it out.
The Best Way to Avoid Halos in Photography
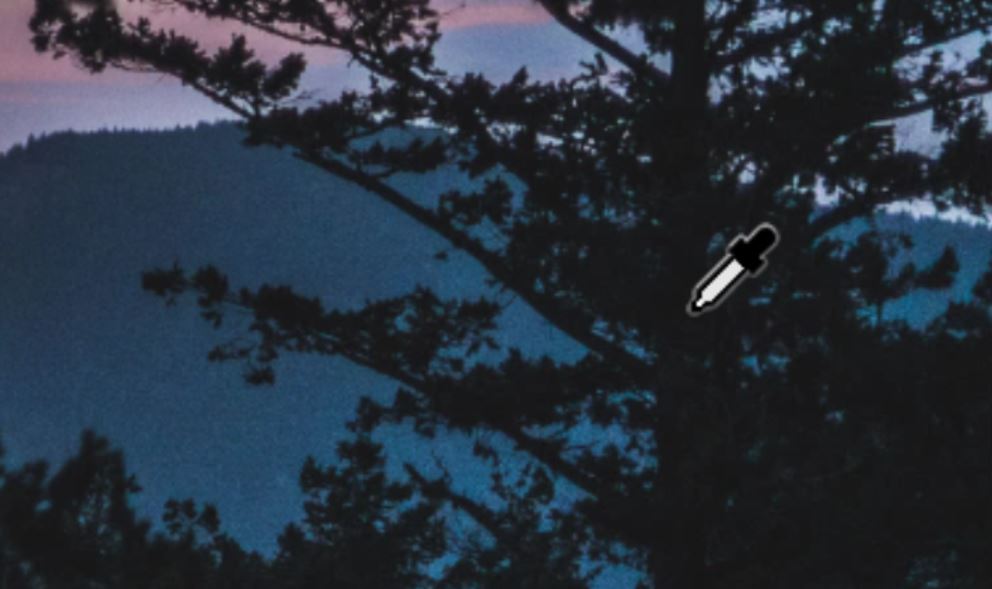
Use restricted masks or luminosity masks for exposure blending! Halos are usually caused by manual blending where a brush is used without a defined selection and the area to blend is complicated. Such as in this example. The overall image looks relatively balanced except for the area where the tree is on the right hand side. There is a real obvious glow on the other side of the tree, and it’s extremly off putting and distracting. Your attention is immediately drawn to that area. There’s also a bit of haloing on the horizon but we can argue that is where the light source is coming from so we can accept that. Follow the step-by-step tutorial below to see how to control this halo using photoshop.
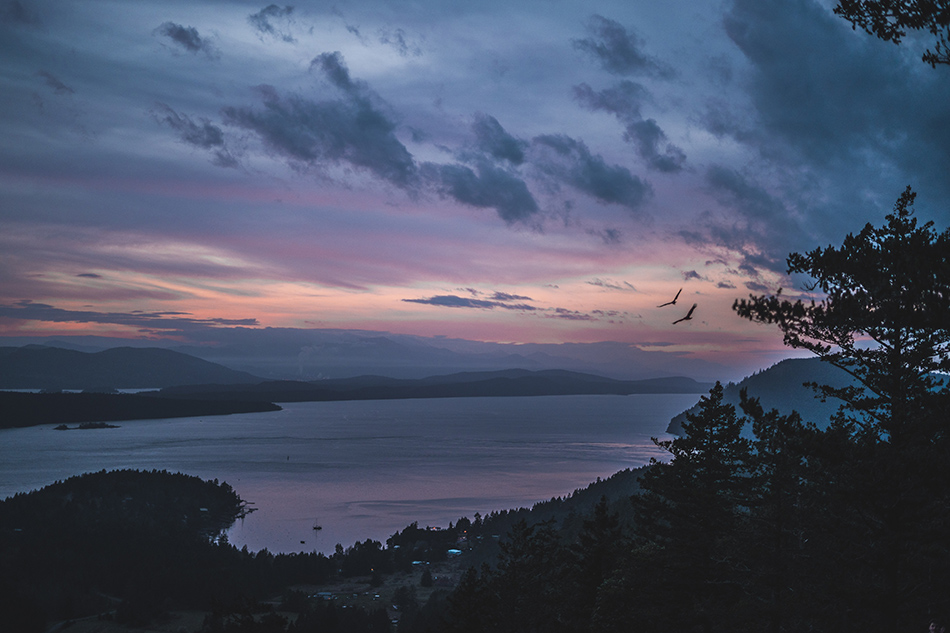
Photo by Jasper Garratt on Unsplash
-Tutorial Continued Below-
Enter your email below and join our community of more than 100,000 photographers who receive regular tutorials and have also

Subscribed to our newsletter,
Downloaded our FREE Photoshop Course
Got our FREE Easy Panel for Photoshop
And have our FREE Essential Guide To Luminosity Masks E-Book
How To Fix a Strong Halo in Photoshop
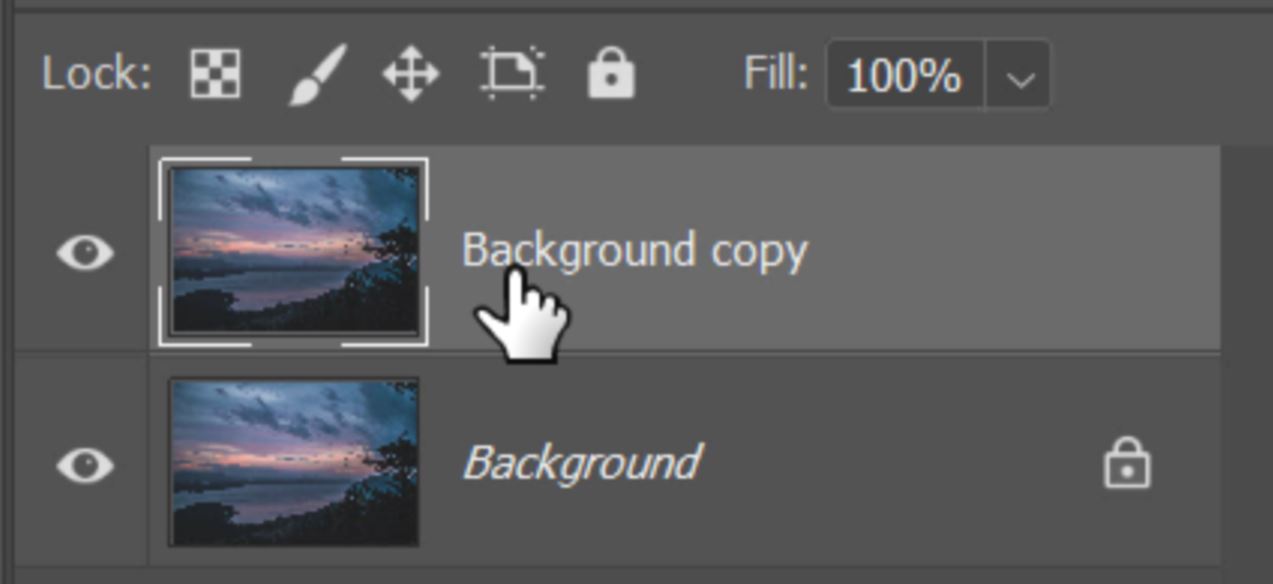
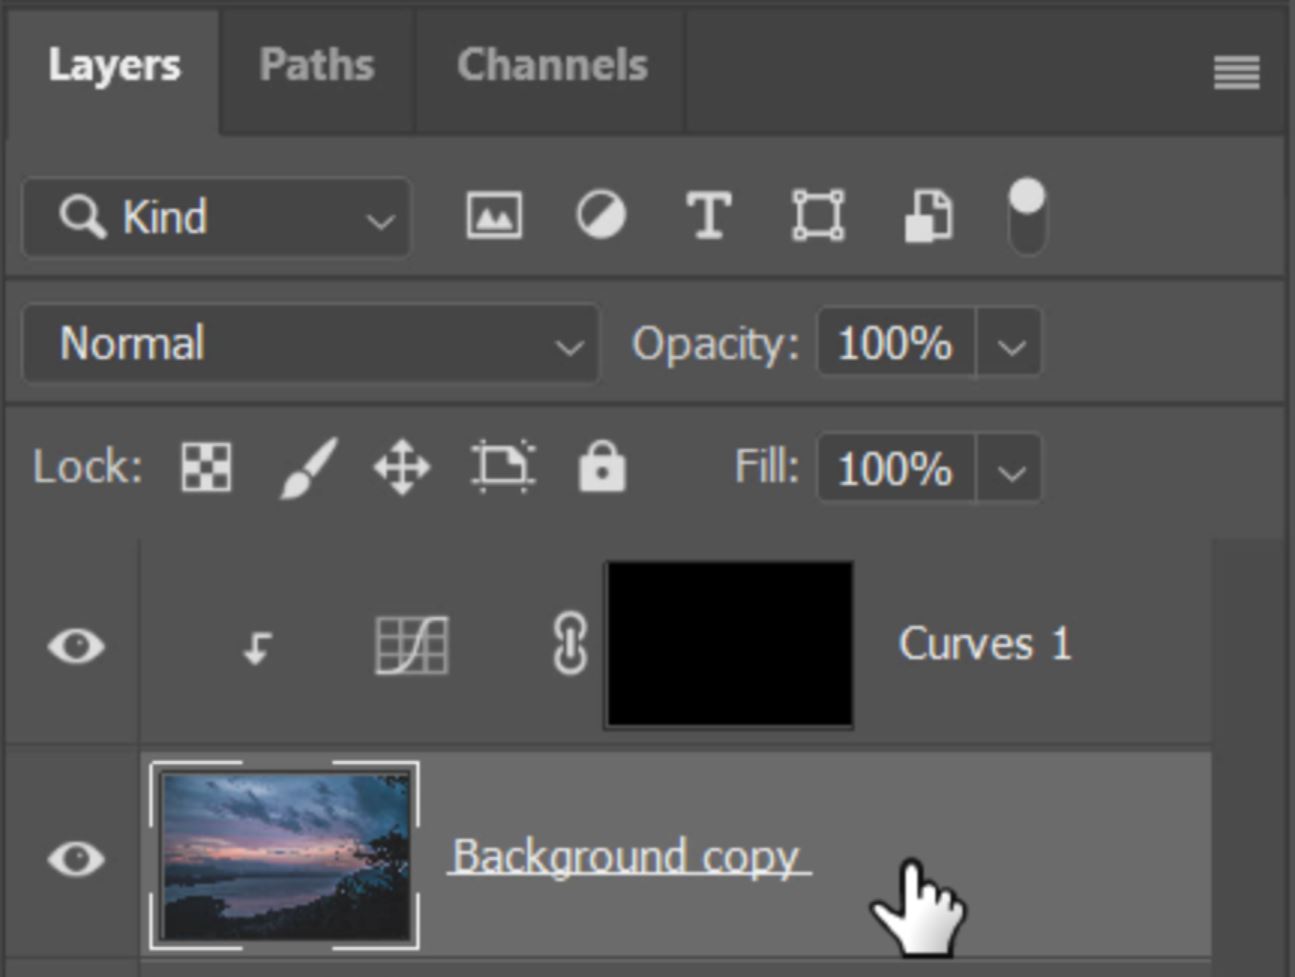
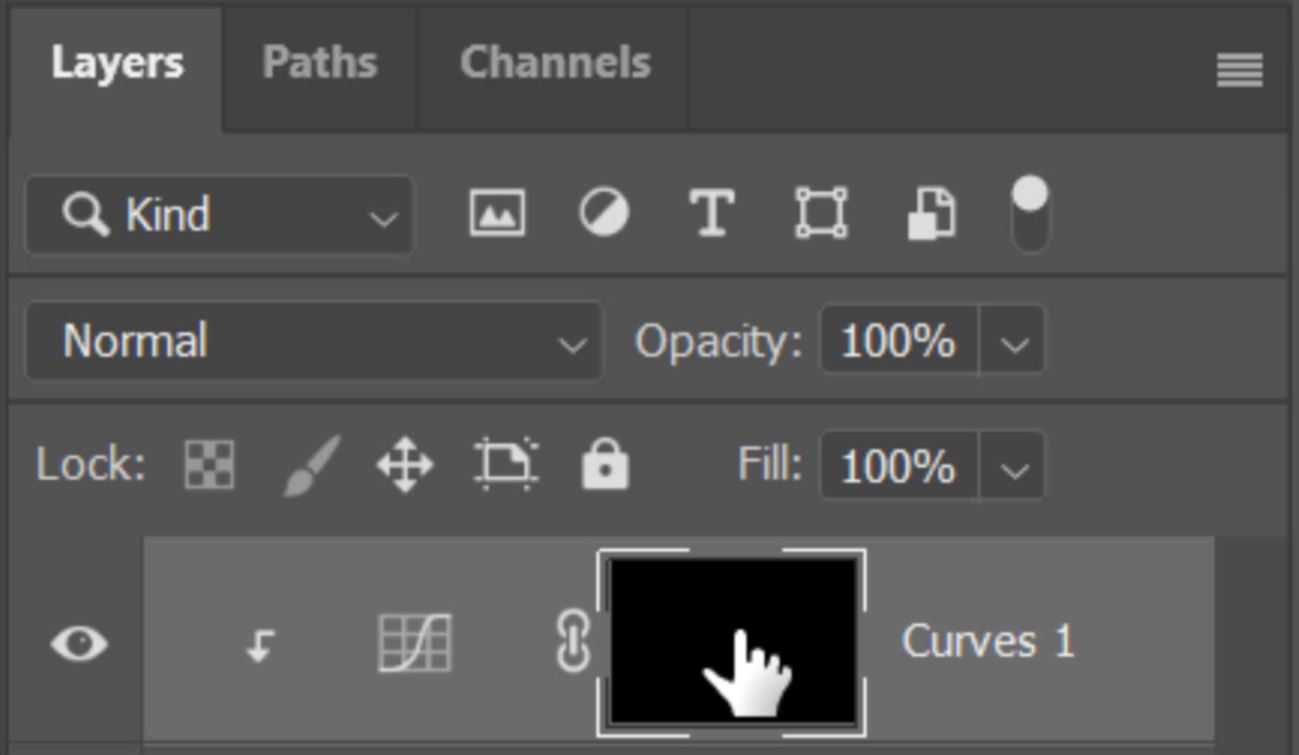
1. We use the original image as a base to work from. To ensure we work non-destructively we copy the image layer by dragging it down to the [+] icon at the bottom of the layers panel and releasing the mouse button.

2. This creates an exact copy of the original layer and places a copied layer above the original.
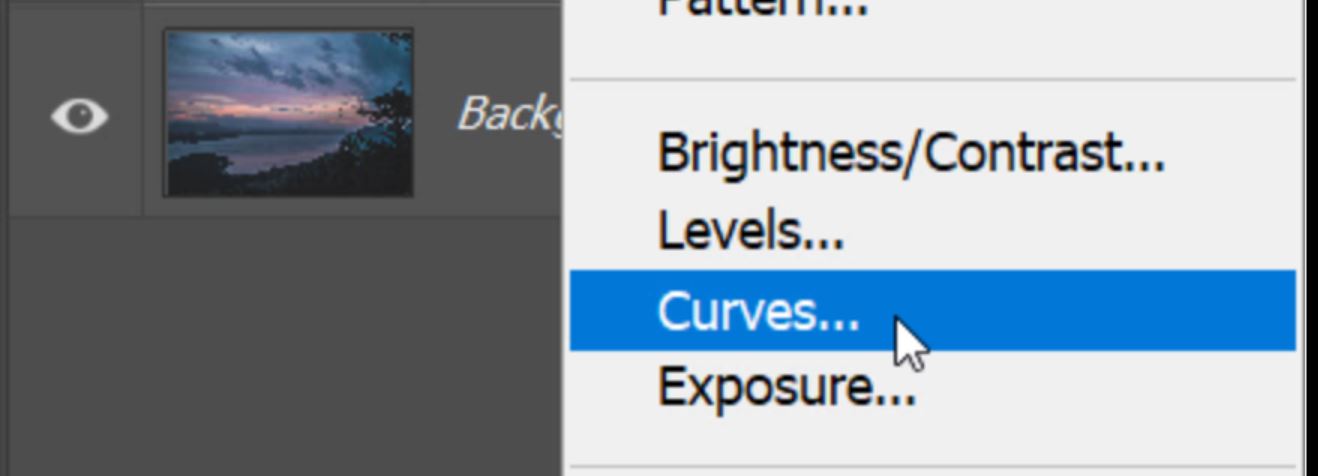
3. Now we need to left-click on the Add New Adjustment Layer icon.

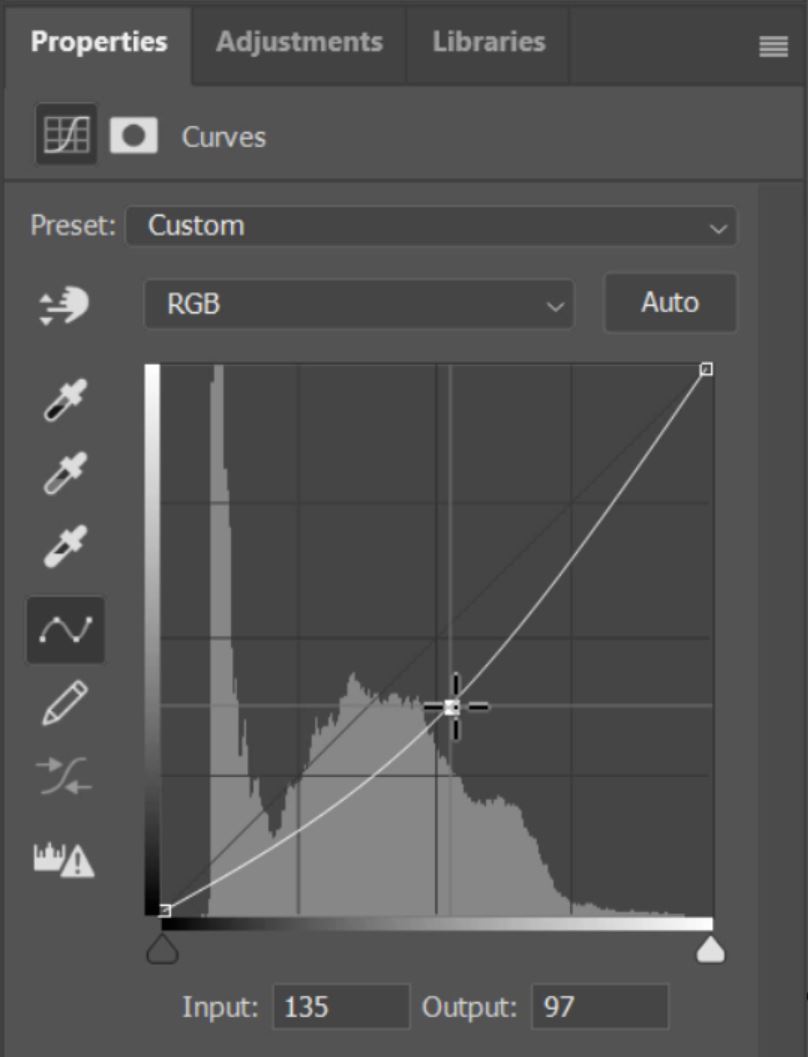
4. The adjustment that we’re going to use is a Curves Adjustment.
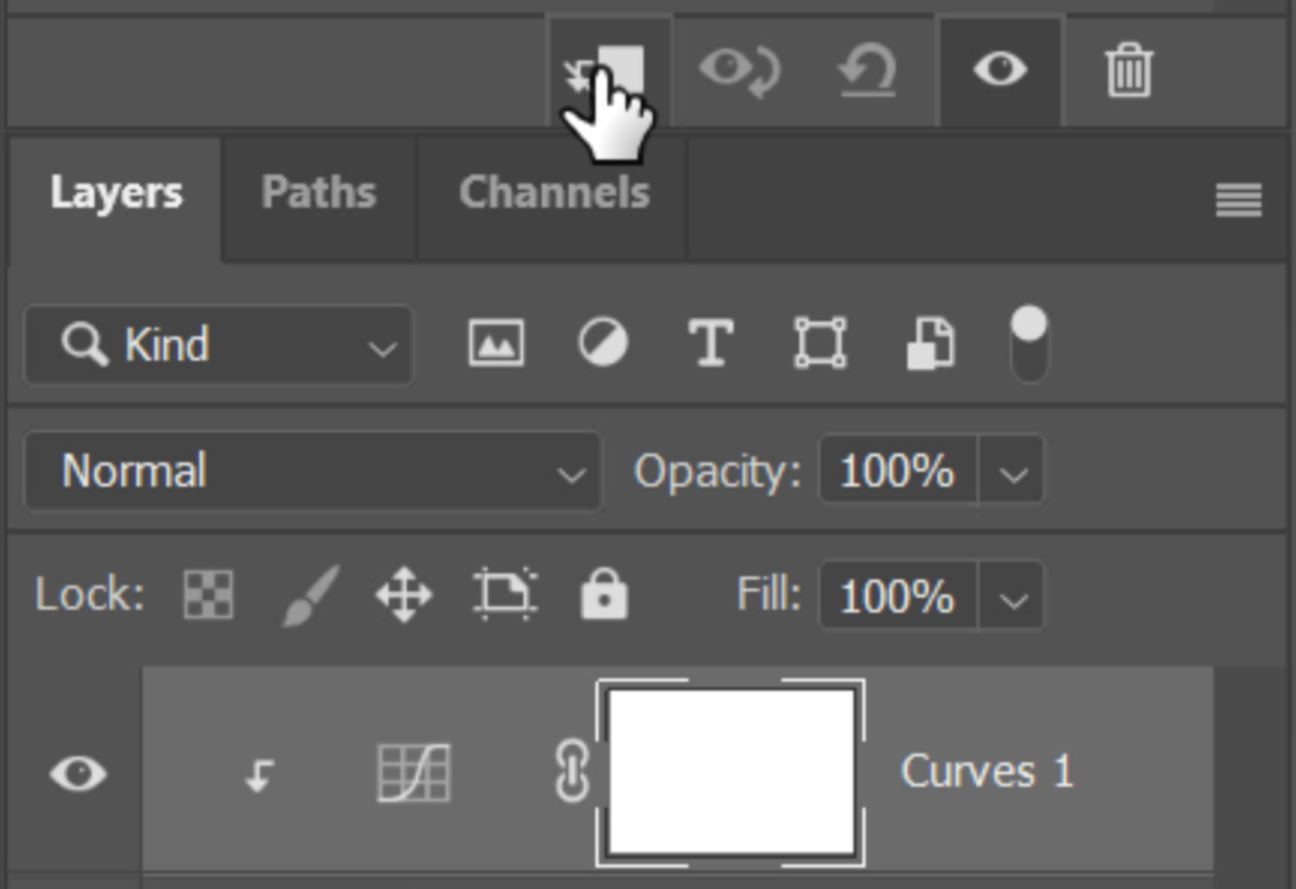
5. Before adjusting the curve, add a clipping mask so the adjustment is only made to the image layer directly below it and not any of the layers beyond that.
6. Now click and drag the centre of the curve down to darken the mid-tones. We’re trying to match the bright tones of the halo to the normal tones beyond the halo.
7. Hide the Curves layer by selecting the layer mask and pressing Ctrl+I (PC) or Cmd+I (mac) to invert the layer mask (from white to black) and hide all the adjustments made.

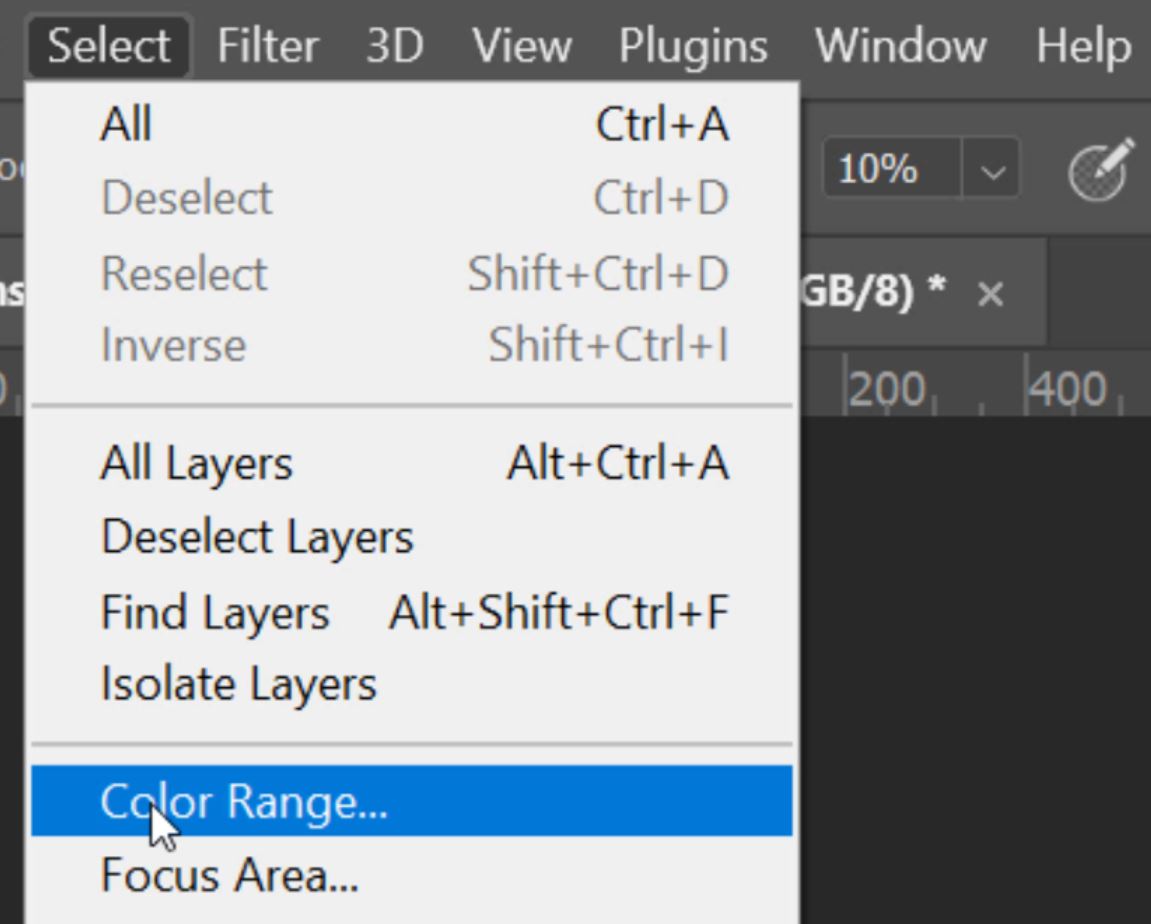
8. Left-click on an image layer to select it.
9. To create a restricted mask, first go to the Select menu and choose Color Range.
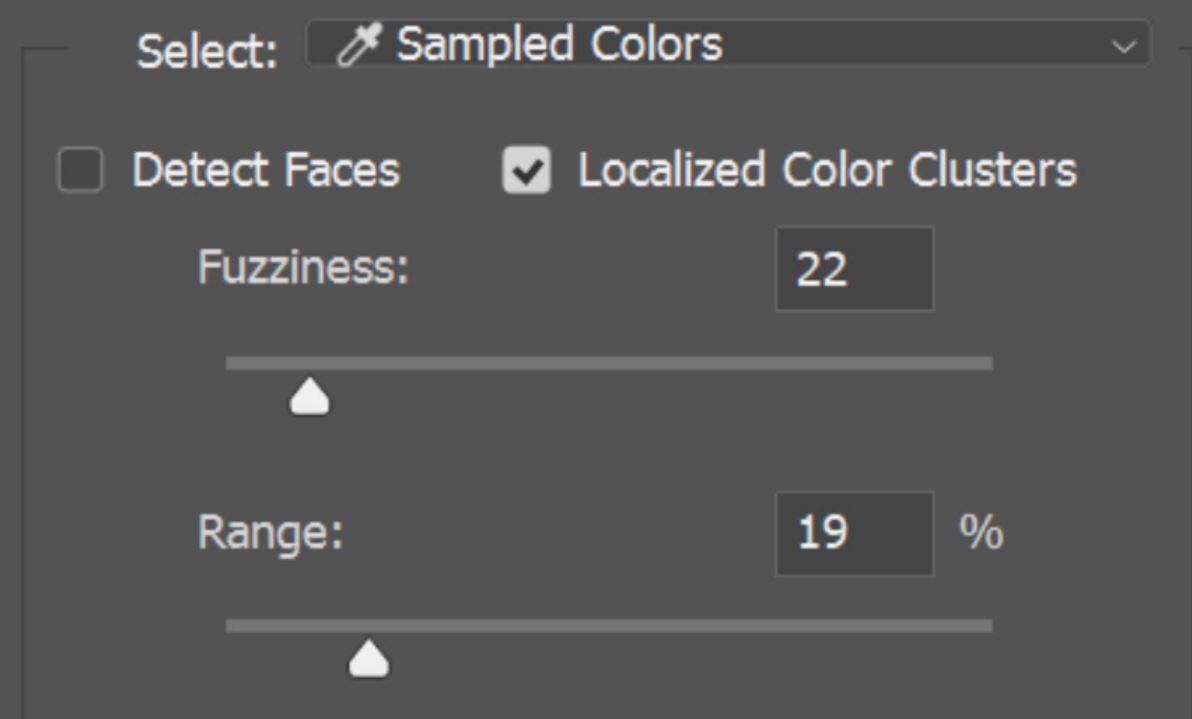
10. To make the mask localised tick the box next to Localize Color Clusters. Also because we’re going to mask out the tree which is predominantly black, we can have a low Fuzziness and Range setting.
11. Select the eyedropper tool to select the primary colour/region that you want to mask.
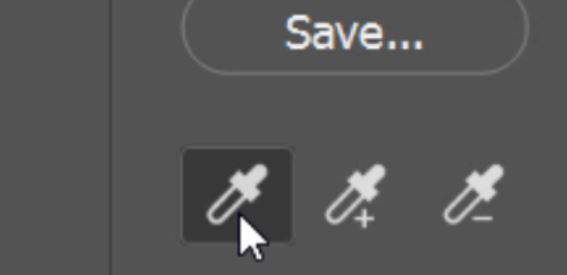
12. Click in the area where you want to make a selection from.
13. Now select the eyedropper tool with the + symbol next to it.
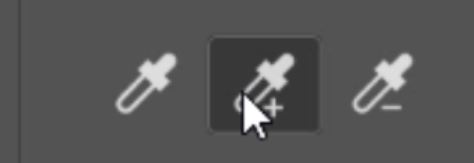
14. Make several more selections in the same area to ensure there is a complex and localised selection.
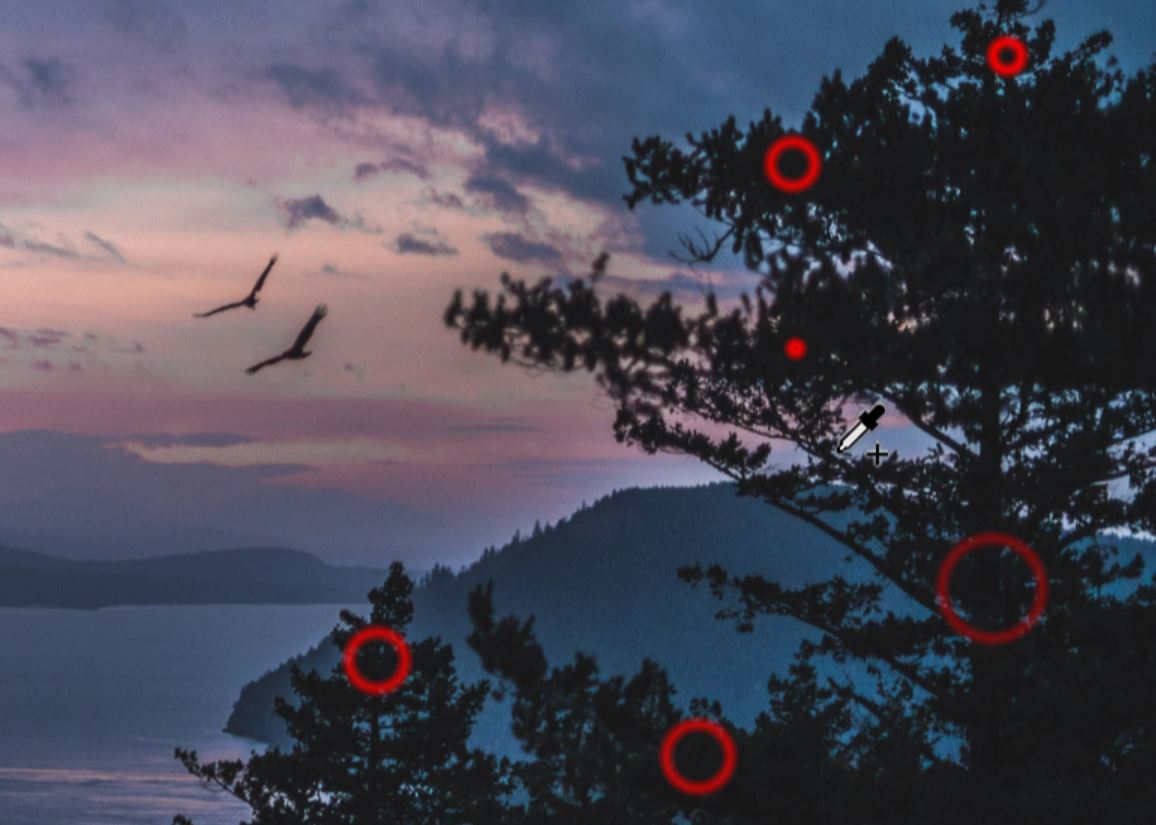
15. Once you have a good selection which is displayed in the Color Range box, click OK to select the defined color range.

16. The active selection will now be displayed by marching ants.
17. Hide the marching ants by pressing Ctrl+H (PC) or Cmd+H (Mac) and select the mask on the Curves layer.
18. We need to now inverse the selection so that the tree becomes protected and the halo will become selected. We do this by going to the Select menu and choosing Inverse.

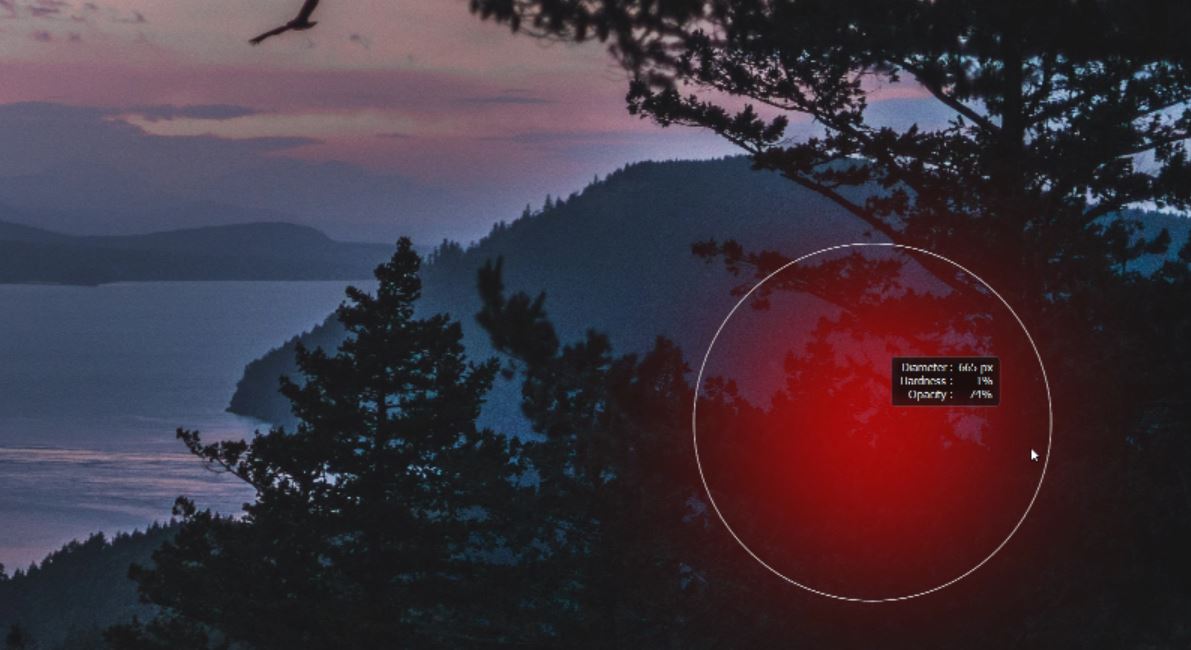
19. Select the Brush Tool (B) with a white foreground. Adjust the Brush Size and Opacity.

20. Paint over the area where you want to remove the Halo from.
21. That does a good job of Halo reduction. But, it’s not completely removed. So to achieve halo removal, we add another adjustment layer, this time we used a Hue/Saturation adjustment layer.
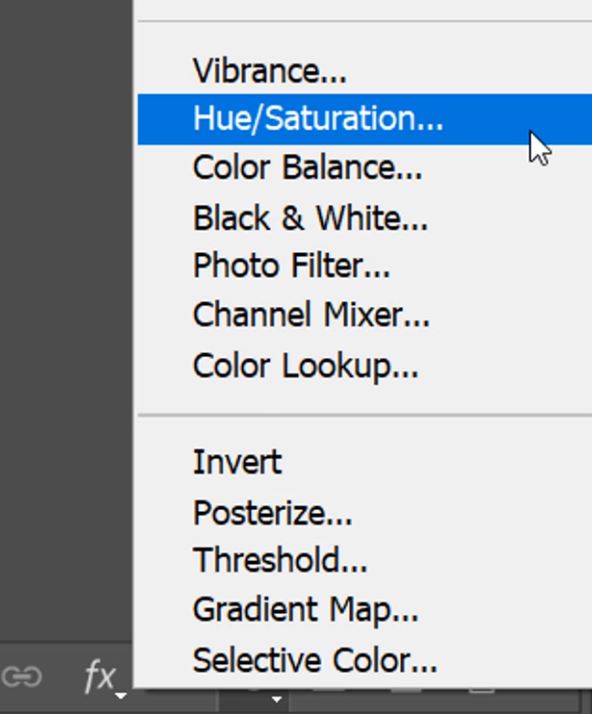
22. Just like we did in step 5, add a clipping mask to the new Hue/Saturation adjustment layer.
23. Hold down the Alt/Option key and drag the layer mask from the Curves layer to the Hue/Saturation layer to replace the layer mask that was originally played on that layer with the mask that you have made specifically to target the halo.
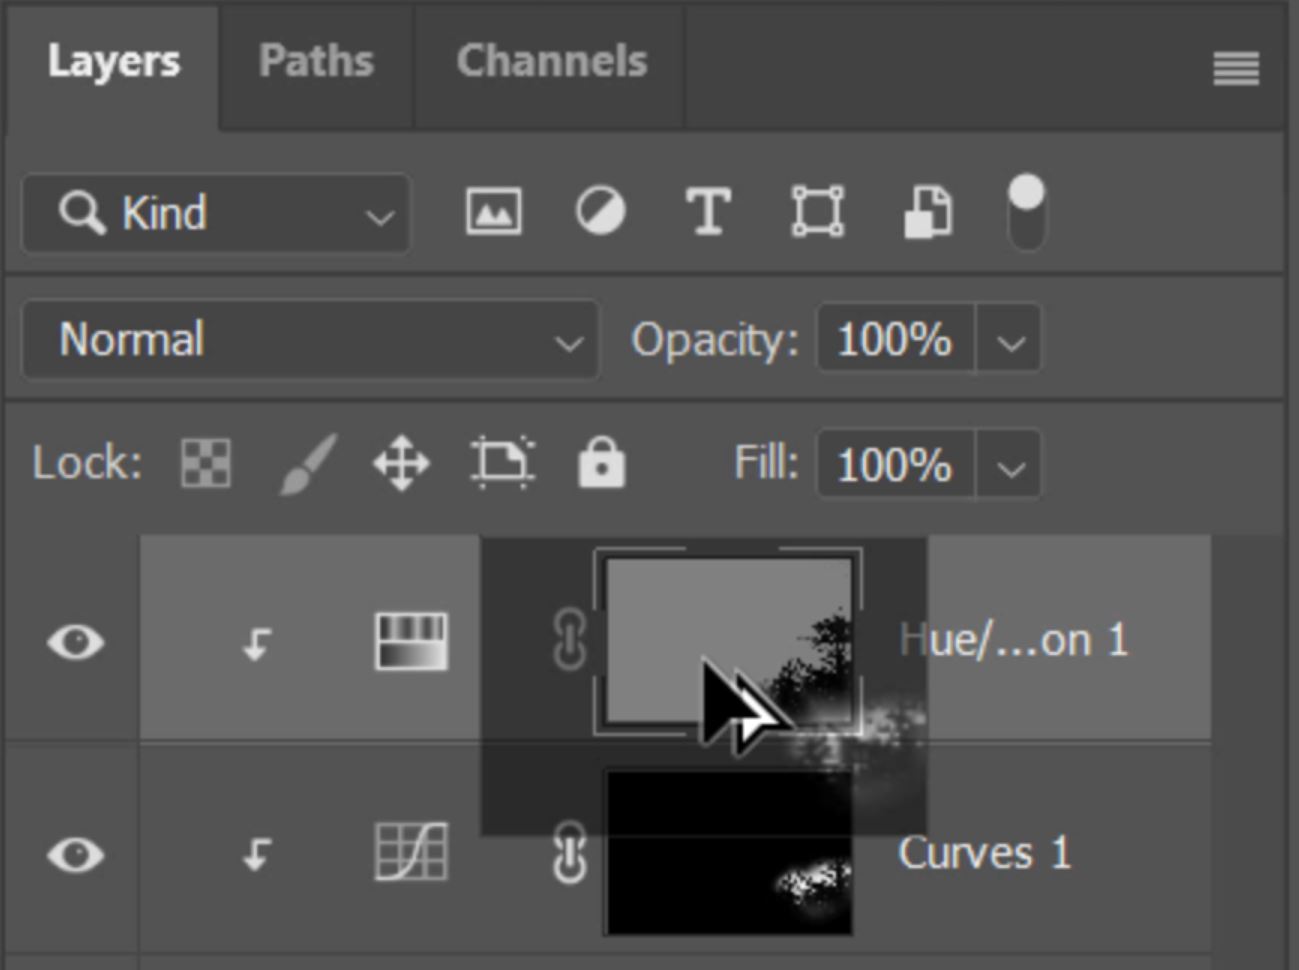
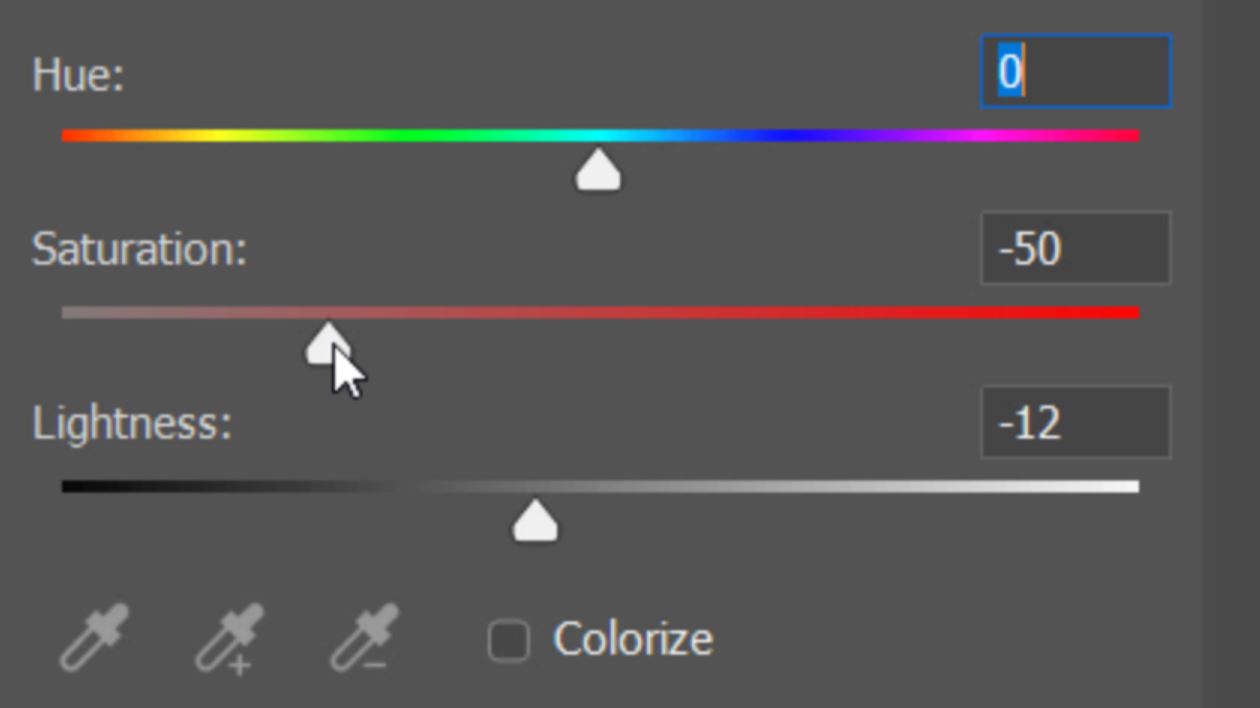
24. Reduce the Saturation and the Brightness of the Hue and Saturation layer to remove the Halo completely.
Take a look at the before and after images.
[compare]
[/compare]
I jostled with the idea to remove the Halo on the horizon line, and I’m still undecided about it now. I might go back and using the technique above that halo could also easily be removed as well.