How to Make A Composite To Add Clouds in Photoshop
Making composites are a sure-fire way for enhancing photos. The purists among us photographers will be disgusted at the very notion. Personally I prefer not to make a composite and avoid the necessity to do so. However, I’m not appalled at the thought of having to combine multiple mediocre images in order to make one good image. Composites can be complex, or very simple and basic. In this tutorial, we show you How to Make A Composite To Add Clouds in Photoshop. We’ve taken two images and combined elements from both which compliment each other, just to bring a little bit more to the scene.

If you wish to experiment with this, I would really appreciate it if you included my name (Duke McIntyre) and www.shutterevolve.com when you publish your image. If you post your published image on our Facebook page I’d be happy to check it out.
Photography Composites
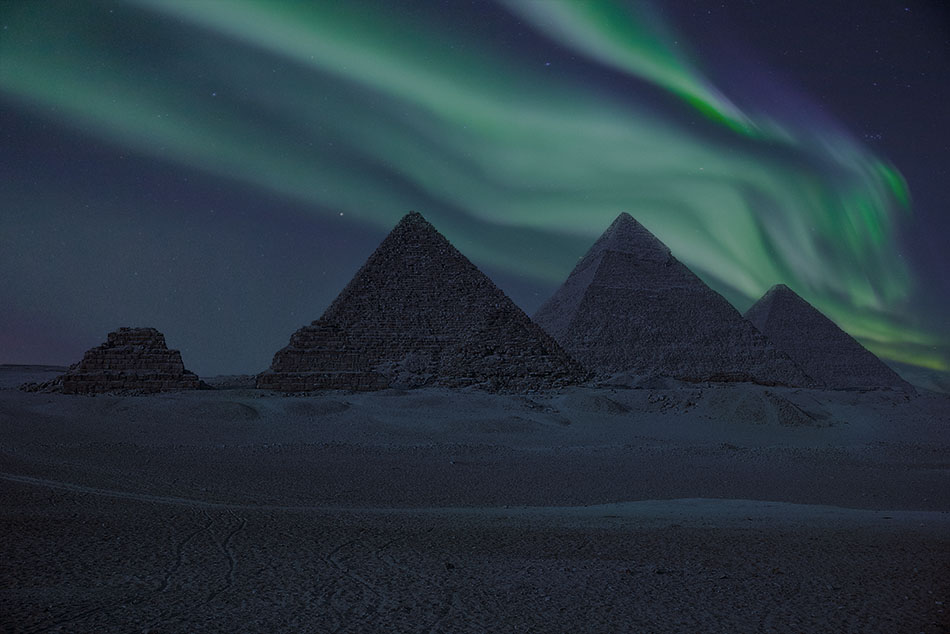
Composites are constructed by combining elements from multiple photos into one. This is not the same as Exposure Blending or Focus Stacking, where images were taken at the same time and place with differences such as focal length or EV values. Composites are created from completely different images taken at different times and in different locations. This in turn creates a scene that has never actually taken place in real life. As an extreme example, it would be like applying the northern lights to the great pyramids. Although it’s not “impossible” to see the northern lights from Egypt it’s very unlike especially with the volume of light polution these days.
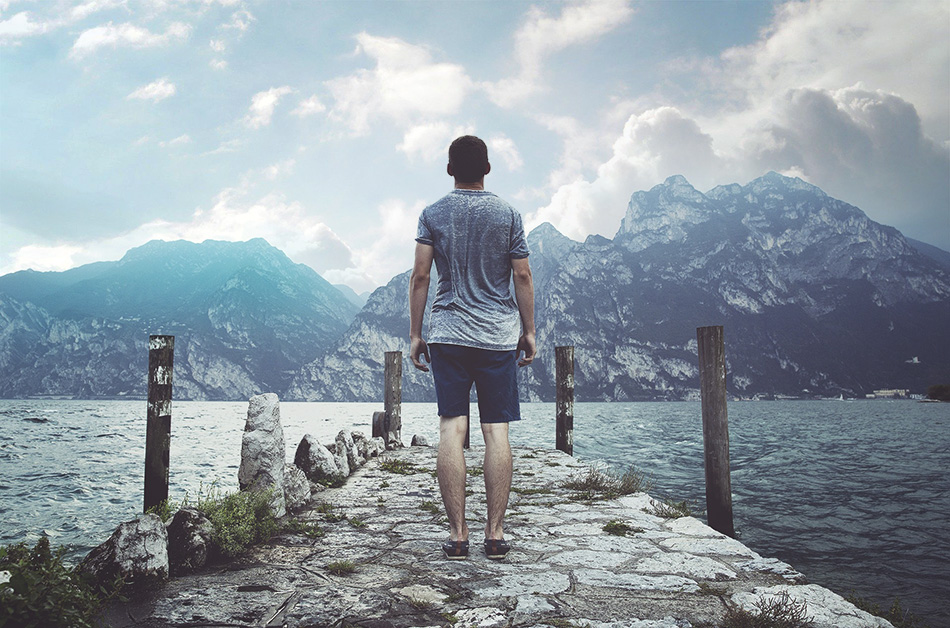
There are some incredible composite artists out there whose work take on a surreal style. Although their works are brilliant and fascinating, it isn’t what we landscape photographers look to replicate. We much prefer subtlety, and for our images to look like they belong in this realm of normality. Such as in this tutorial. We have taken a mountain scene with a flat sky and simply added some clouds. Because this is the amalgamation of two separate images from different times and places, we can categorically class this as a composite. The combination of the two has created a scene that without a doubt could have occurred naturally. Therefore, I believe for such cases, it is morally acceptable to create subtle composites and still be able to sleep well at night.
-Tutorial Continued Below-
Enter your email below and join our community of more than 100,000 photographers who receive regular tutorials and have also

Subscribed to our newsletter,
Downloaded our FREE Photoshop Course
Got our FREE Easy Panel for Photoshop
And have our FREE Essential Guide To Luminosity Masks E-Book
How to Make A Composite To Add Clouds in Photoshop
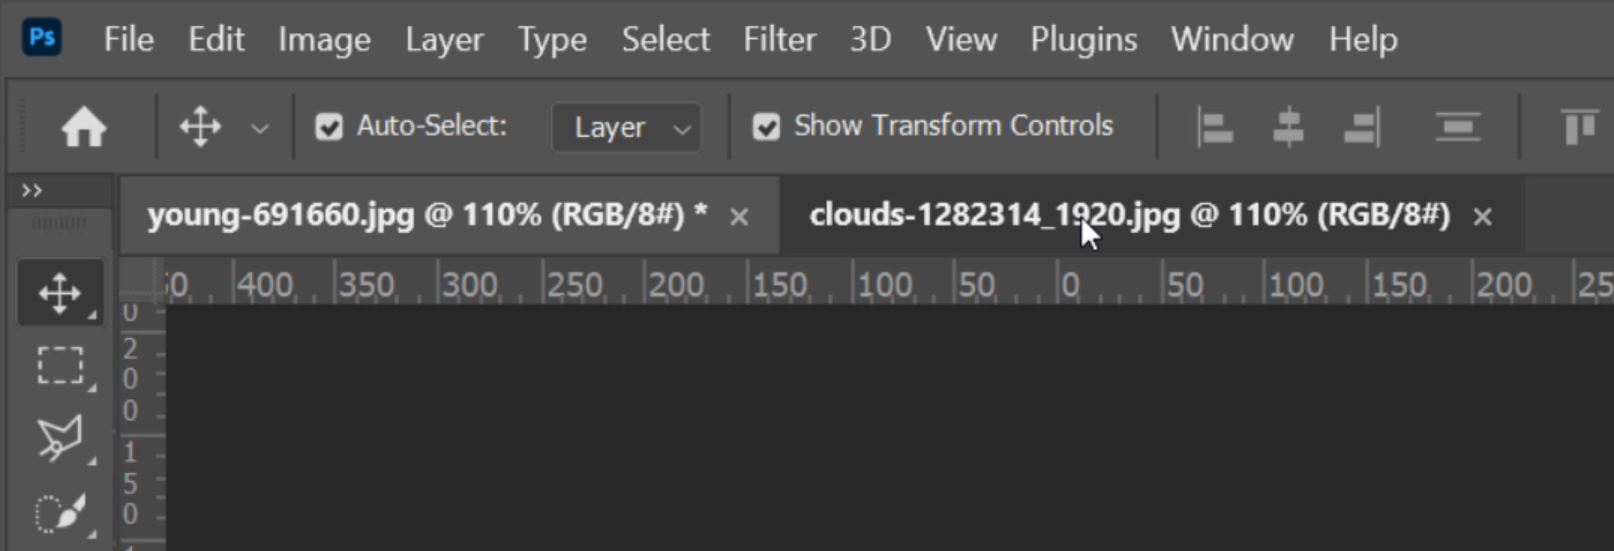
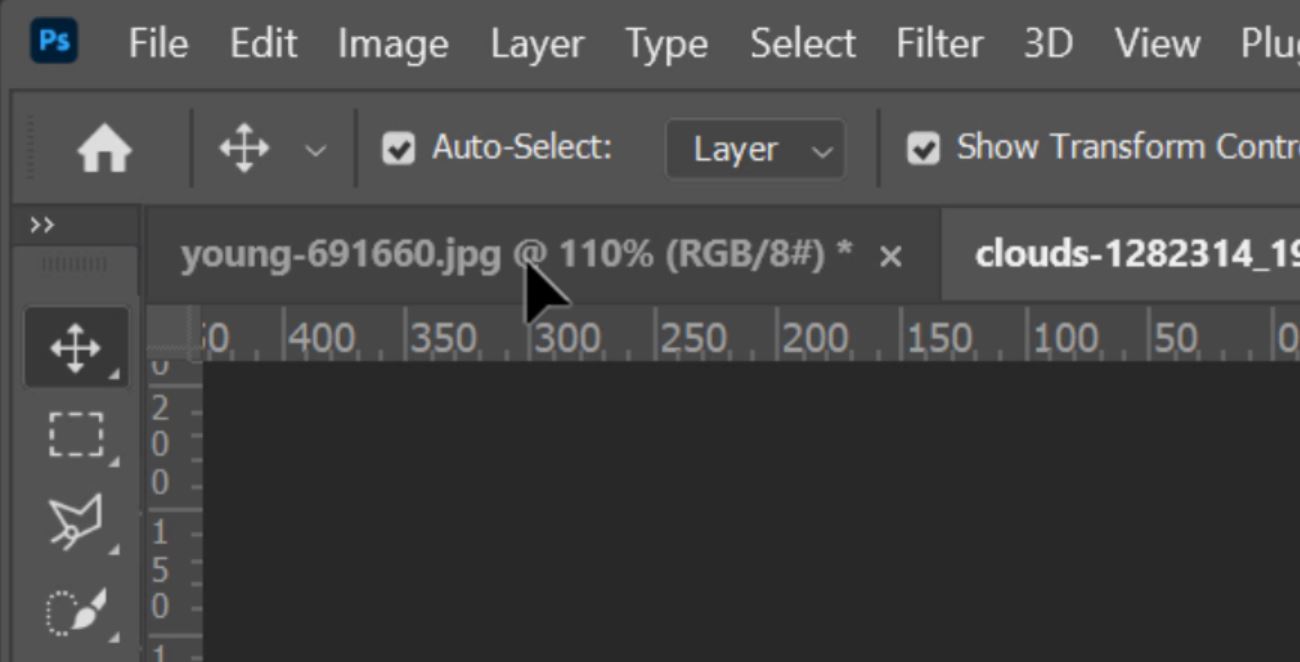
1. As explained earlier, we have multiple images open in Photoshop from which we make our composite. The “Young” tab is our primary image. Click on the other image tab (“Cloud”) to go to the image(s) that you want to incorporate.
2. Select the Move Tool.

3. Hold down the left mouse button over the image to drag the image.

4. Drag the image and hover your mouse cursor over the primary image tab. This will then display the primary image.
5. Navigate your cursor over the image, hold down the SHIFT key and release the mouse button. Holding down the shift key will centralize the image layer that you have dragged in.

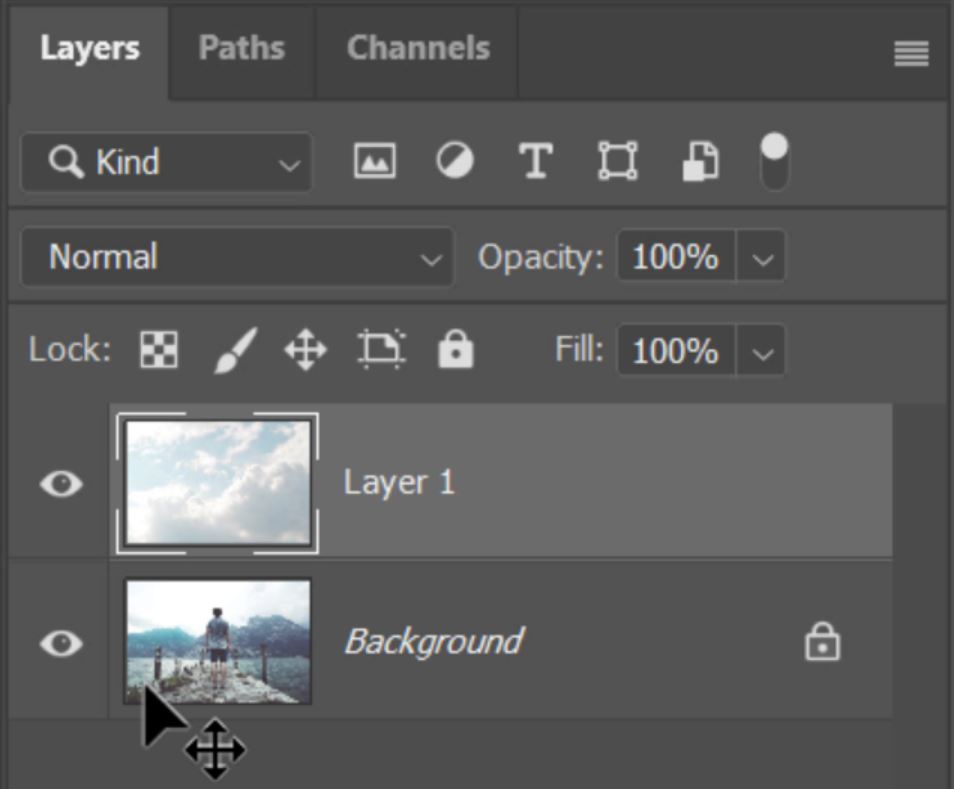
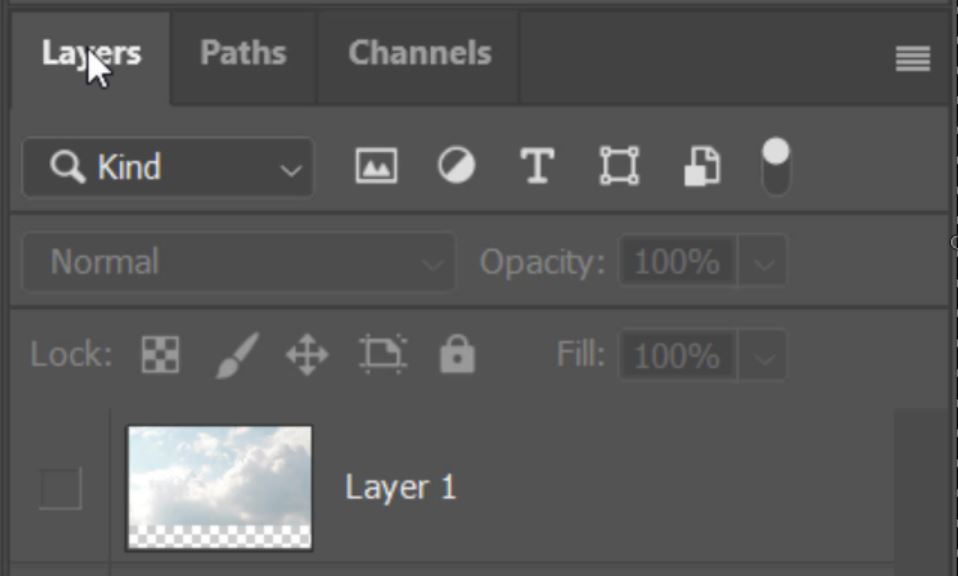
6. Now in the layers panel, you will see the images you want to use to make your composite image.
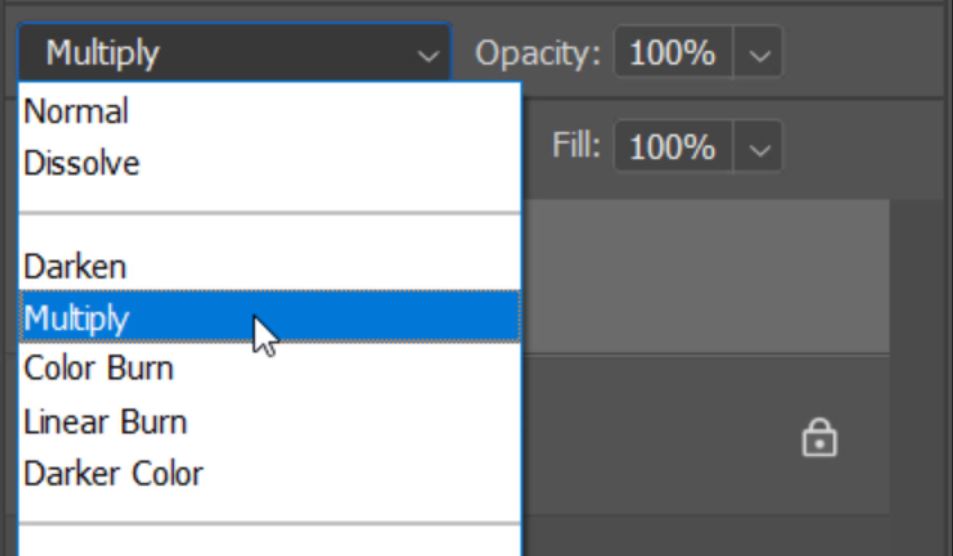
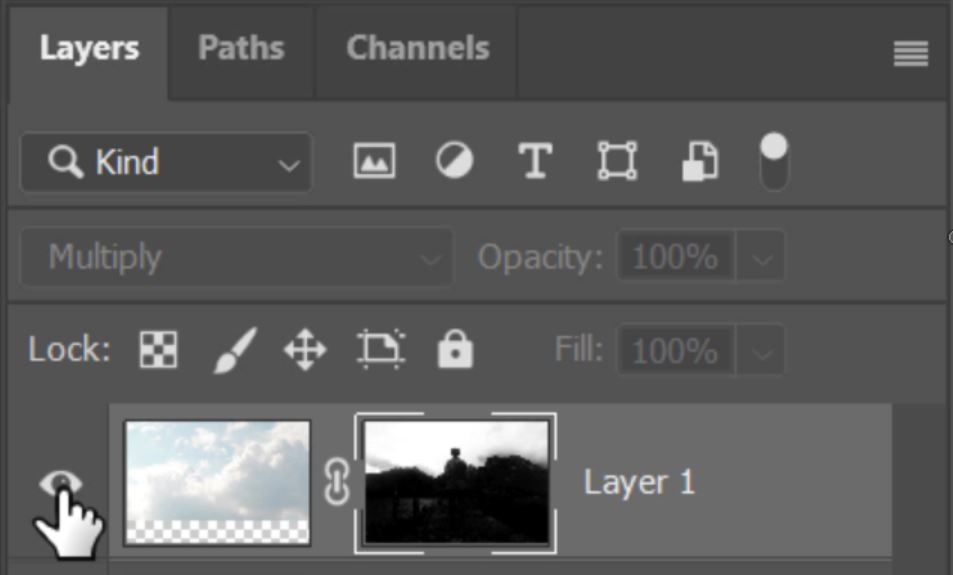
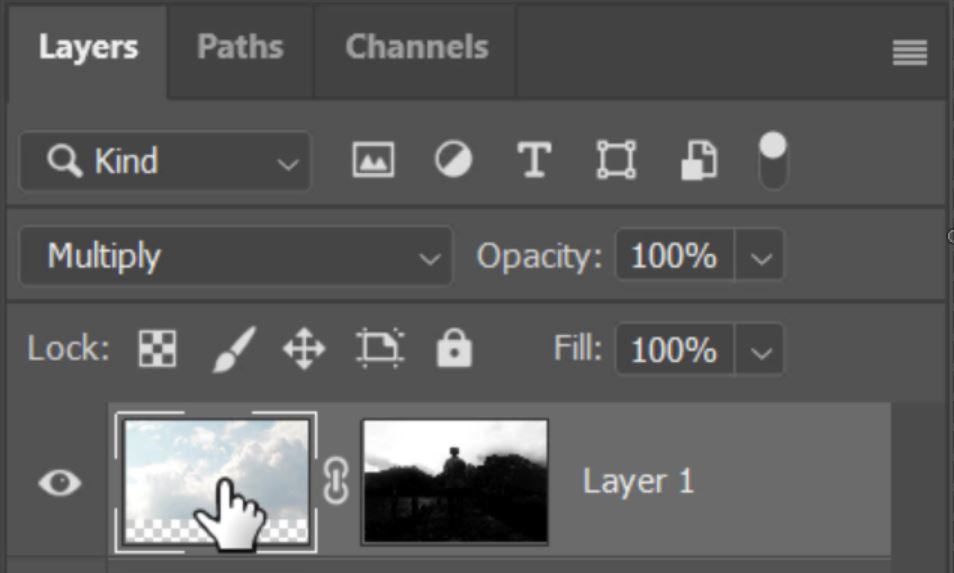
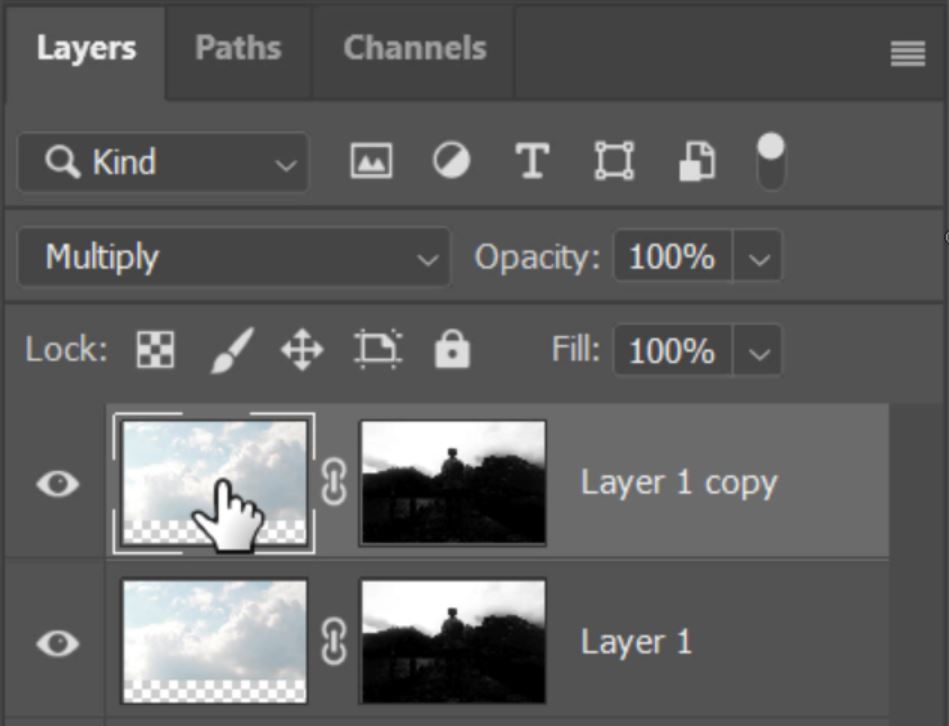
7. Change the Blend mode of the Cloud layer to Multiply.
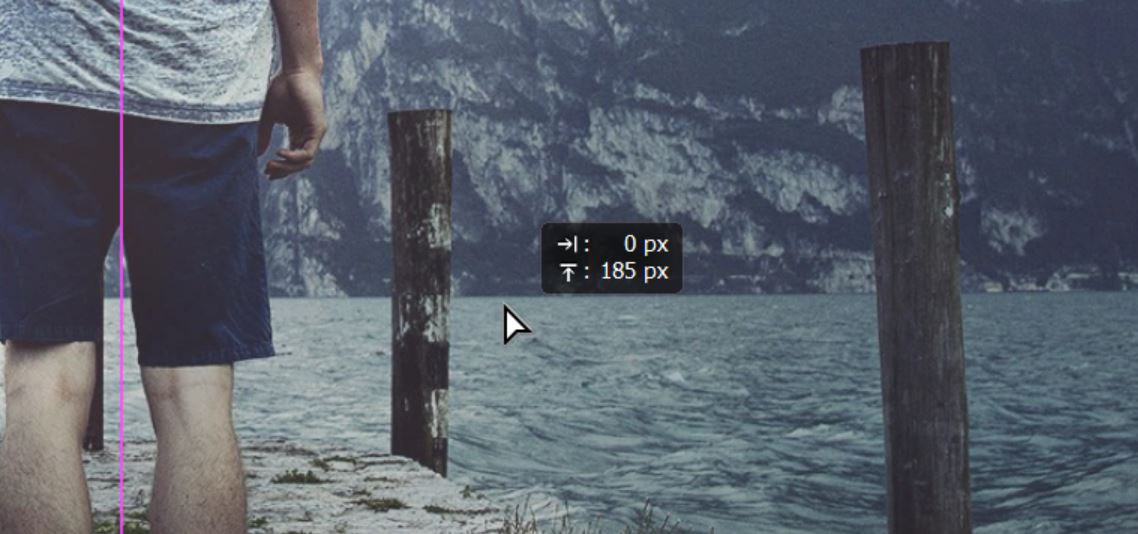
8. You should see the layers overlaid. Left-click and drag the top layer to position it where you want it and release the mouse button to set it in place.
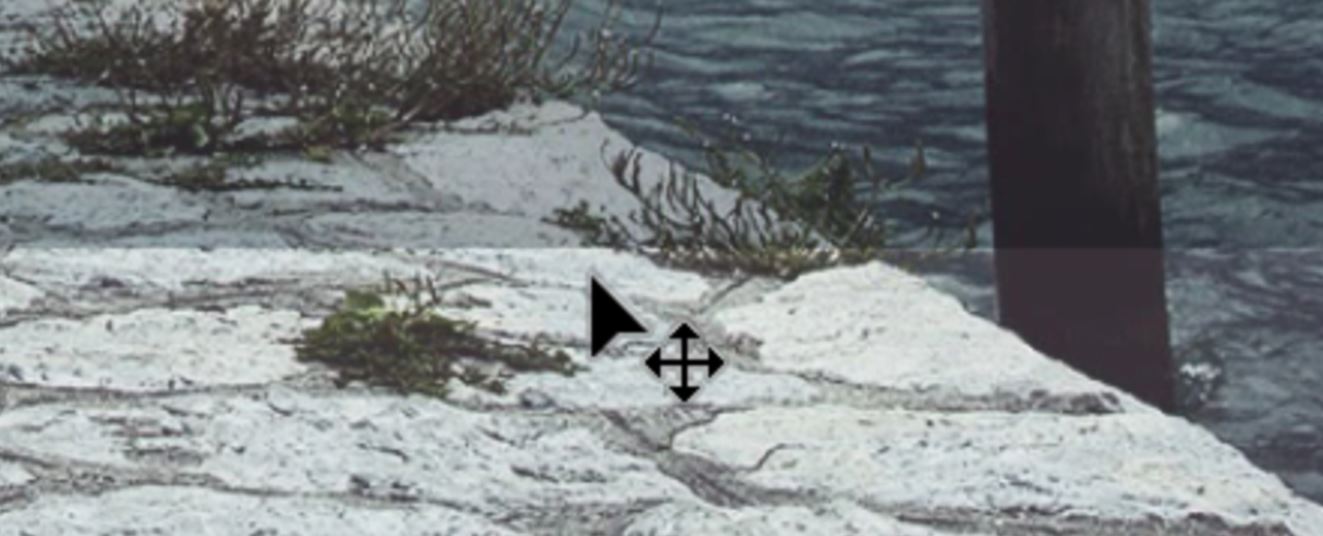
9. Once you have positioned the top layer over the primary images you might see so unwanted artefacts. In this example, we have clouds in front of the mountains and also this horrible line where the top layer has ended. We need to hide/remove these issues.
10. Because the sky and mountains are contrasting we can use the image to create a mask. Hide the top layer.

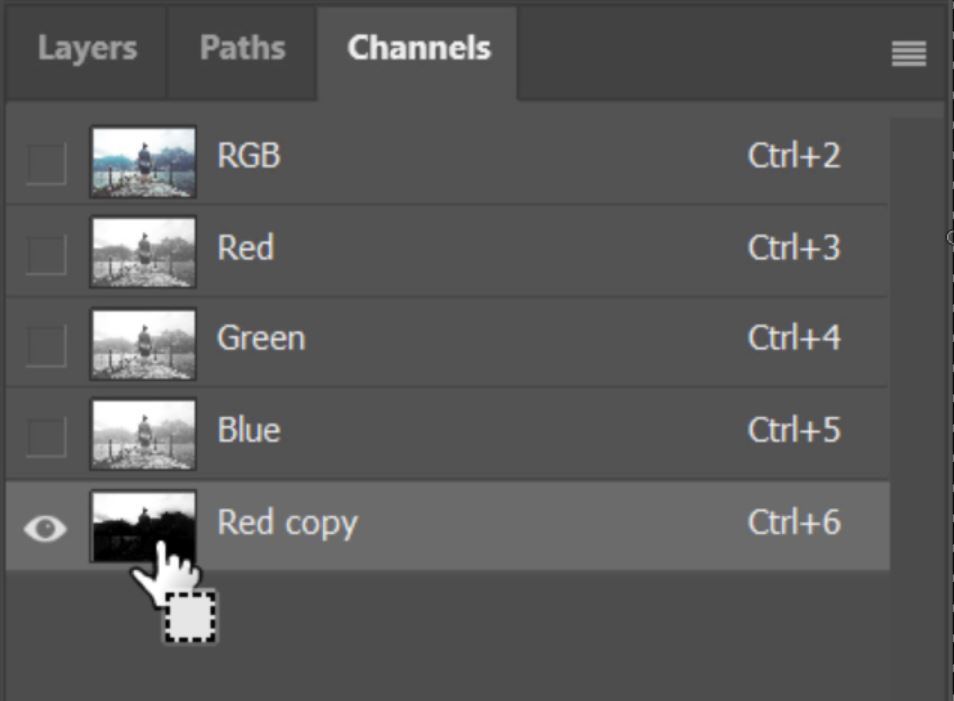
11. Now navigate to the Channels Panel.
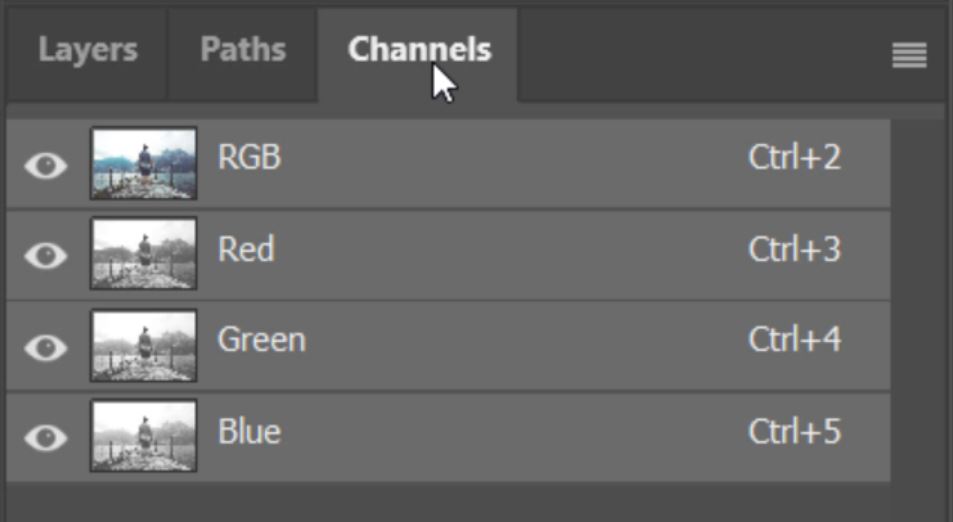
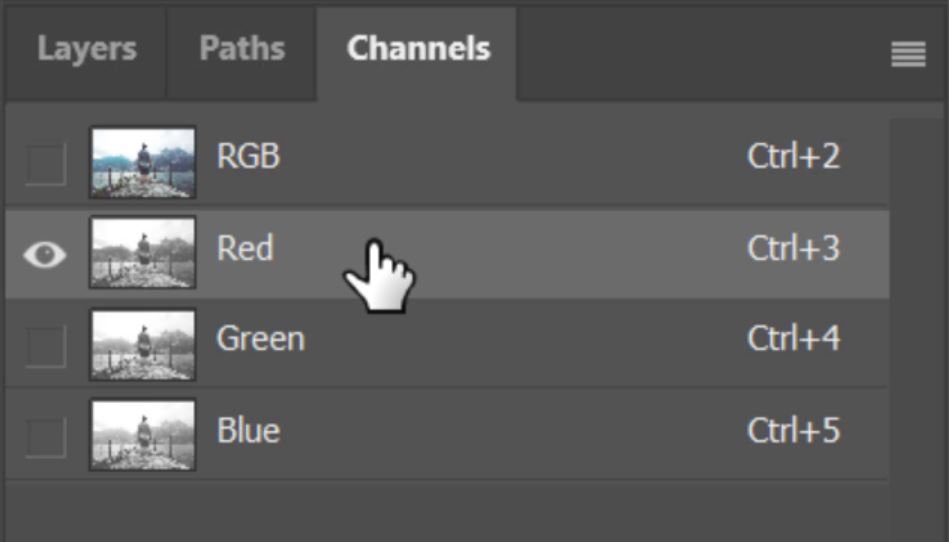
12. Click on the various channels to find the most contrasting. In this case, the Red channel was the best. Left-click and drag on your selected channel.
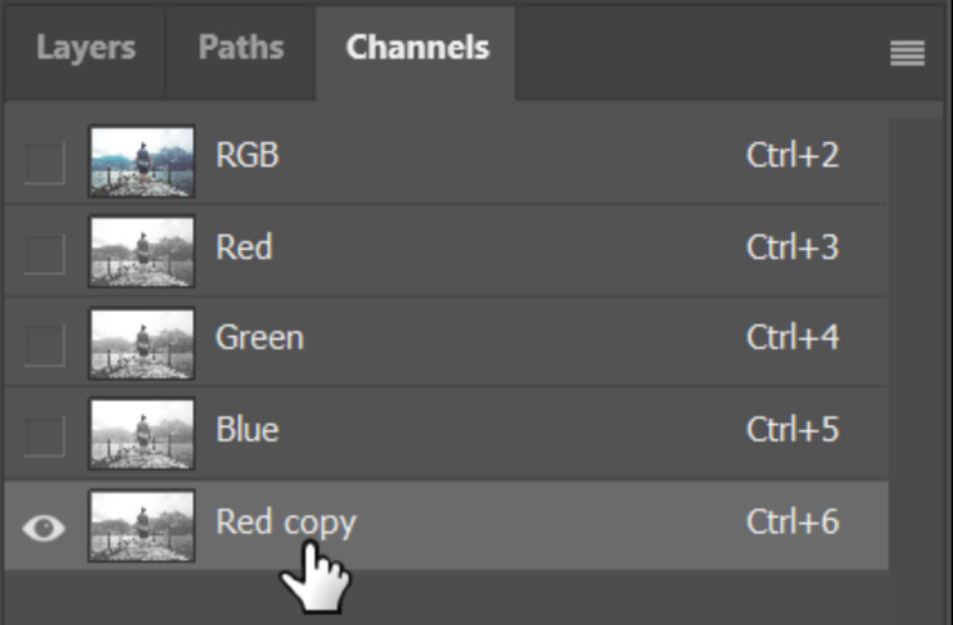
13. Drag it down to the [+] (plus) icon at the bottom of the Channels panel then release the mouse button.

14. This will create a copy of the channel that we will use to build a mask for our composite.
15. Select the Burn Tool.

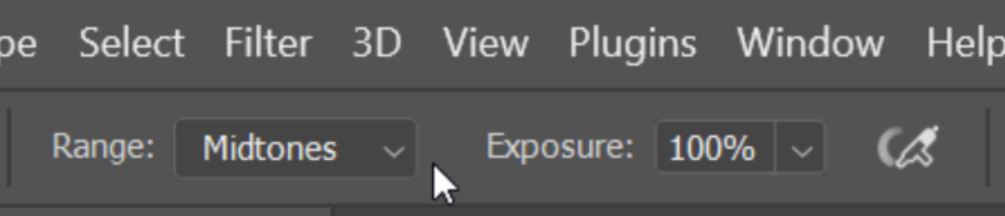
16. Select the Range that you want to Burn (Darken). Choose from Highlights, Midtones, or Shadows. We only need to burn the midtones. You can also adjust the Exposure which softens the strength of burn. We didn’t need to do this for this example, but you might need to.
17. With the Burn tool selected and the setting set start burning the midtones by holding down the left mouse button and brushing over the image.

18. When you have finished making the areas as dark as possible that you want to remove the clouds from hold down the Ctrl (Cmd Mac) key. And left-click on the Channel thumbnail to make an active selection from the copied channel that we have created.
19. Go back to the Layers panel.
20. Select the layer that you want to apply the mask to.

21. Click on the Add a New Layer Mask icon.

22. Now make the layer visible. You will now see that the top layer (clouds) have been masked out of the darker areas.
23. To strengthen the effect select the composite layer.
24. Press Crtl+J (Cmd+J) to copy the layer. If this makes the effect too strong you can always reduce the layer opacity if you need to.
25. The effect wasn’t too much in this example. However, I thought it would be better for the focal point to be slightly brighter, sort of like a vignette. So I just quickly painted over the young mans silhouette in the layer mask with a black brush.

Take a look at the before and after images below where the clouds have been added to create a natural looking composite.