How To Open Multiple Images in Photoshop
Learning how to open multiple images in Photoshop is a necessary requirement for exposure blending. It’s quicker and more convenient to open multiple images at once than to have to open them all individually. This short video will also show you how to open multiple raw files as well as regular image files. You can also follow the step by step instructions below in this tutorial.

Step-By-Step Instructions To Open Multiple Images in Photoshop
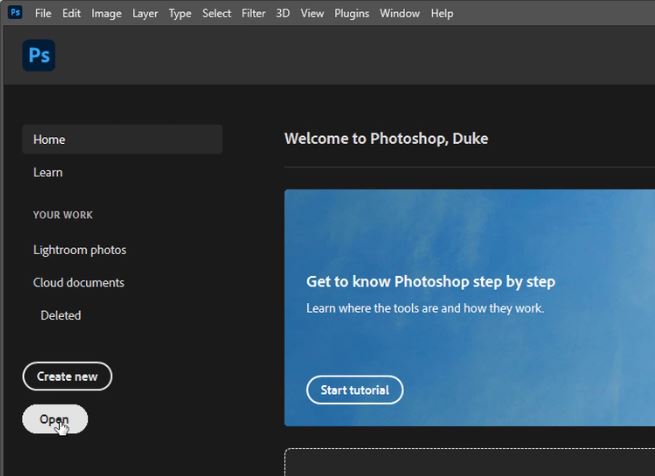
1. When we load Photoshop 22 this is the opening screen. Left-click on the Open button to open an image.
2. Locate the folder where your images are stored and left-click on the first image that you want to open.
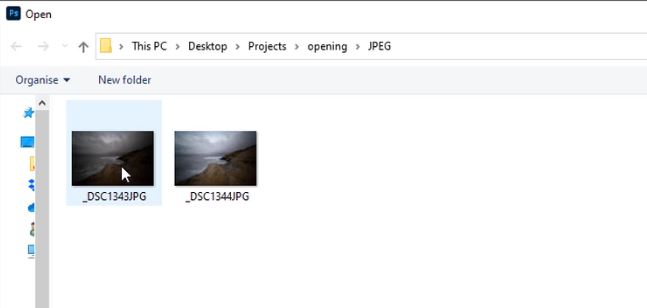
3. Hold down the Ctrl key on a PC or Cmd key on a Mac and left-click on the next image(s) that you want to open.

4. With all of the images that you want to open now selected, click on the Open button.

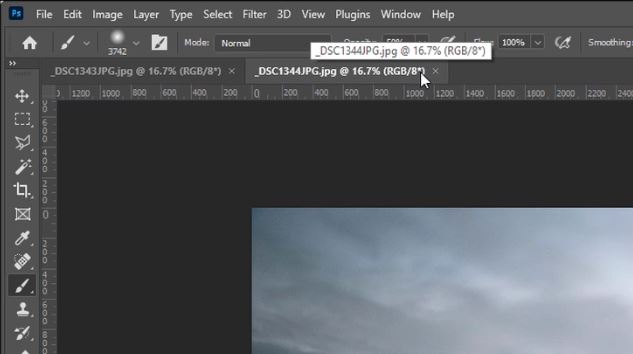
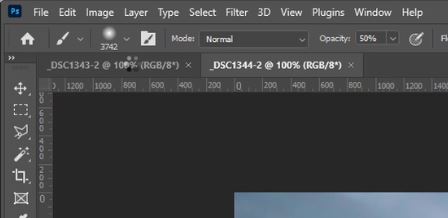
5. Both images will open in Photoshop within their own windows.
– Tutorial continued below –
Enter your email below and join our community of more than 100,000 photographers who receive regular tutorials and have also

Subscribed to our newsletter,
Downloaded our FREE Photoshop Course
Got our FREE Easy Panel for Photoshop
And have our FREE Essential Guide To Luminosity Masks E-Book
How To Open Multiple RAW Files in Photoshop
1. To open multiple RAW files in Photoshop, we must left-click on Open.
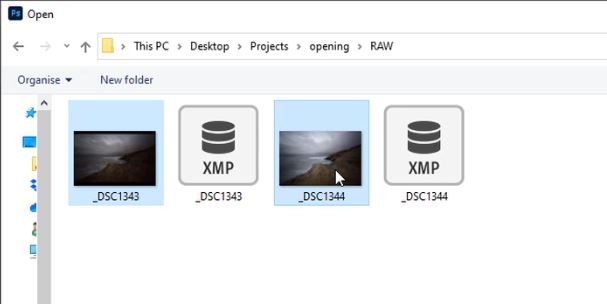
2. Go to the folder location where the RAW files are stored. Then, Left-click on the first image you want to open.
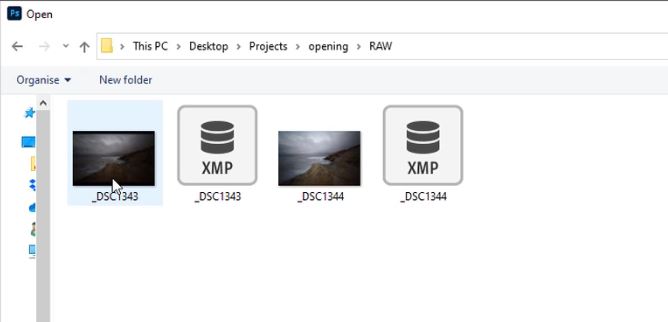
3. Hold down the Ctrl or Cmd key and click on the other image(s) you want to open.
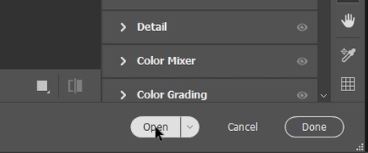
5. Click open to open all the selected RAW files.
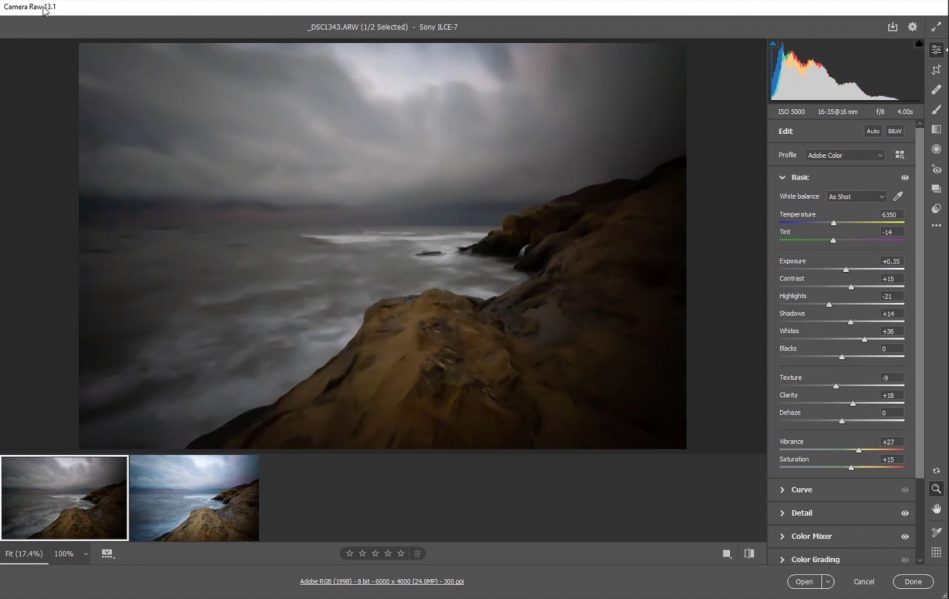
6. After you click Open, Abode Camera Raw will load up with your RAW files.
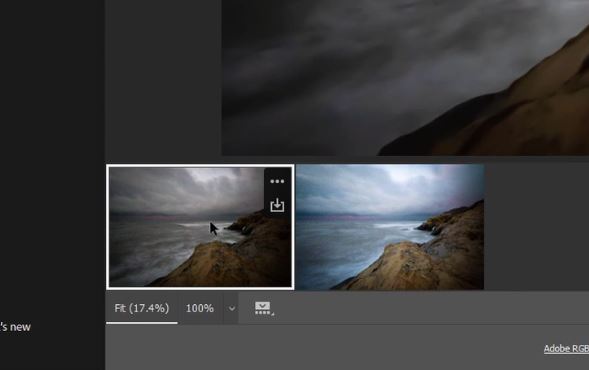
7. To open multiple Raw files in Photoshop, Left-click on the first image.
8. Hold down the SHIFT key and click on the last image.
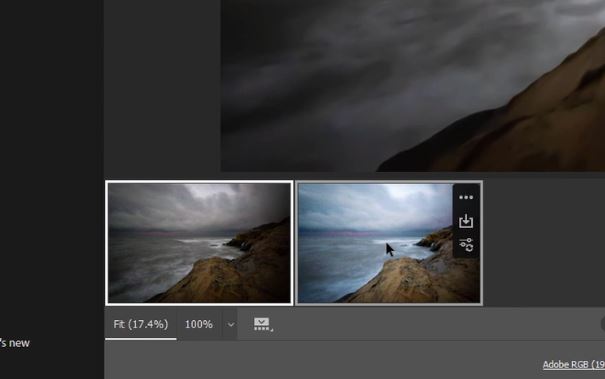
9. This will select all of the exposures. Now click on the open button to open multiple exposures in Photoshop.
10. It will take a little longer to open Raw files but, eventually, they will open up in separate windows.
Now that you have opened multiple exposures Photoshop you can begin to edit your images. To get all of the images into one window in layers, all you need to do is simply press the Stack button in Raya Pro, then the Align button will align all of the layers for you. With all the layers now stacked and aligned, you can start exposure blending. If you missed our tutorial on How To Layer Images In Photoshop you can find it here on YouTube.
Thank you for reading this article onHow To Open Multiple Images in Photoshop, be sure to sign up for our newsletter for more tutorials and great offers.

Enter your email below and join our community of more than 100,000 photographers who have also
Subscribed to our newsletter.
Downloaded our FREE Photoshop Course.
Got our FREE Easy Panel for Photoshop.
And, have our FREE Essential Guide To Luminosity Masks E-Book.
FREE Photoshop Course

The Art Of Photography

Raya Pro for Photoshop
