
How To Position a Lens Flare in Photoshop
Lens flare is something that divides a lot of photographers. Some photographer will stop at nothing to avoid or remove lens flare, while others embrace it. Sometimes it’s easy to remove lens flare, other times it’s very difficult if not impossible to remove. Then there the times when you think an image could do with a bit more flare. Fortunately, photoshop has a Lens-Flare filter where we can add a lens-flare to our image. The tricky bit is positioning the lens flare where you want it. In this tutorial, we’ll show you how to position a lens flare in photoshop with pinpoint accuracy.

How To Position a Lens Flare in Photoshop
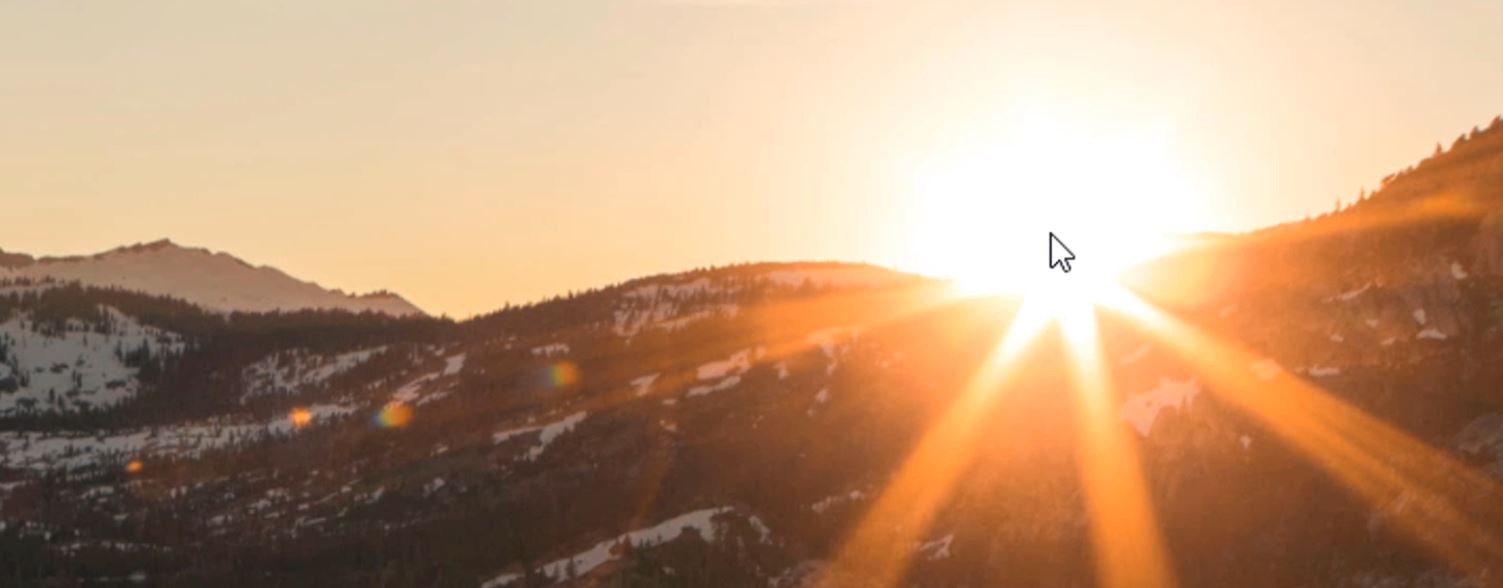
1. First, determine where the light is coming from. It’s pretty easy in this image as the light source is so obviously the Sun.
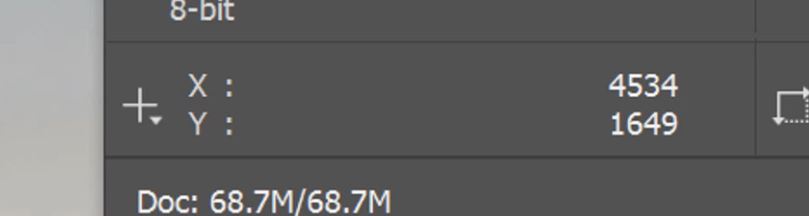
2. Open up the Info panel. If you don’t see the Info icon press F8 or click on info in the Window menu.

3. Hover your cursor over the source of light.

4. Make a note of the X and Y coordinates of your cursor.
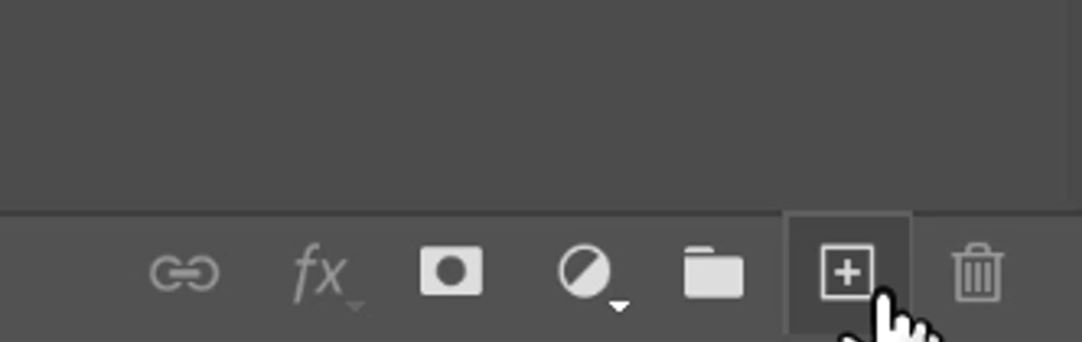
5. Create a new layer by clicking on the Create New Layer Icon.
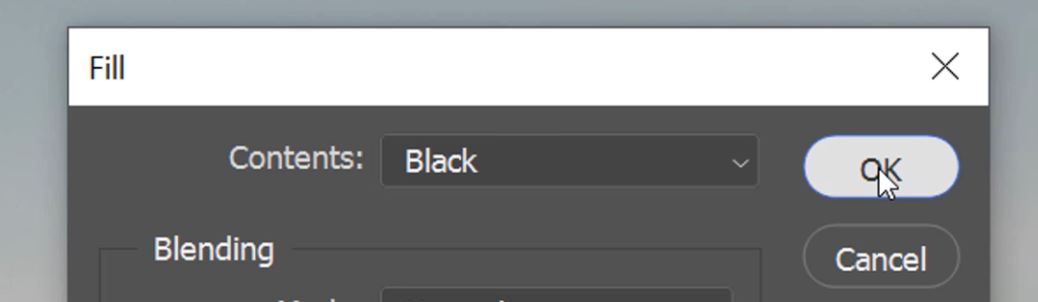
6. Press Shift+Backspace to Bring up the Fill window.
– Tutorial continued below –
Enter your email below and join our community of more than 100,000 photographers who receive regular tutorials and have also

Subscribed to our newsletter,
Downloaded our FREE Photoshop Course
Got our FREE Easy Panel for Photoshop
And have our FREE Essential Guide To Luminosity Masks E-Book
Adding Lens Flare To A Photo Using Photoshop
7. Set the Contents to Black and press OK to fill the new layer with the colour black.
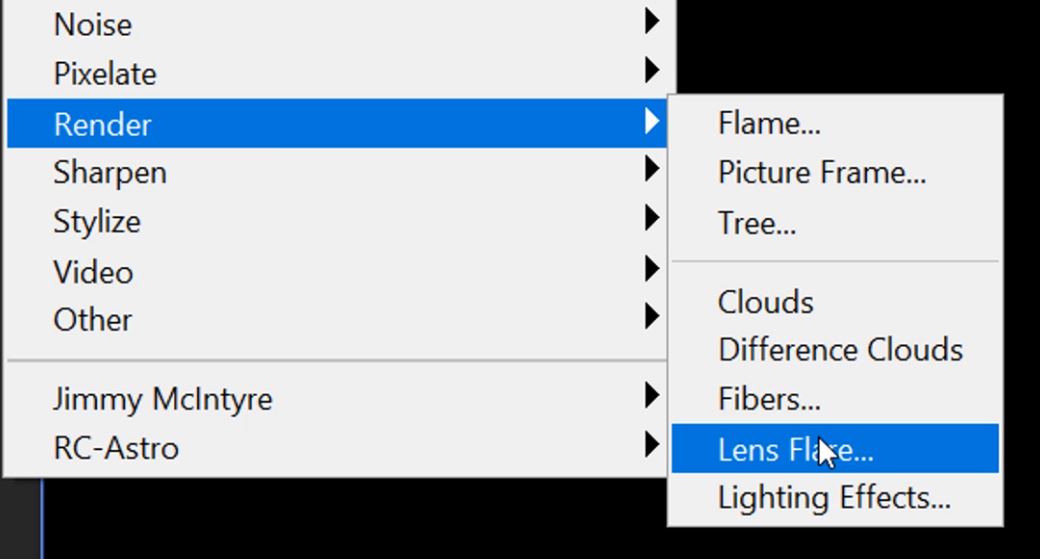
8. Go to the Filter menu and choose Render>Lens Flare.
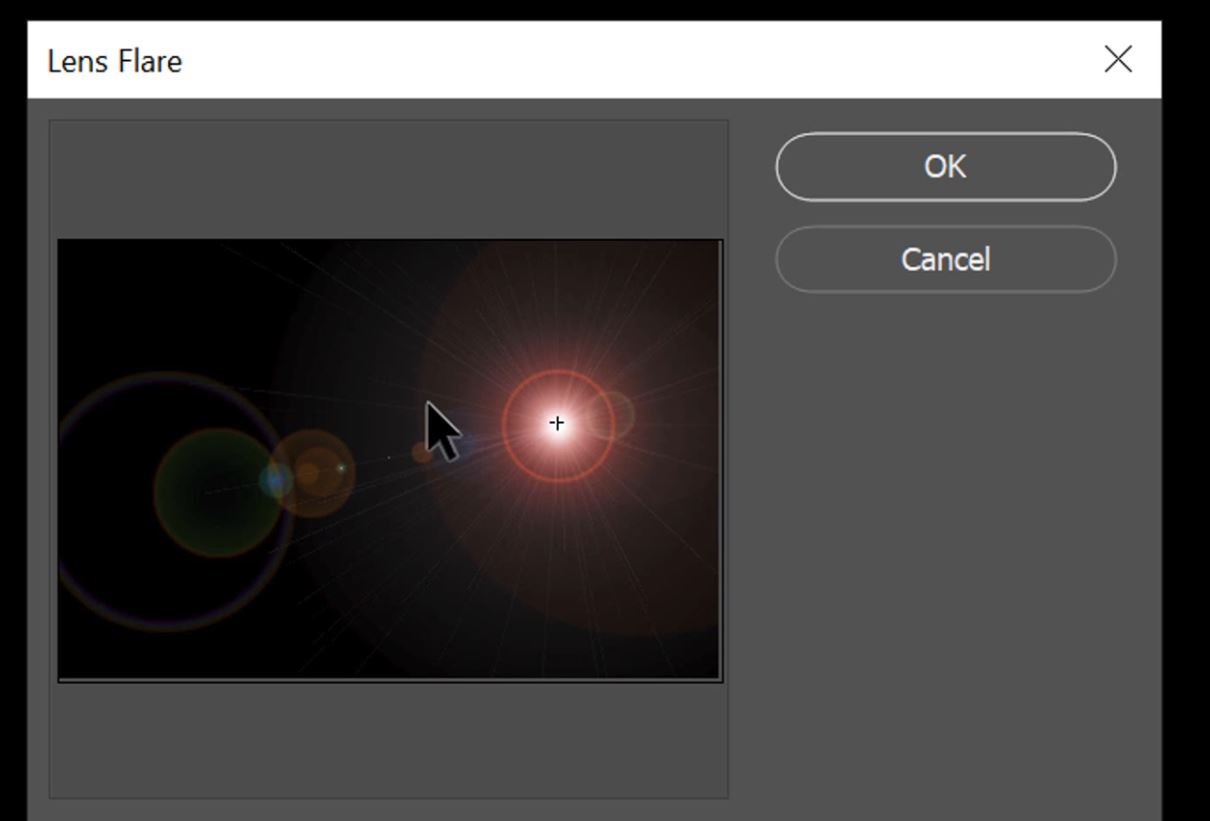
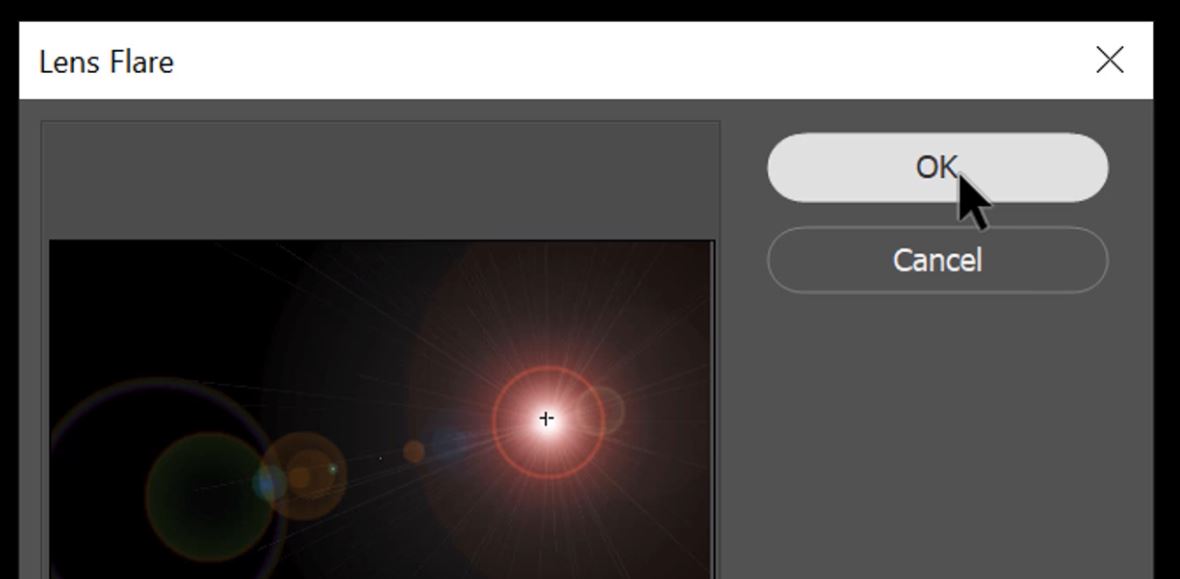
9. Hold down Alt (PC) or Option (Mac) and left-click on the viewing window containing the lens flare.
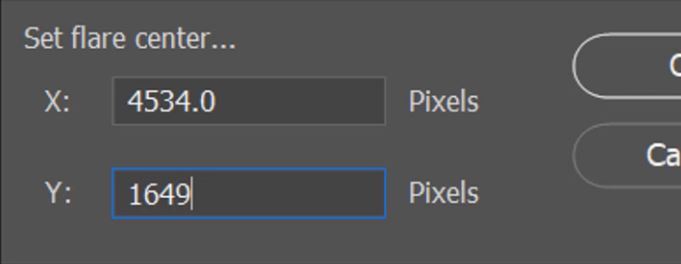
10. You should now see a window where you can enter the Precise Flare Centre.

11. Change the X coordinates to the coordinates you got earlier from the info panel.

12. Change the Y coordinates as well.
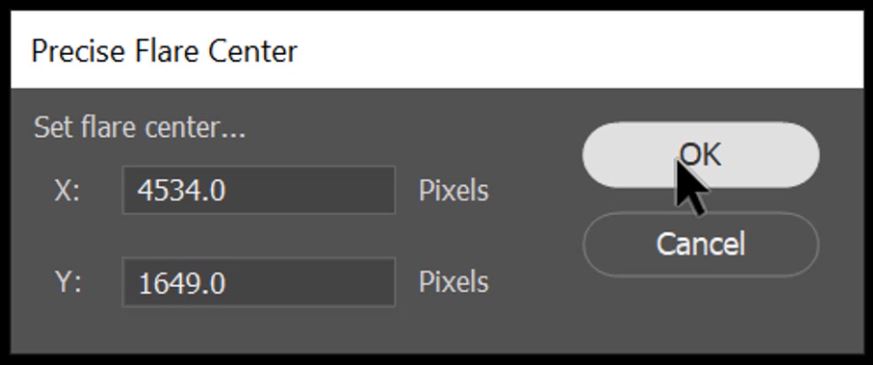
13. Click OK to precisely position your lens flare.
14. There are different flare Types to choose from and you can also change the flare Brightness.
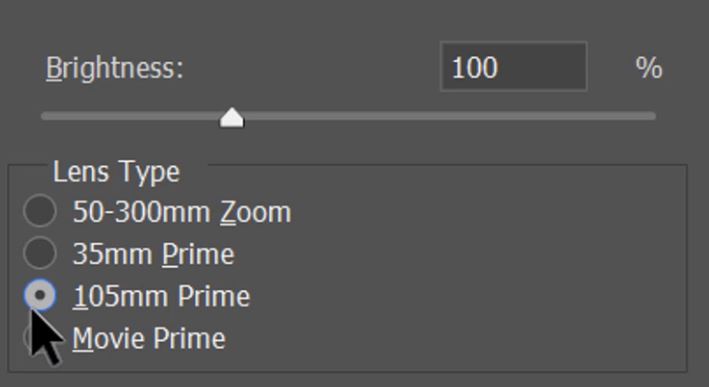
15. When you’re happy with the Type, Brightness, and Position click OK to apply the Lens Flare.
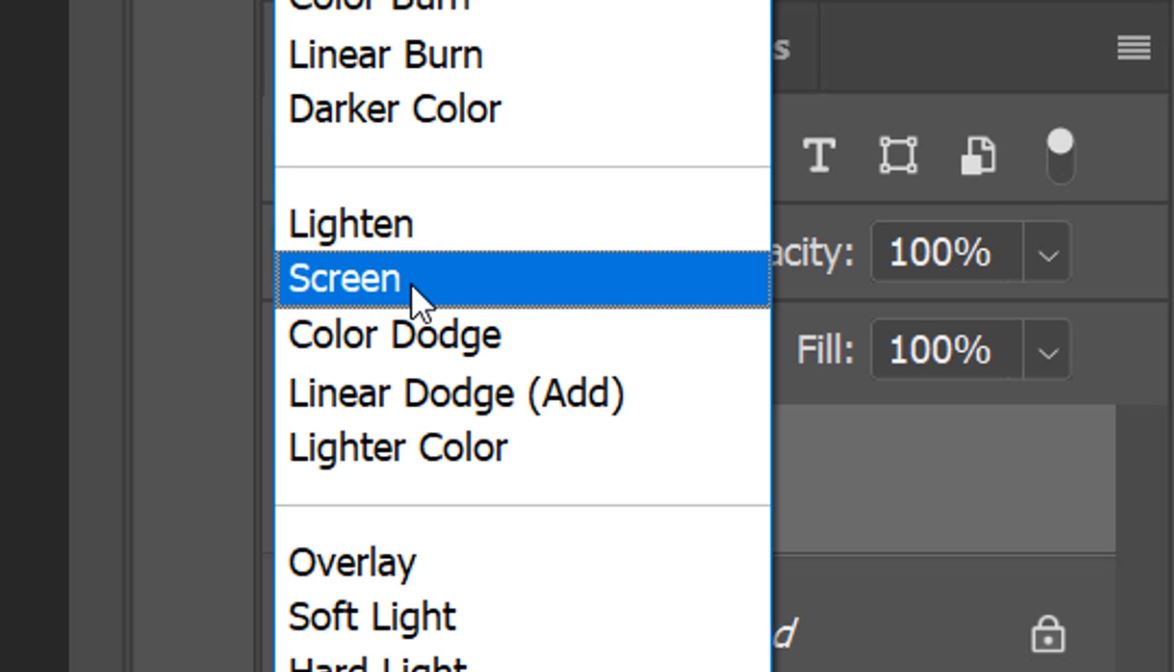
16. Now we need to change the layer blend mode to hide the black.

17. Change the Blend Mode to Screen.
Here is the before and after. The lens flare has been perfectly positioned with the larges halo of the flare radiating from the sun. The direction of the lens flare that we have added in photoshop also perfectly matches the small lens flare that was originally in the image. It’s as if it was there all along. That is how to position a lens flare in photoshop.


Photo by Levi Bare on Unsplash
Other Articles That Might Interest You
Add Creative Lens Flare in Photoshop
Create a Transparent Lens Flare Overlay
Remove lens flare in Photoshop
Thank you for reading this article on How To Position a Lens Flare in Photoshop, be sure to sign up for our newsletter for more tutorials and great offers.

Enter your email below and join our community of more than 100,000 photographers who have also
Subscribed to our newsletter.
Downloaded our FREE Photoshop Course.
Got our FREE Easy Panel for Photoshop.
And, have our FREE Essential Guide To Luminosity Masks E-Book.
FREE Photoshop Course

The Art Of Photography

Raya Pro for Photoshop
