Use Blend Modes In Photoshop To Beautifully Enhance Your Photos
Blend Modes in Photoshop make our lives infinitely easier, and our images that much more beautiful. With the click of a button, they can change the entire feel and mood of a scene. This video and article will show you 5 Blend Modes every digital photographer could greatly benefit from.
Lighten Blend Mode
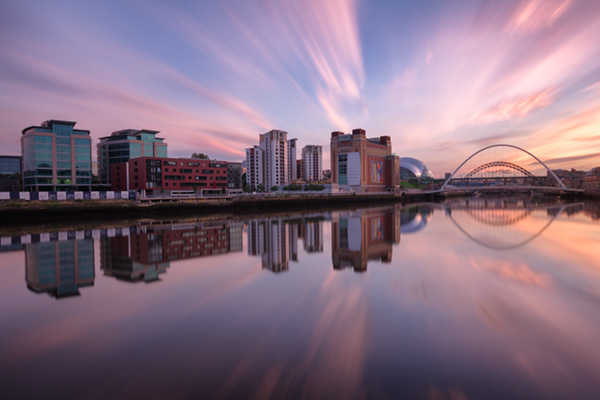
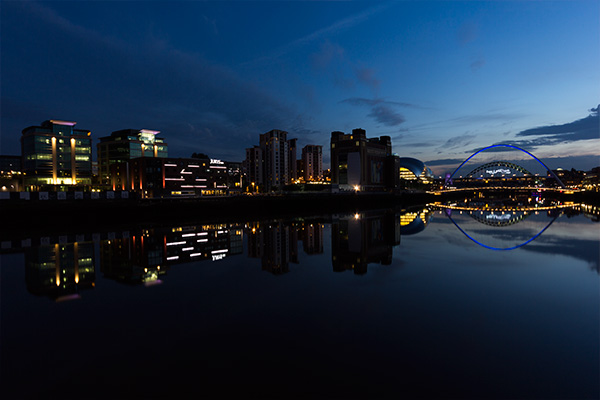
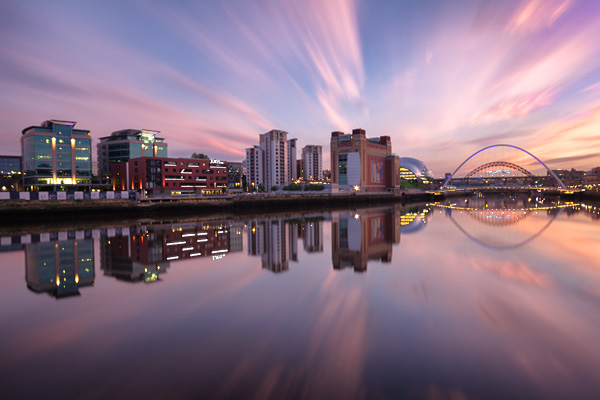
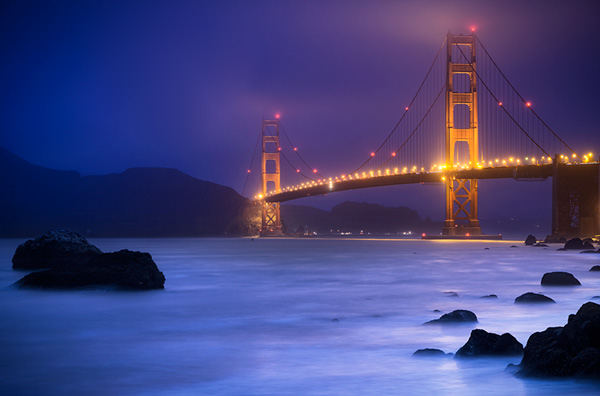
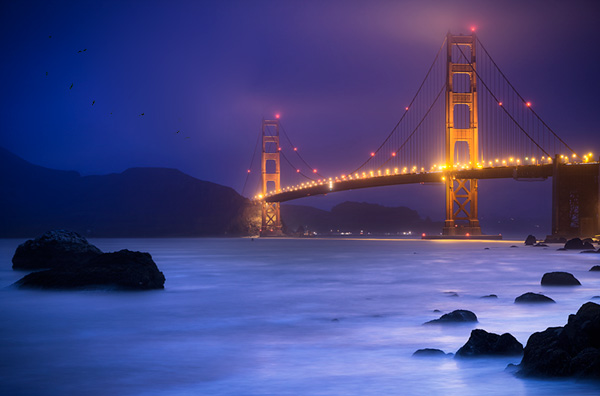
One of the best Blend Modes in Photoshop, this little Blend Mode can instantly add long car trails to your photos, the Milky Way to an empty sky and city lights to a sunset cityscape. It works by comparing pixel-by-pixel the layer on top with the layer below, and if the pixel in the image on top is brighter than the one below, the pixel will remain visible, while all darker pixels disappear. Look at the image below, for example. The night time shot was placed on top and its Blend Mode was changed to Lighten. Everything disappeared because the golden hour shot is generally brighter. However, the city lights are brighter in the night time shot than the same areas below, so they remain visible!
Before Lighten – No City Lights
This is Where The City Lights Will Come From
After Lighten Blend Mode
Overlay and Soft Light Blend Modes
Many photographers see these as contrast boosters mainly, which they are. However, with that knowledge we can bend these Blend Modes to do other things, like introducing clouds in an empty sky and adding vibrancy to a sunset. In the images below, we have an image with a cloudless sky. We also have an image with clouds which we’d like to blend into cloudless image. By placing the cloudy image on top and changing the Blend Mode to Overlay (for a strong effect) or Soft Light (for a soft effect), the clouds become a natural part of the image. We just need to quickly mask away parts of the image that we don’t wish to affect, namely the foreground.
Cloudless Sky
Image With Clouds
After Quickly Blending With Overlay
Darken Blend Mode
This does exactly the opposite of the Lighten Blend Mode. It replaces the darker pixels! So with an image like the one below, with a bright background, it is easy to instantly blend the birds into a different image.
Birds Before Blending
Image Without birds
Birds Blended With Darken Blend Mode
Luminosity Blend Mode
This Blend Mode is great for when you make contrast adjustments, and or when you dodge & burn on a separate layer. Naturally when we increase contrast, we often affect the colours throughout the image. Changing the contrast layer to Luminosity, allows us to keep the contrast adjustment but without affecting our colours too much. Take the image below, this is what it looked life after a typical S-curve created in a curves layer. The image has become highly over-saturated. To keep the contrast adjustments of the S-curve, but restore my saturation levels, I simply changed the Blend Mode to Luminosity.
Contrast Adjustment Before Luminosity Blend Mode Applied
Colours Restored by Changing Blend Mode
Difference Blend Mode
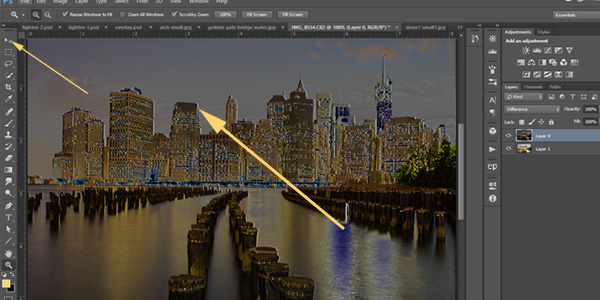
Finally, the Difference Blend Mode compares two layers and shows you how they are different. Among other things, it forms an important part of this amazing colour correction technique in Photoshop. However, it also great for manually aligning images when Photoshop can’t. If you want to blend multiple exposures, for example, and Photoshop isn’t able to auto-align the exposures, change the top exposure to Difference. You will now see edging around the edges where the images are not aligned. Select the Move tool in the top left of your toolbar, click on the top layer once and then use your arrows keys to edge your layer until they line up!
Using Difference To Align Layers
I hope this article and video encourages you to explore the wonderful world of Blend Modes. They will take time off your workflow and help to enhance your images.
Adobes Definition of Blend Modes in Photoshop
