
Seascape Edit in Photoshop Using Vivid Light
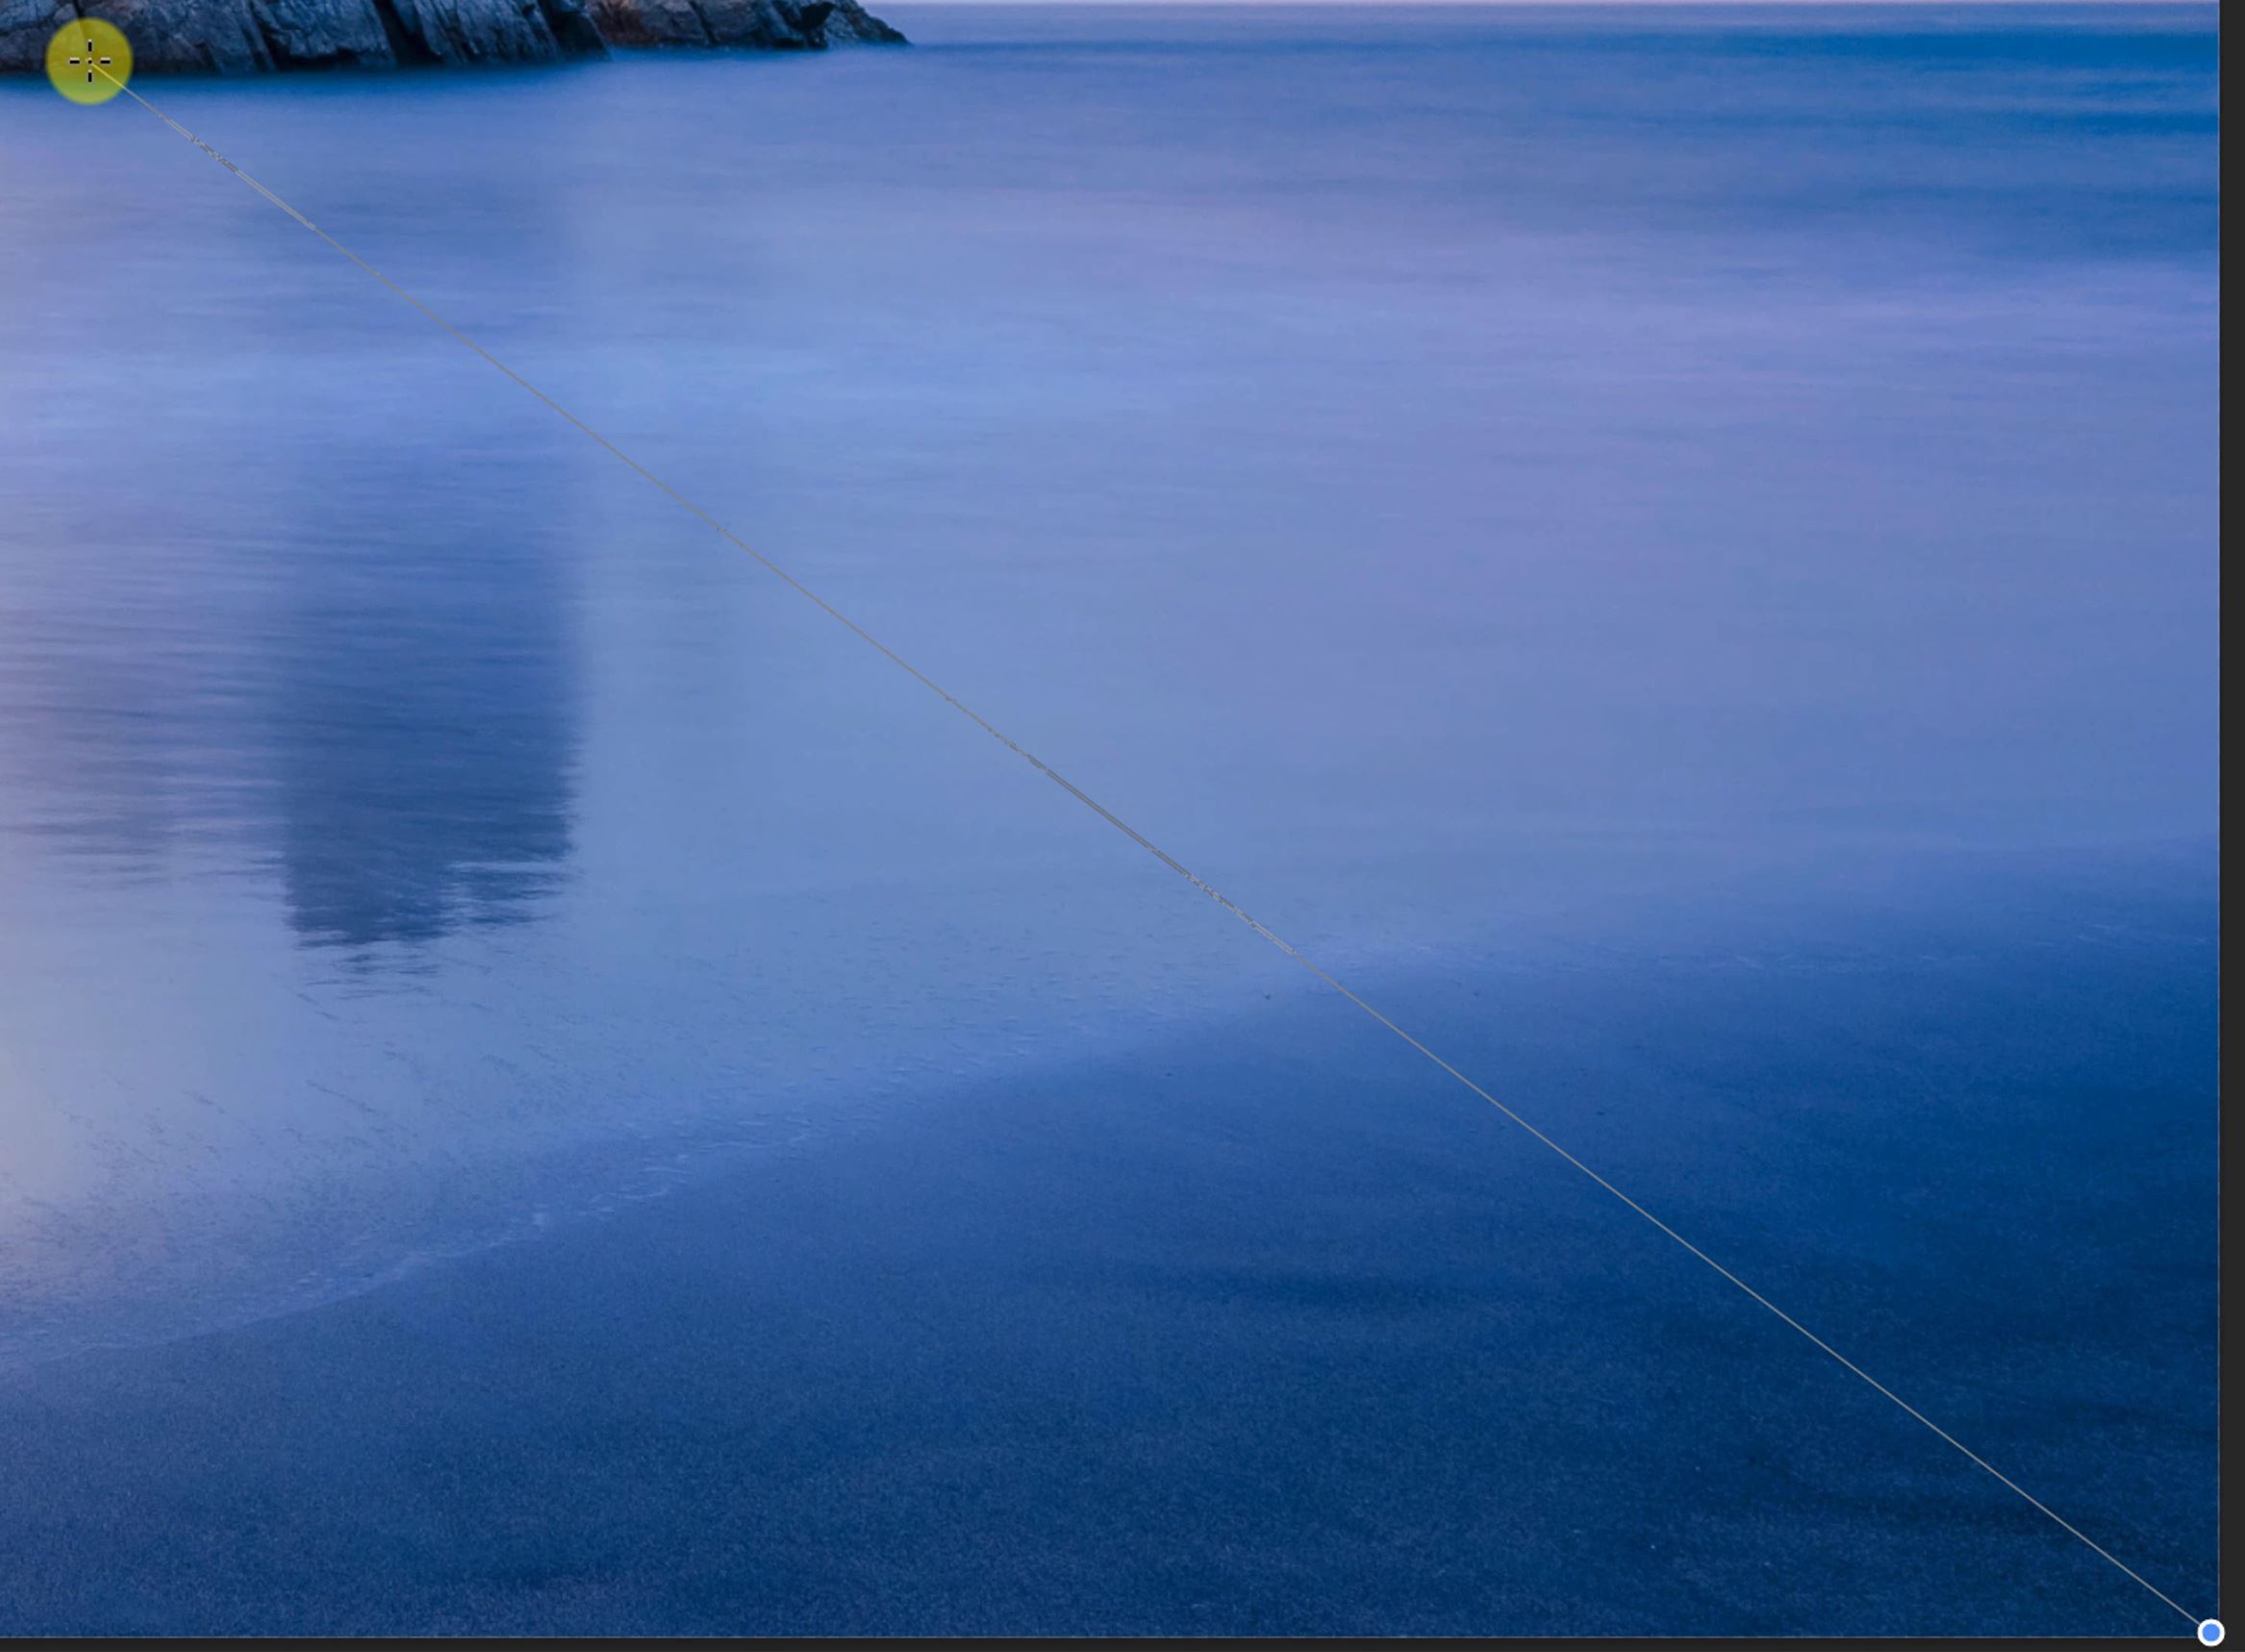
We have a very nice Seascape photo here from Juan Gomez. In this photography edit, we’re going to transform this cold seascape scene in less than 2 minutes. By combining Gradient Maps and the Vivid Light blend mode, we can add a completely different colour pallet to the image. The beauty of using Gradient Maps is that the effect is applied globally. In this example, we add more pinks to the sky, but, the pink tinge also attaches itself to the rocks making it look very natural. After applying the Gradient Map we continue the Seascape edit using vivid light in photoshop. The last step is to control the colours, follow below to find out how we did it.

How To Control Colours From Gradient Maps
Even though one of the big advantages of using this technique is that it is applied globally, I didn’t want it to be as strong in places. To control this, I used a simple layer mask. This made sure the colours were where I wanted them to be and also kept some of the original colourings. I think this mix of yellow, blue and pink really gives the image huge appeal. I suppose this is a personal preference, but I much preferred the image with the mask applied
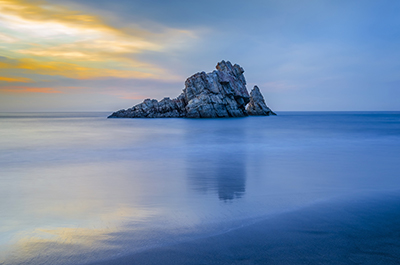
Original Image 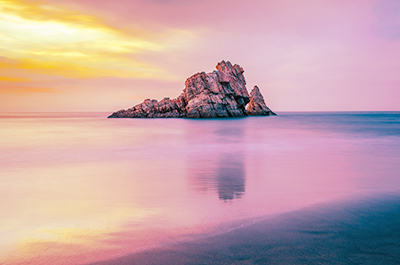
Edited with No Mask Applied 
Edited with Mask Applied
Step-By-Step Seascape Photo Edit
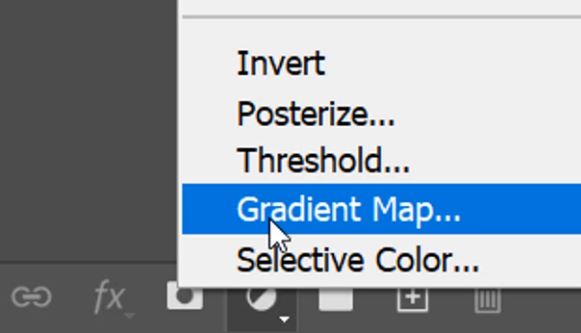
1. Click on the “Add new Fill or Adjustment Layer” icon.

2. Select Gradient Map.
3. In the Gradient Map properties panel click on the small down arrow to view the various Gradient Maps.
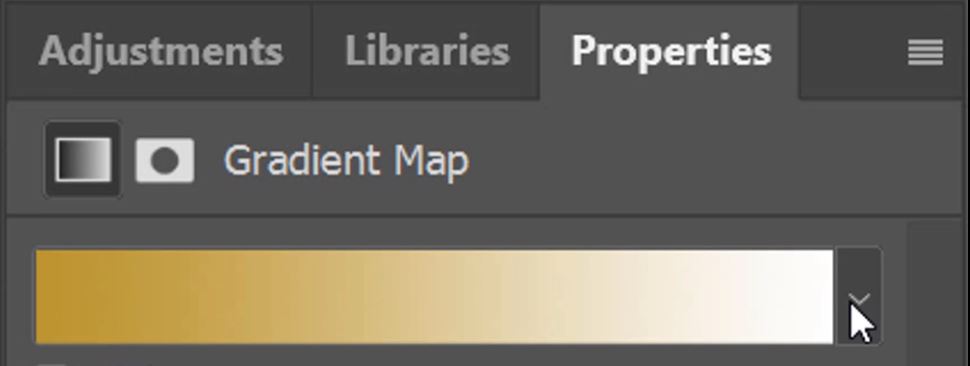
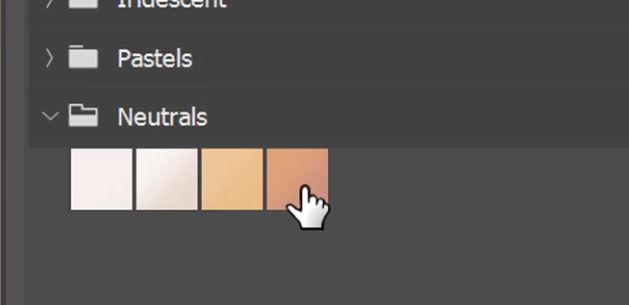
4. For this demonstration we’re using Sand_02, found the Neutrals folder.
5. Select the Gradient Map layer in the Layers panel.
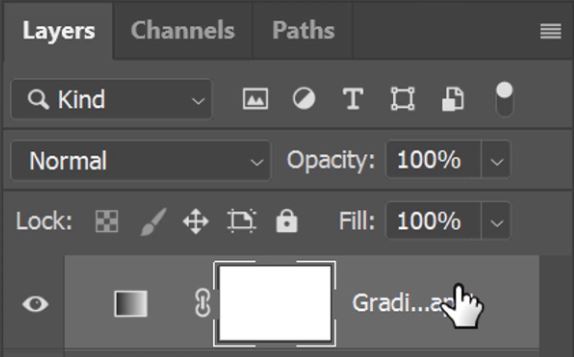
6. To change the blend mode of the layer, click on the small down arrow.
– Tutorial continued below –
How To Edit A Seascape In Photoshop
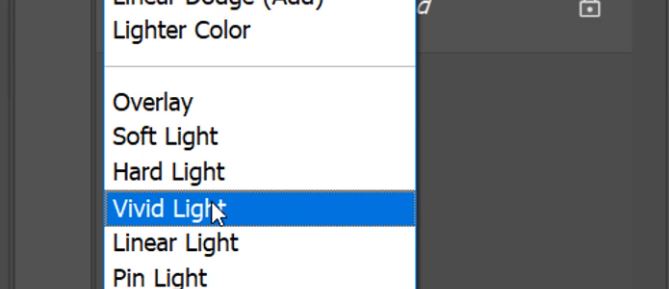
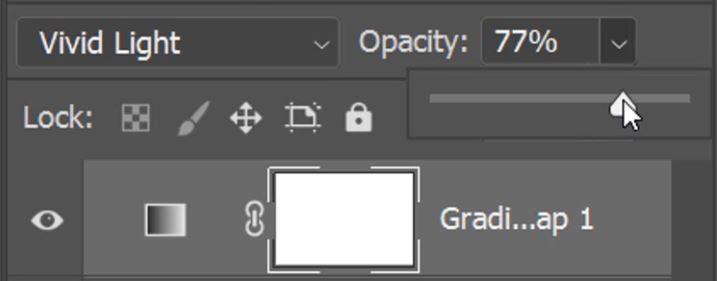
7. Select Vivid Light as the new Blend Mode.
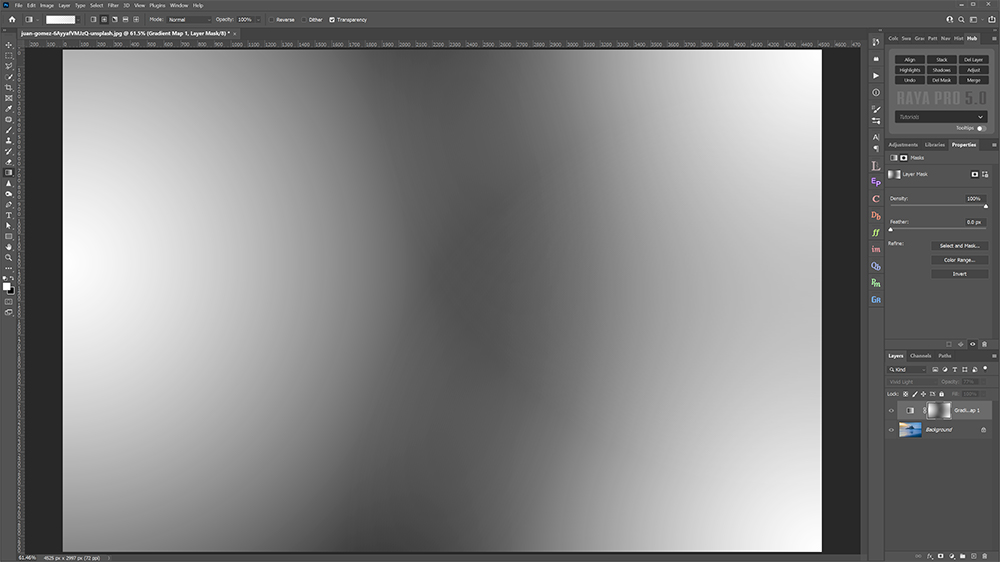
8. Now hit the down arrow in the opacity box to bring up the slider to lower the opacity and soften the effect.
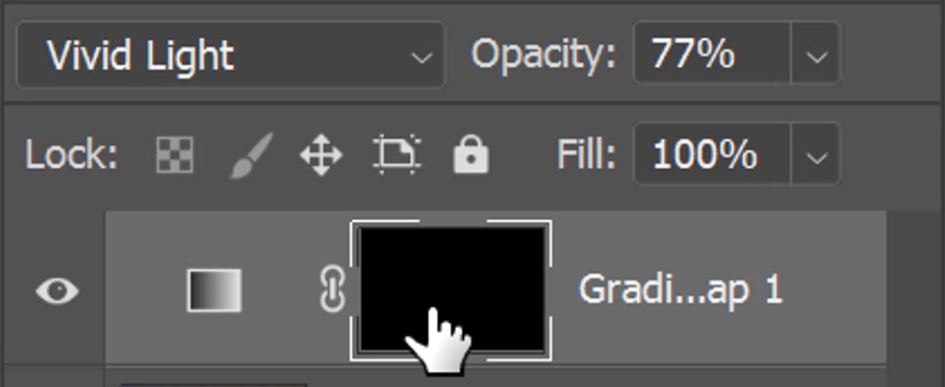
9. With the mask of the Mgradien Map layer selected, press Ctrl+I (PC) or Command+I (Mac) to invert the mask.
10. Now select the gradient fill tool.
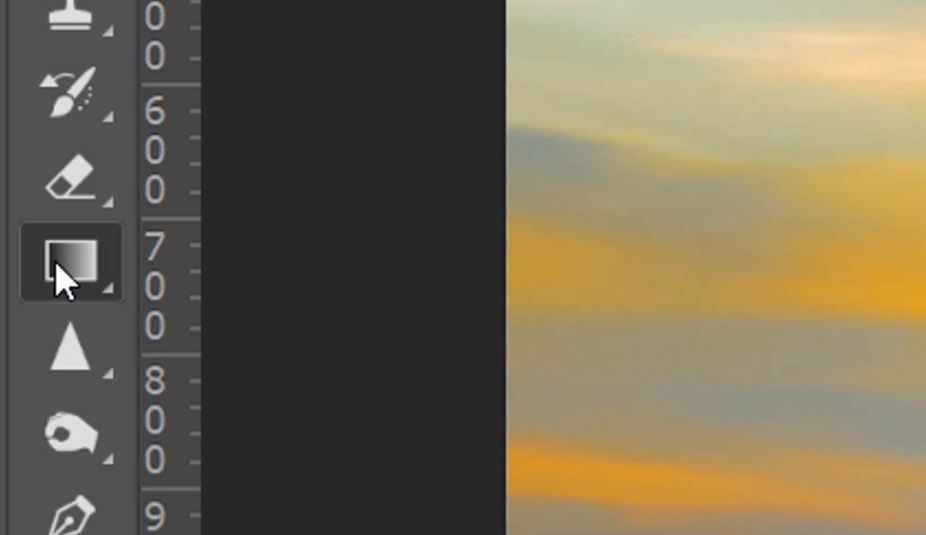
11. I’m using a Radial Gradient for this example. Fell free to try the others.

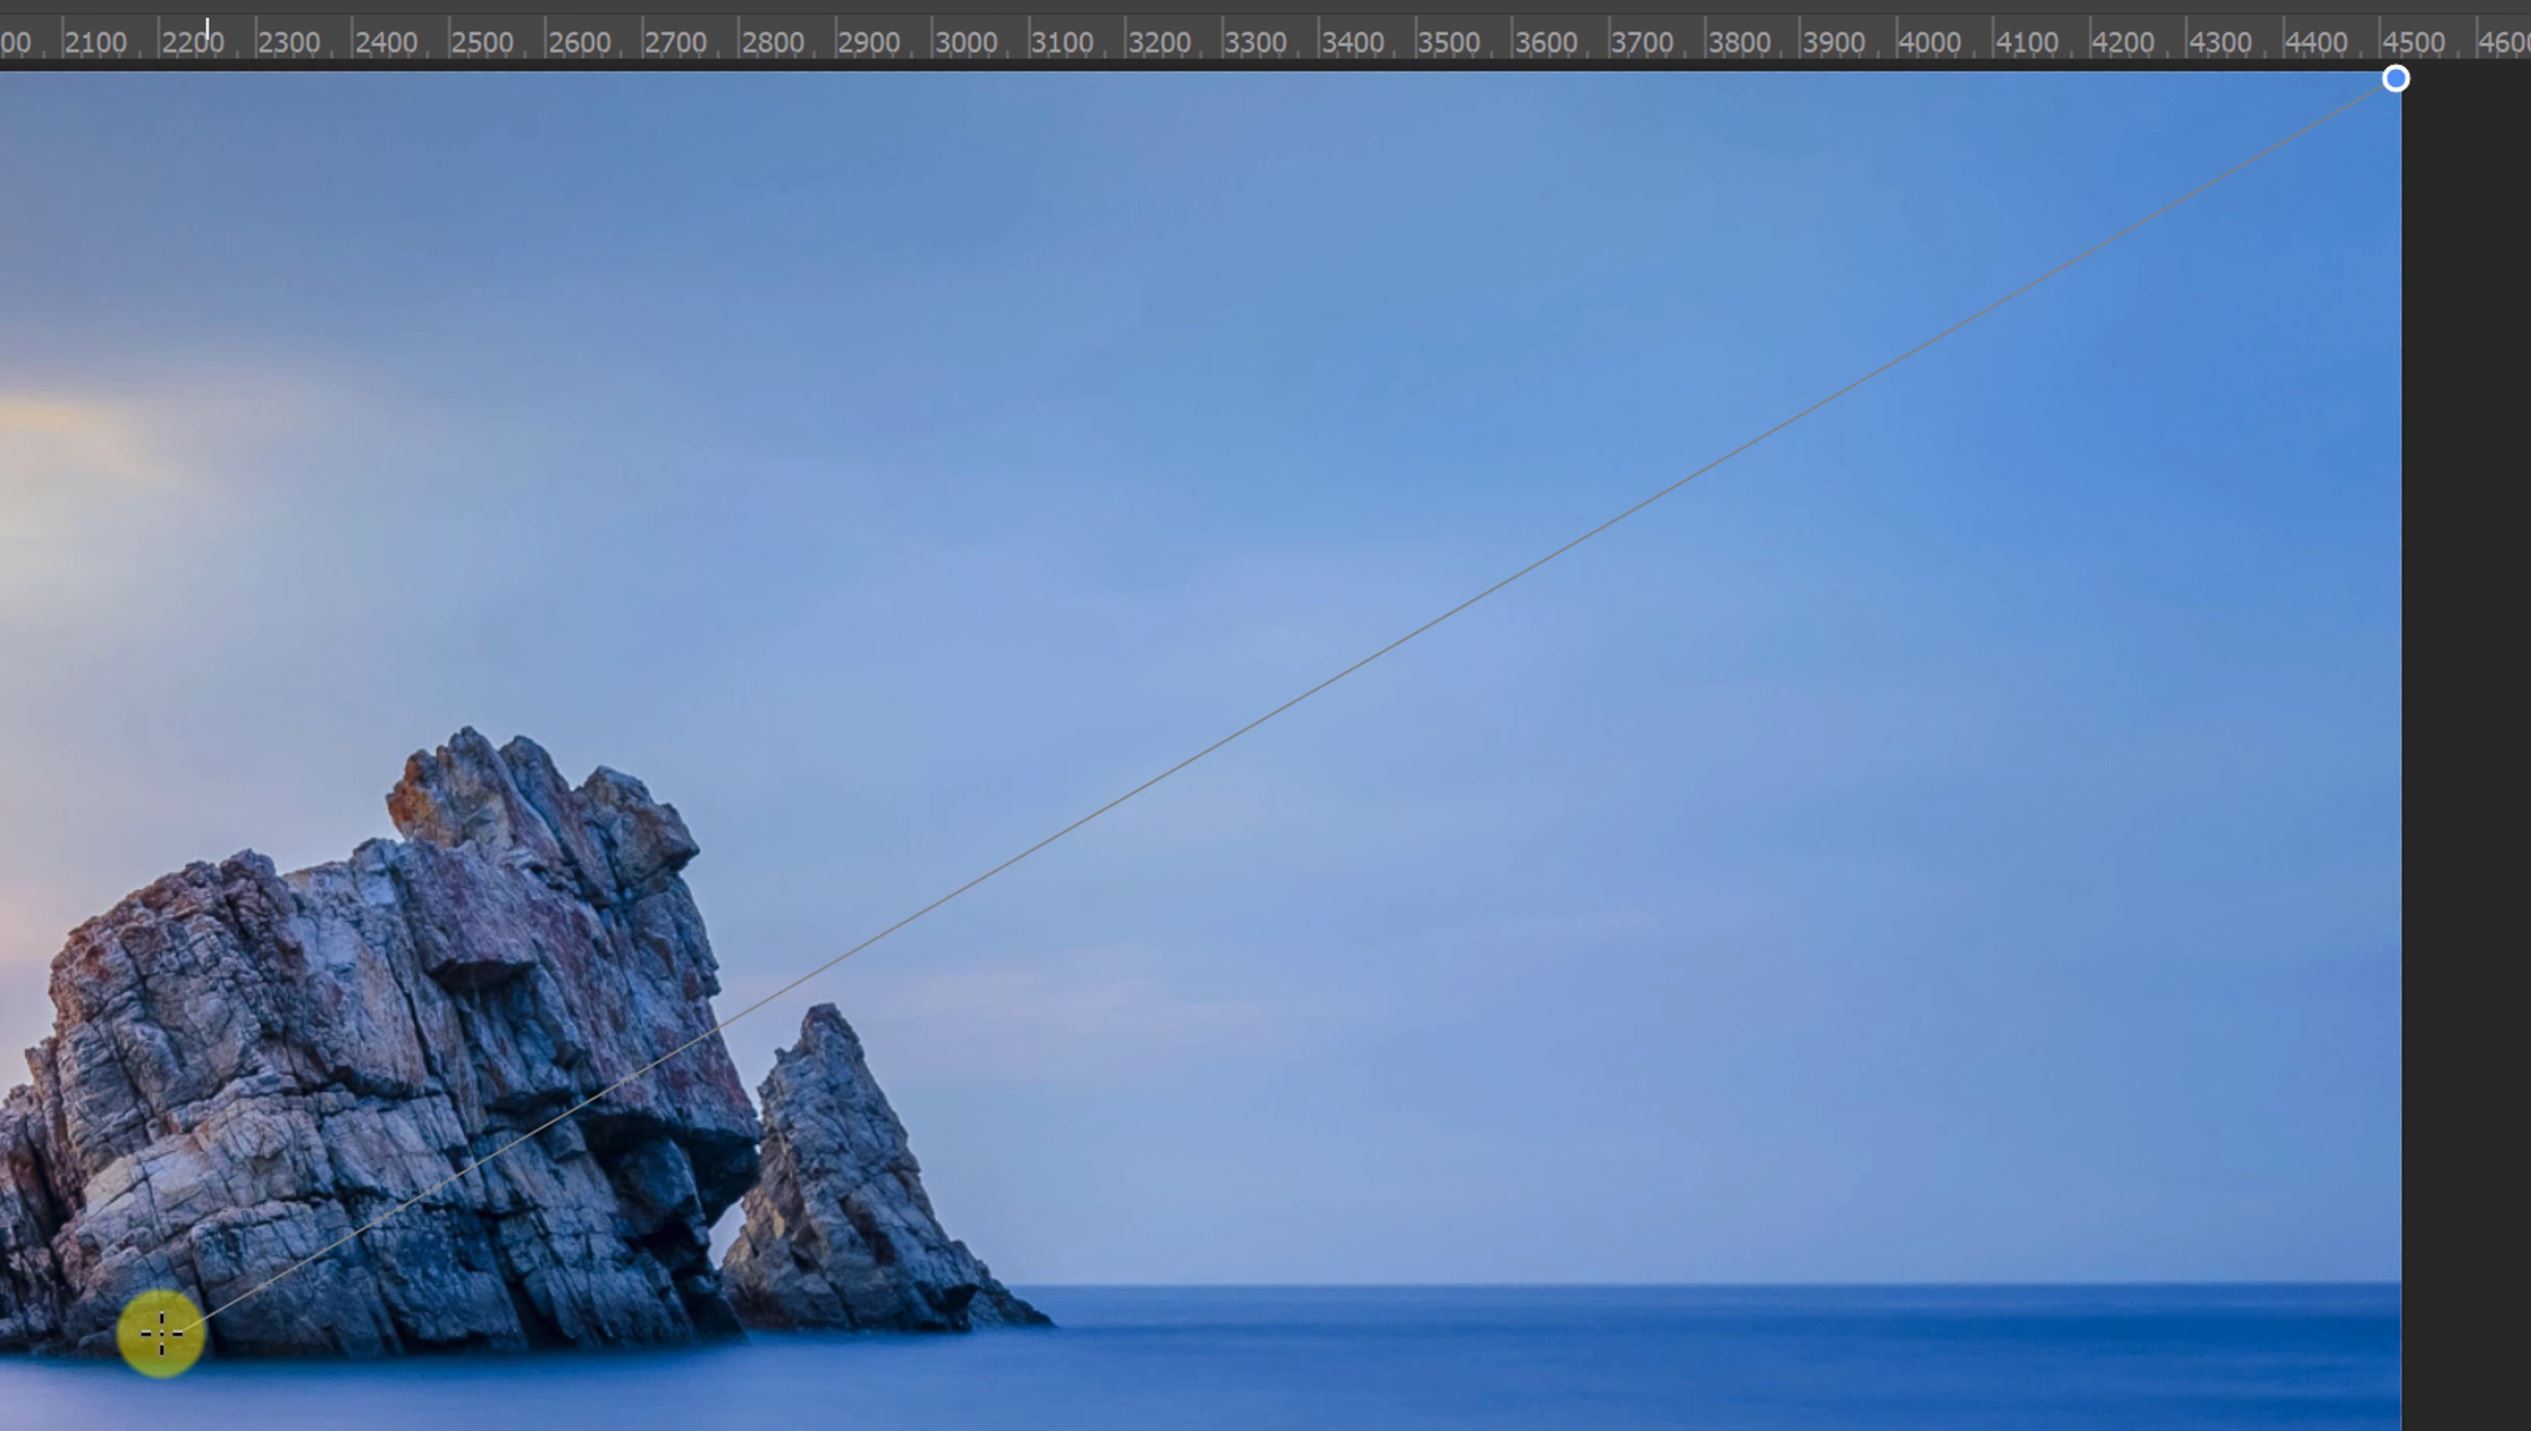
12. Click on the Gradient to set your fill.

13. Set your fill to white 100% opacity (left) to white 0% opacity Right).

14. Left click, hold and drag to position your Gradient Fill to your layer mask, release your mouse button to apply the fill.

15. I also wanted to bleed some colour in from the top left corner.
16. And, to balance the tones in the sky with the tones in the sea, I applied a fill from the bottom-right corner as well.
17. This is what the Gradient Map Layer Mask looked like after applying the three gradient fills. This means the centre of the image is less affected.
Note the difference in colour vibrancy between the brighter and darker areas. The image on the left is the original. Then, on the right is that after we have added more depth to an image in Photoshop.


Photo by Juan Gomez on Unsplash
Other Articles That Might Interest You
Did You Know Vivid Light Blending Mode is Great For Color Grading?
Using The Gradient Map Adjustment Layer in Photoshop
Seascape Photography Tips
Thank you for reading this article on a Seascape Edit in Photoshop, be sure to sign up for our newsletter for more tutorials and great offers.

Enter your email below and join our community of more than 100,000 photographers who have also
Subscribed to our newsletter.
Downloaded our FREE Photoshop Course.
Got our FREE Easy Panel for Photoshop.
And, have our FREE Essential Guide To Luminosity Masks E-Book.
FREE Photoshop Course

The Art Of Photography

Raya Pro for Photoshop
