Supersize Using Super Resolution in Photoshop
Photoshop has delved deeper into the realms of Artificial Intelligence. They have recently released an update (March 2021) that uses AI to super-size images without compromising quality. Adobe Camera Raw now has an enhancement feature in it which giver our images super-resolution. With just a few clicks we can double the size of our images. We can all now create huge, high-quality prints and displays, even with relatively small cameras. This tutorial will show you how to access this new feature. We will also teach you a technique to continuously enlarge photos potentially exponentially Supersize Using Super Resolution in Photoshop AI.
Super Resolution AI in Photoshop
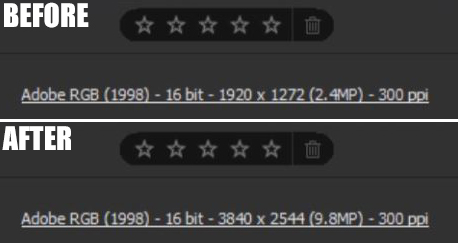
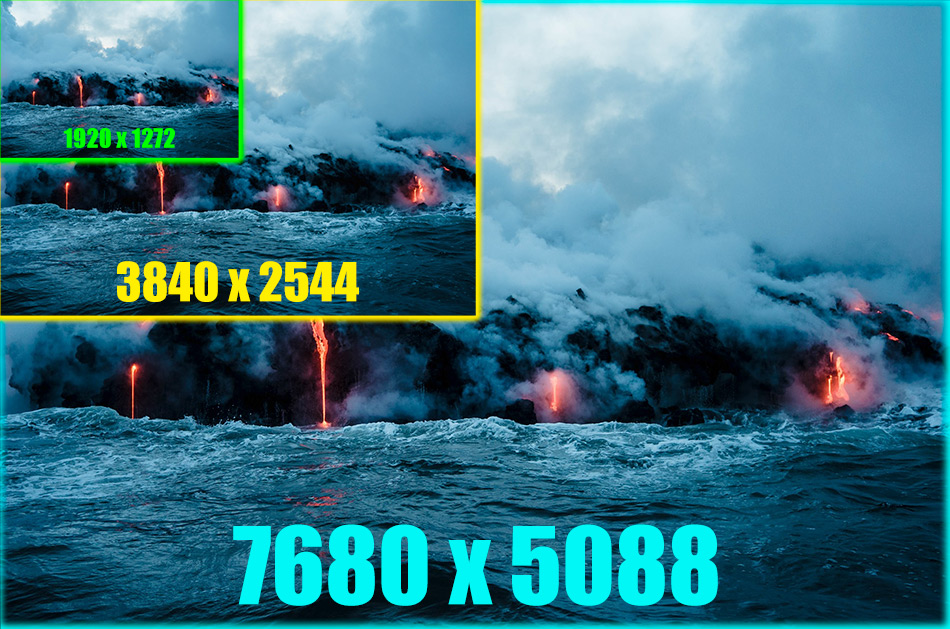
We can now enlarge our images in Photoshop with much greater confidence. As photoshop embraces AI technology it just keeps getting better. The Super Resolution feature in Camera Raw doubles the height and width of our images. This quadruples the pixel count and uses AI to eliminate pixelation. So an image that was 1920×1080 can now be made 3840 x 2160 with almost zero quality degradation.
I’m sure like me, there has been a time when you wished one of your images could be bigger without compromising quality. Now they can be. This is a brilliant feature for photographers who sell prints. It also allows those who love post-processing to get really up close to the image for editing.
Here is how you access this feature in Adobe Camera Raw.
1. If you don’t see the Filmstrip open, click on the Filmstrip icon.
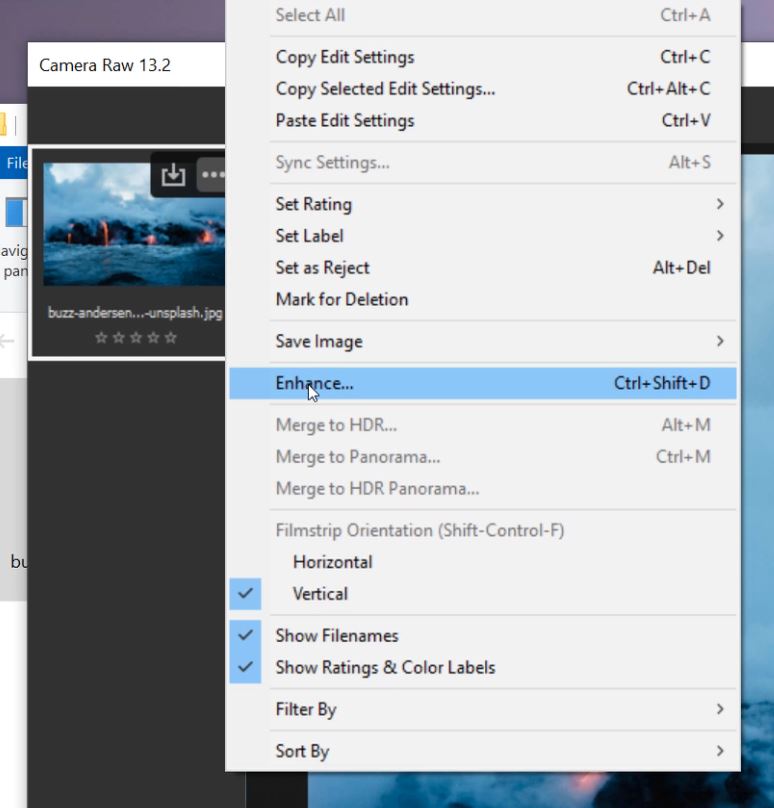
2. Click on the three dots in the top-right corner of the image thumbnail.
3. Select Enhance from the menu.
4. Tick the box next to Super Resolution.
5. This will display the changes in the preview window.
6. You will also get an estimated time for completion (remember this is computer minutes which can vary massively).
7. Click on the Enhance button and let the AI do its thing.
8. Once the process is complete you will now have an image that was twice as wide and tall as before, with 4 times the amount of pixels.
– Tutorial continued below –
Enter your email below and join our community of more than 100,000 photographers who receive regular tutorials and have also

Subscribed to our newsletter,
Downloaded our FREE Photoshop Course
Got our FREE Easy Panel for Photoshop
And have our FREE Essential Guide To Luminosity Masks E-Book
Enlarging Images In Photoshop
Because this feature is in Adobe Camera Raw that doesn’t mean it can only be applied to RAW files. You can enlarge flattened images such as Jpeg’s as well. What you can do is un-pixelate a pixelated image. So, if you put an image into ACR that was pixellated, you could enlarge it and remove the pixelation. You can however put an image in and enlarge it exponentially by repeating the process.
Here I have an image that started as 100px square. I used the Super-Resolution enhancement to make it 200px. Then I save the image as a Jpeg and repeated the process so the image ended up with 400 Pixels. Below the images are blown up to the same size so you can see the pixelation improvement.

100px 
200px 
400px
Although I used a very basic clipart image above, the principle works exactly the same for a complex landscape image or portrait photo.
Resize Images In Photoshop
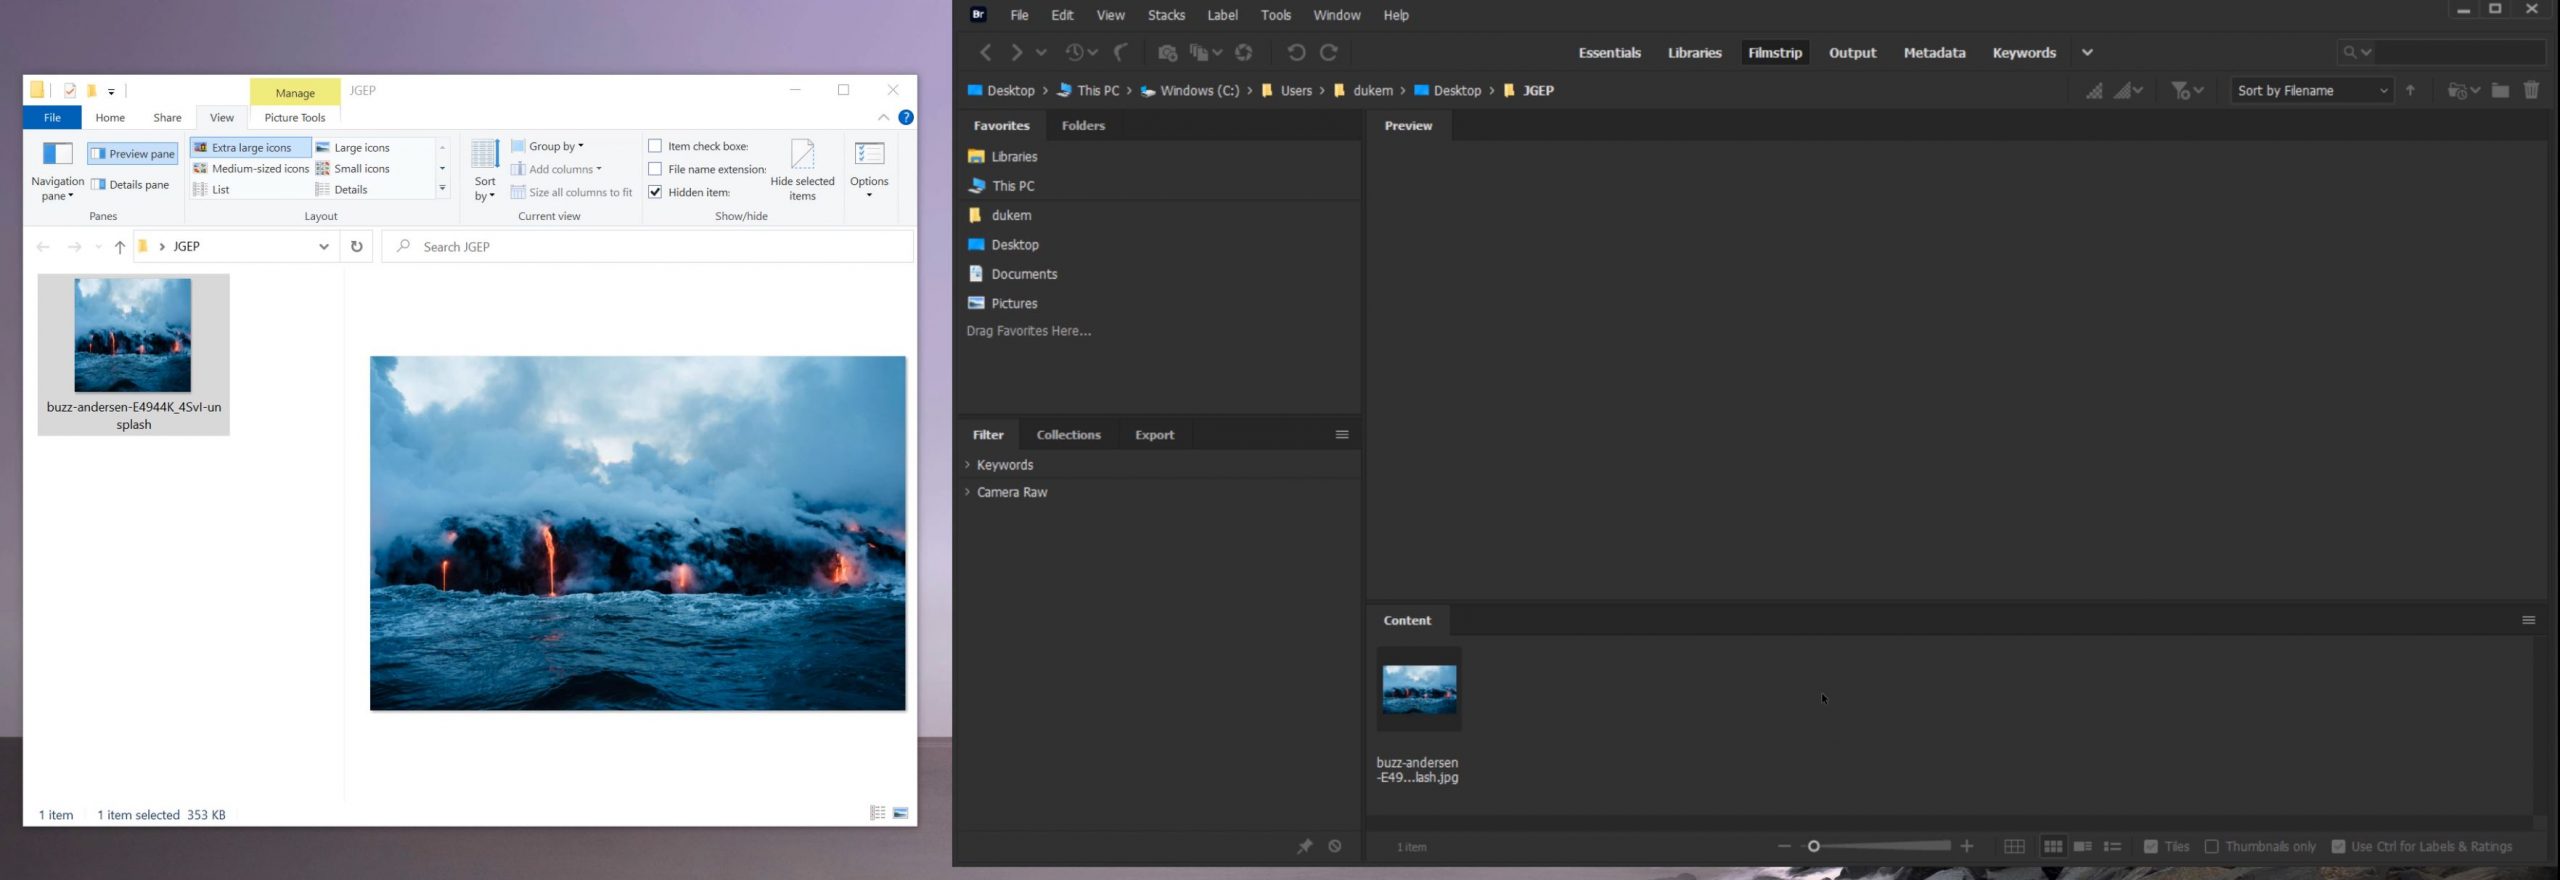
To resize flattened images such as JPEG, using the Super-resolution feature in Photoshop you will need to open the images via Adobe Bridge. Below we’ll show you how to open an image in Camera Raw. Then, how to save a supersized image and supersize it over and over again.
1. With Adobe Bridge open you need to locate the file that you want to open.
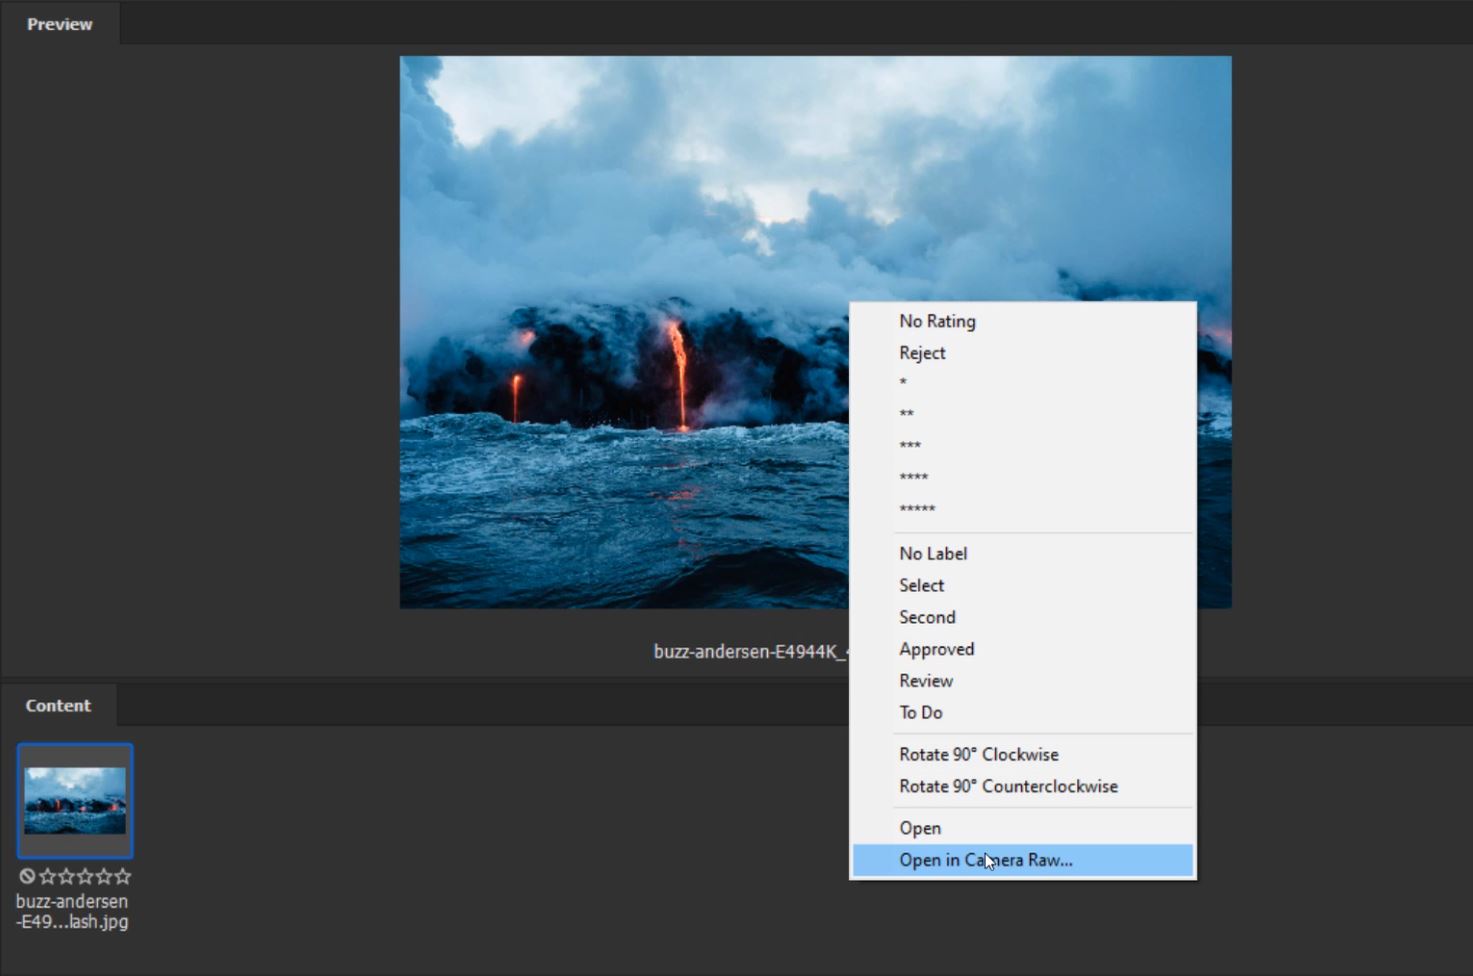
2. Left-click on the image you want to super-size so it shows in the large preview window.

3. Right-click on the image in the preview window and select Open in Camera Raw.
4. Follow the 8 steps in the “Super Resolution AI in Photoshop” tutorial above.
5. Now that you have your supersized image, go to File > Export > Export As.
6. Save the supersized image as a Jpeg.
7. Go back into Adobe Bridge and start again from Step 2. Left-click on the image you want to super-size. This will be the already supersized image that you’ve just saved.
8. Continue through steps 3-7 to exponentially enlarge your image in Photoshop without losing quality.
How To Get The Perfect Finish for Publishing Images Online
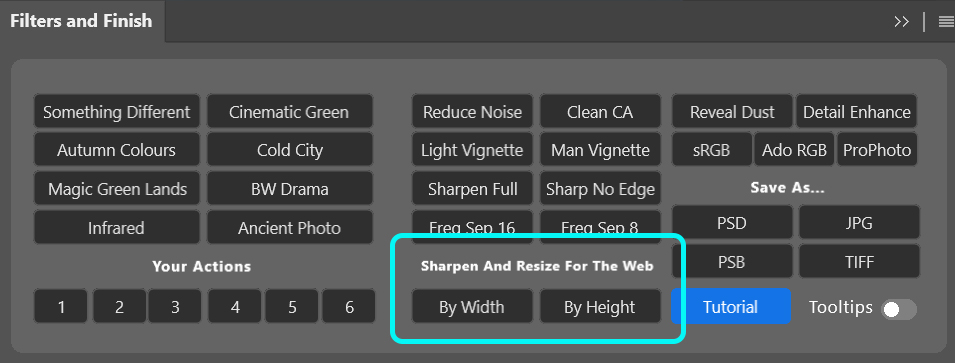
Now that we have a fantastic image, that is both massive and high quality, we need to advertise it. A dilemma we face when uploading images on to our websites or social media profiles is the file size. We need to keep the file size relatively small but need to keep as much detail as possible. This is where Raya Pro comes in. Use the Sharpen and Resize For the Web feature in the Filter and Finish panel, to resize your image depending on height or width, and also sharpen the details automatically. This means your images can be viewed in perfect quality online.
Below we have the image that we have supersized on the left. On the right, the same image supersized, but also resized and sharpened using Raya Pro.


