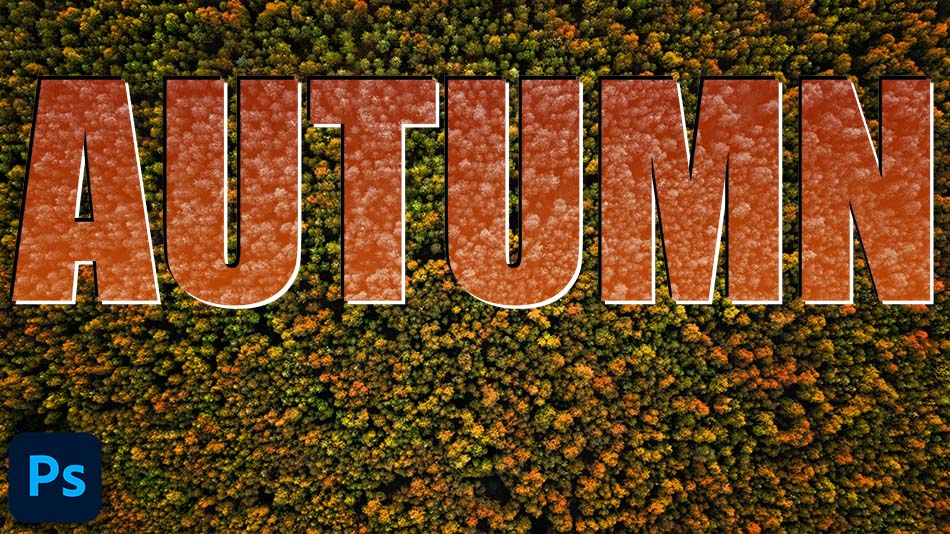
How to Turn Forests into Autumn Colours in Photoshop
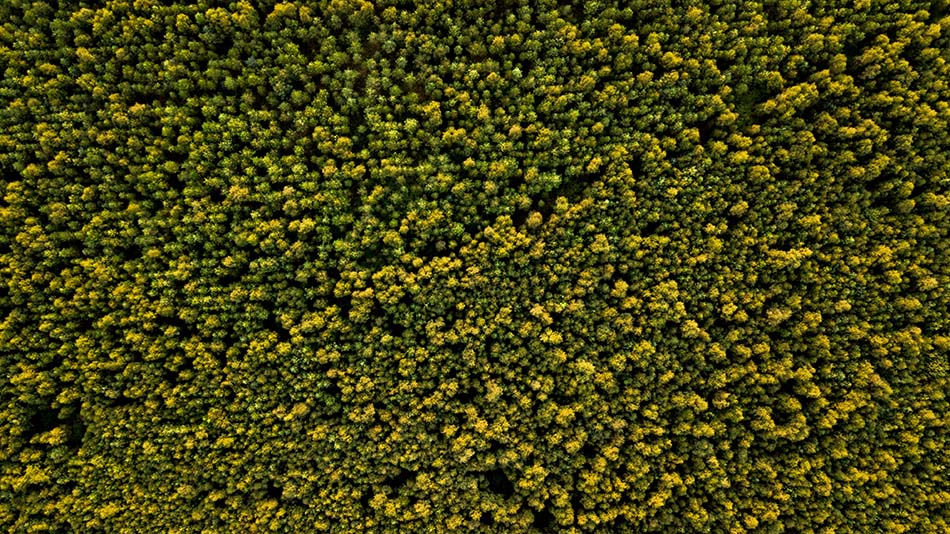
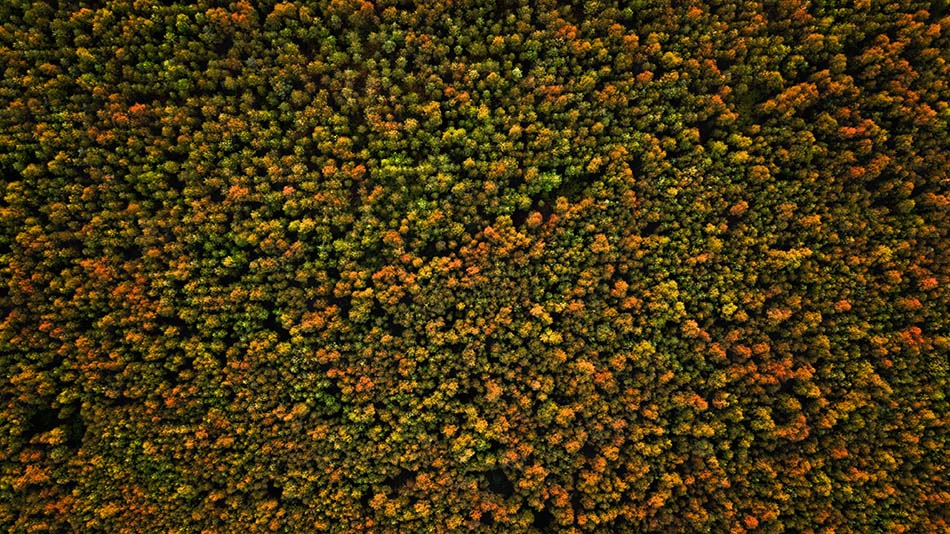
Autumn is always a very exciting time for us landscape photographers. When the leave of trees turn yellow, orange and brown, a forest canopy that was previoulsy devoid of character, now springs to life. Combine these colours with fog, mist, or even a low setting sun and the depth and dimension of these forest images are something to be marveled. This period when the leaves start to wilt and fall from the trees only last for 2-3 weeks around early or mid October. Being from the UK, I learned long ago not to count on the weather, and that also goes for seasonal changes which can be as much as 2 weeks off. To be at the right place at the right time you have plan ahead, and have some free time to hunt for the perfect canopy. But if the seasons haven’t changed yet and you’re in location, don’t worry. Here, we tak a lovely canopy and show you How to Turn Forests into Autumn Colours in Photoshop.

If you wish to experiment with this, I would really appreciate it if you included my name (Duke McIntyre) and www.shutterevolve.com when you publish your image. If you post your published image on our Facebook page I’d be happy to check it out.
Autumn Colors in Photoshop
Essentially what we often look to do in Photoshop to change greenery into Autumn colours is isolate the colours and add a simple Hue/Saturation adjustment layer. The problem we then have is a global change that affects the entire image. So all of the greens are affected. The difficulties that we then face is, how do we remove some of the color changes. Of course, we can use manual masking, but that can be very tedious. By using the technique below, you will get a completely random and natural look to the invading colours. Perfect for turning trees into autumn colours. There’s also a built-in Autumn Colour change in Raya Pro’s Filters and Finish panel.
Editor’s Choice plugin on Adobe marketplace

Raya Pro, the most rated plugin on Adobe Marketplace.
-Tutorial Continued Below-
Enter your email below and join our community of more than 100,000 photographers who receive regular tutorials and have also

Subscribed to our newsletter,
Downloaded our FREE Photoshop Course
Got our FREE Easy Panel for Photoshop
And have our FREE Essential Guide To Luminosity Masks E-Book
How to Turn Forests into Autumn Colours in Photoshop
1. Ensure there’s an image on the top layer and not an adjustment. If there is an adjustment layey then press Ctrl+Alt+Shift+E (Cmd+Opt+Shift+E Mac). This creates a flattened version of all visible layers without affecting the originals.
2. We need to copy the image layer. Do this by going to the Layer menu and selecting New > Layer Via Copy.
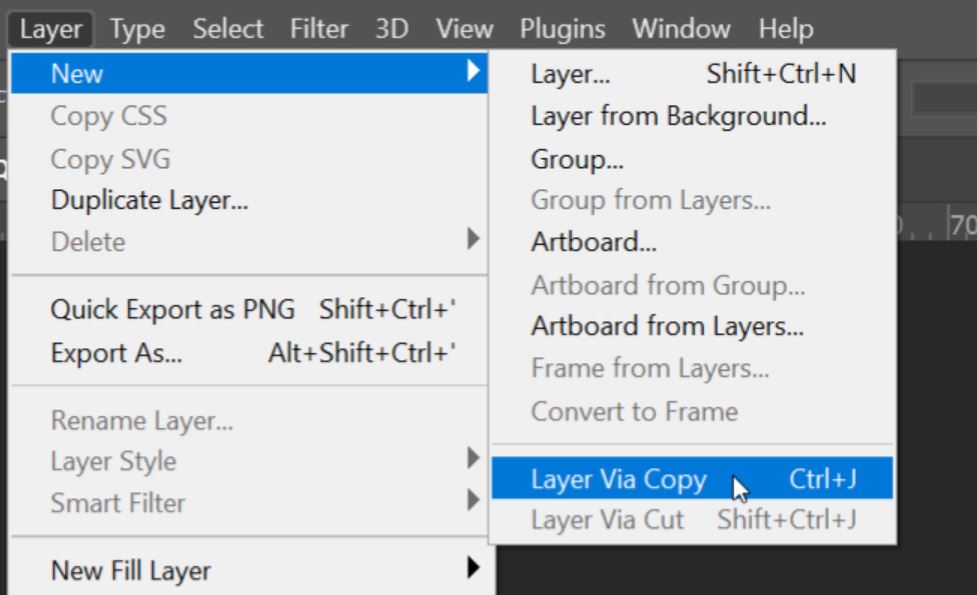
3. You should now see a copy of the original image as the top layer.

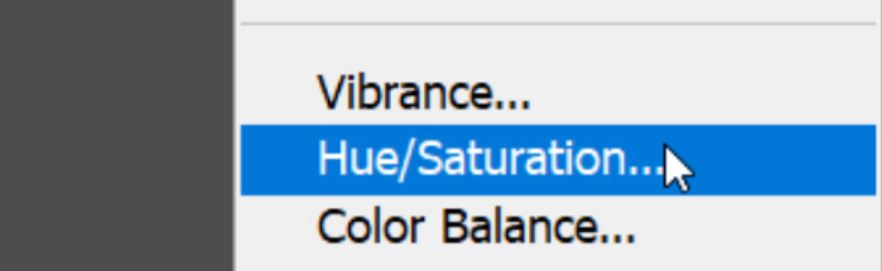
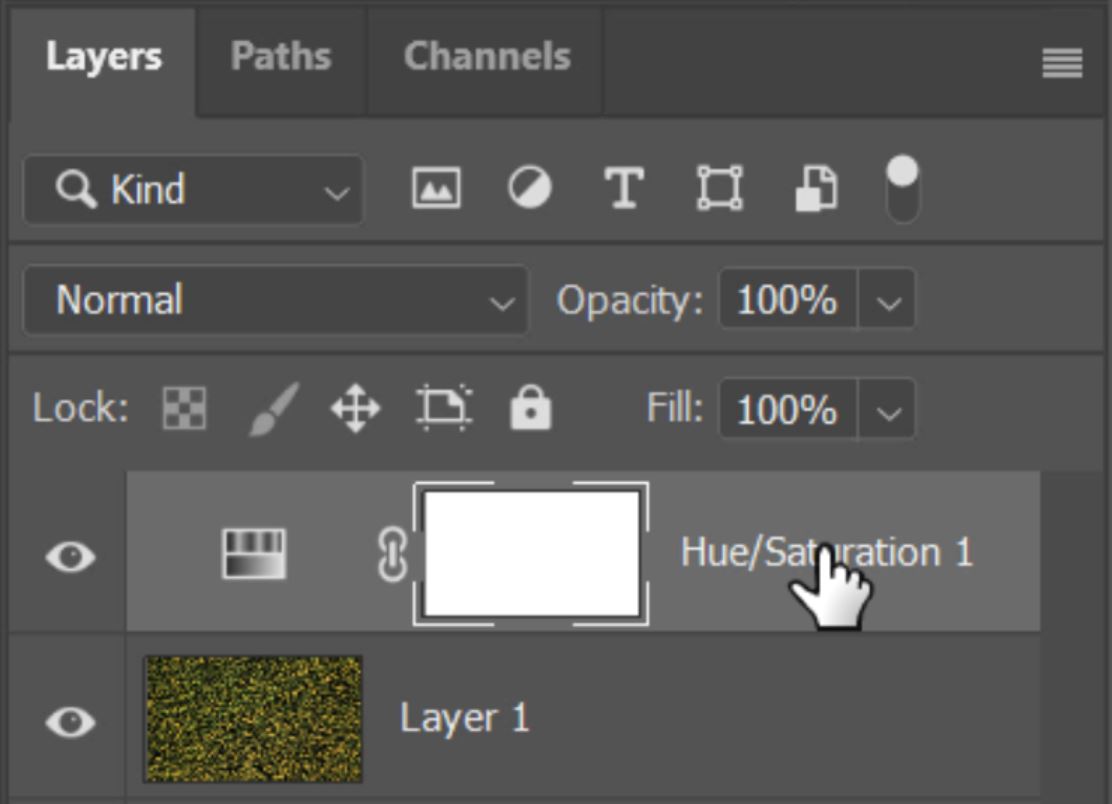
4. Click on the Add New Adjustment Layer icon at the bottom of the Layers panel.

5. Add a Hue/Saturation Adjustment layer.
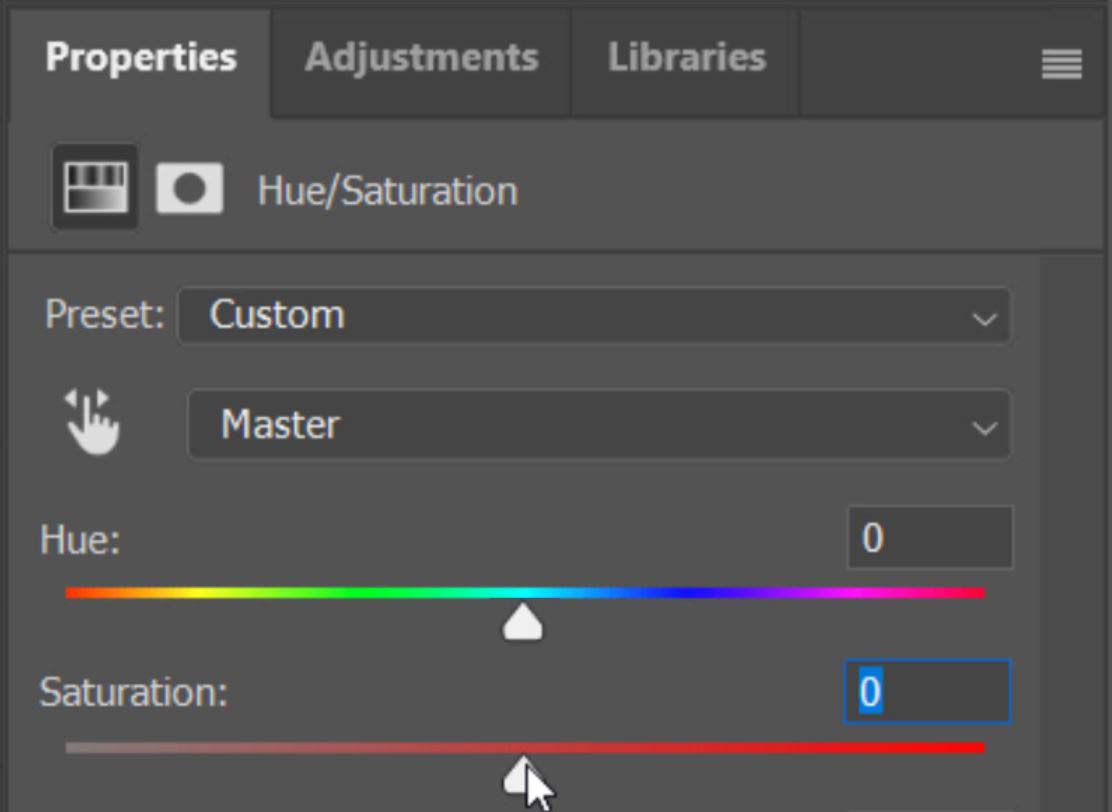
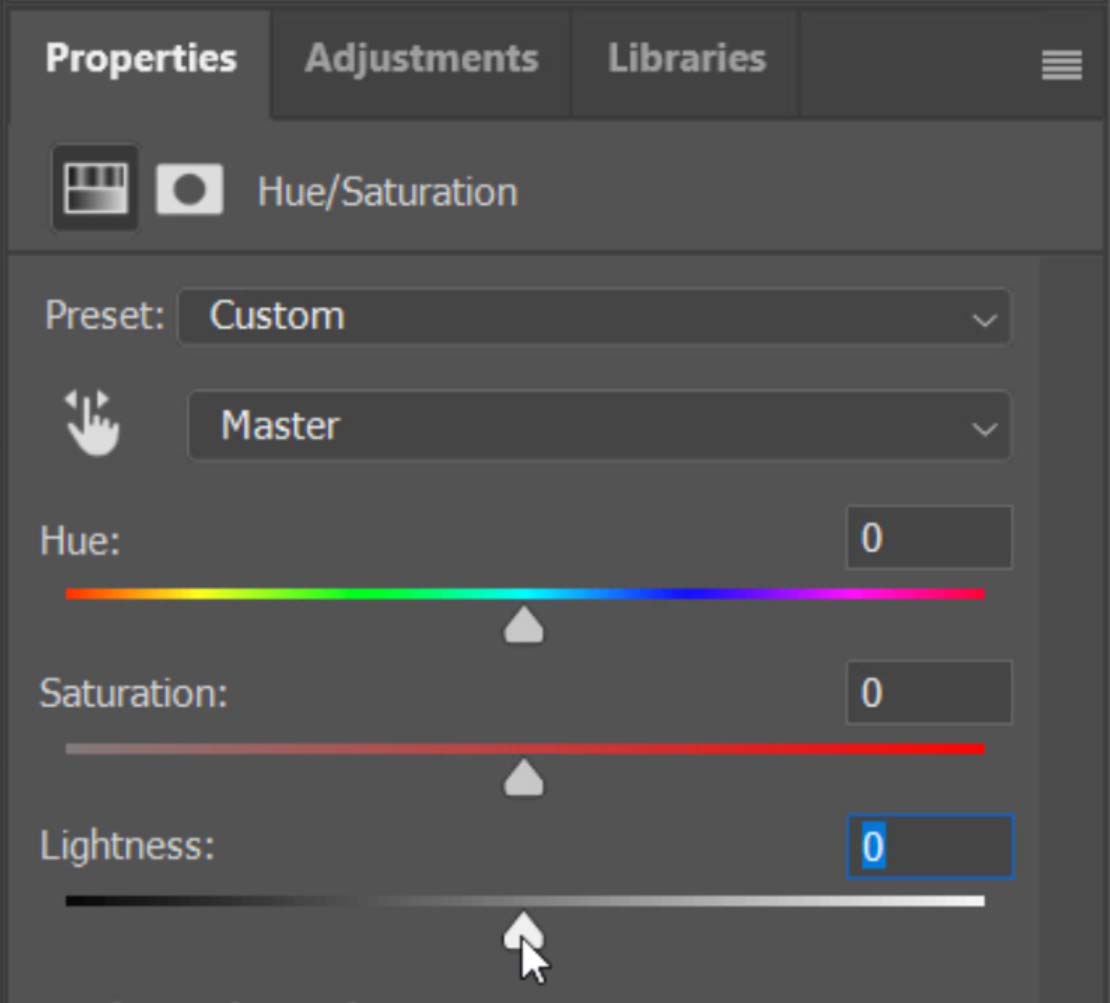
6. Move the Hue slider left and right to try to change the overall colour to one of the regular fall colors of orange, yellow or red.
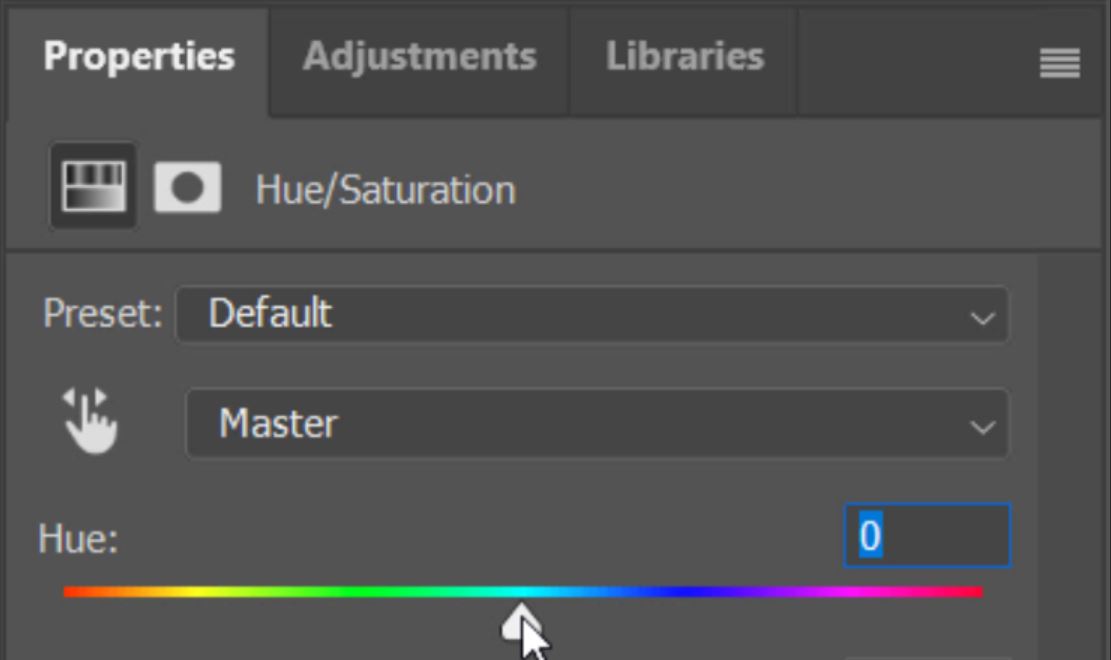
7. You might also have to adjust the Saturation slider. For this example, we wanted a really bold green colour.
8. Once you have the desired colour dialled in, right-click on the Hue/Saturation layer.
9. From the various options select Merge Down.

10. After the Hue/Saturation layer has been merged down, what you are left with is a flattened layer with the Hue/Saturation adjustment applied. As you can see in the image below, the original (bottom) layer has a more yellow color tone, whereas the top layer is a bold green.

11. Just as we did before (step 2), let’s copy this layer. The shortcut to make a Copy Via Layer is Ctrl+J (Cmd+J Mac).
12. And again, add a Hue/Saturation Adjustment Layer.
13. Use the Hue slider to change the colour tones, and the Saturation slaide to adjust the strength of the colours. Remember, you’re looking to set Autumn colours such as yellow, orange and red.
14. This time we also adjusted the Brightness slider in the Hue/Saturation properties panel. This was to get a strong but soft red.
15. Just like in steps 8 and 9, Right-click on the Hue/Saturation layer and select Merge Down.
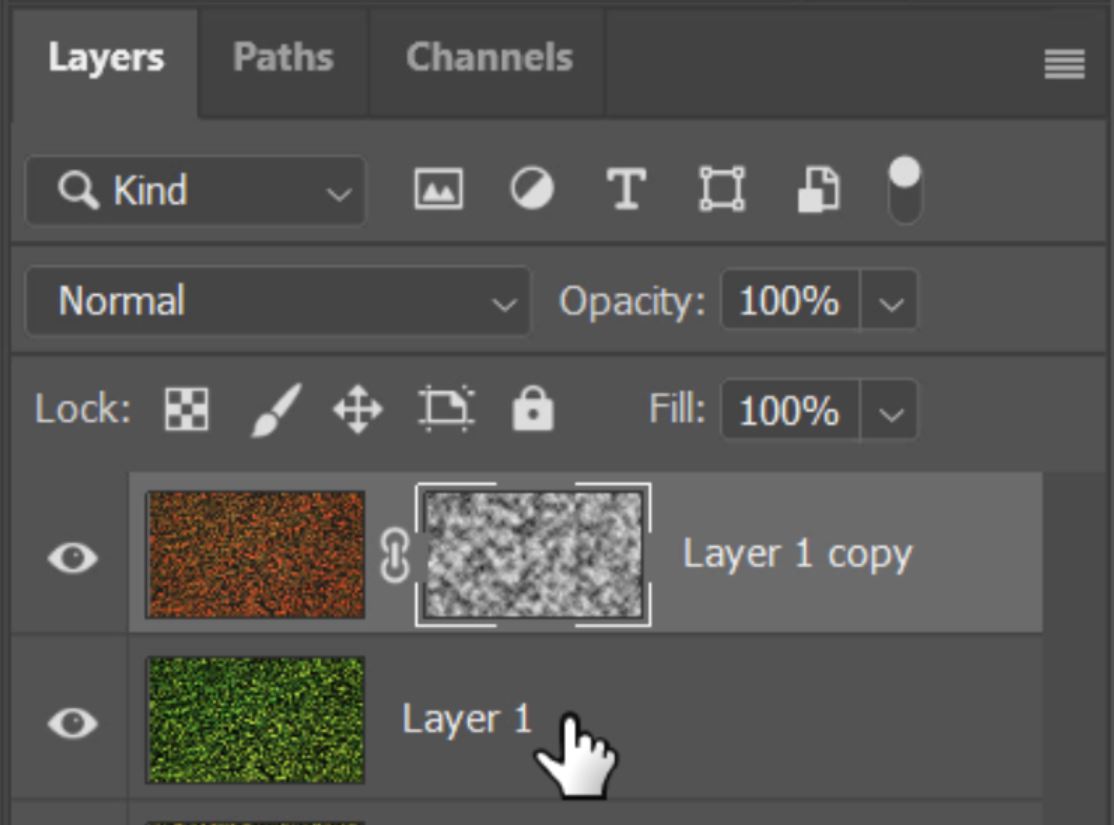
16. Add a new layer mask by clicking on the Add New Layer Mask icon.

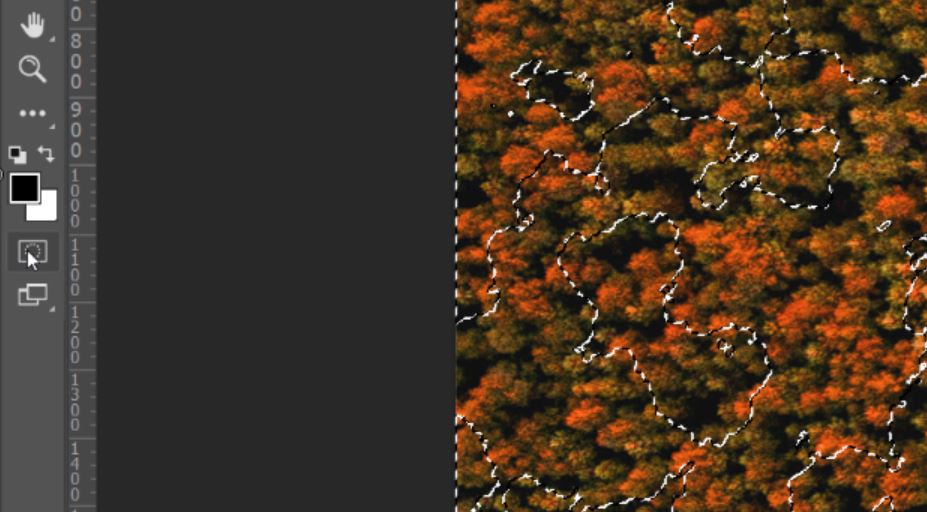
17. Click on the Quick Mask icon (or press Q) to turn on quick mask mode.
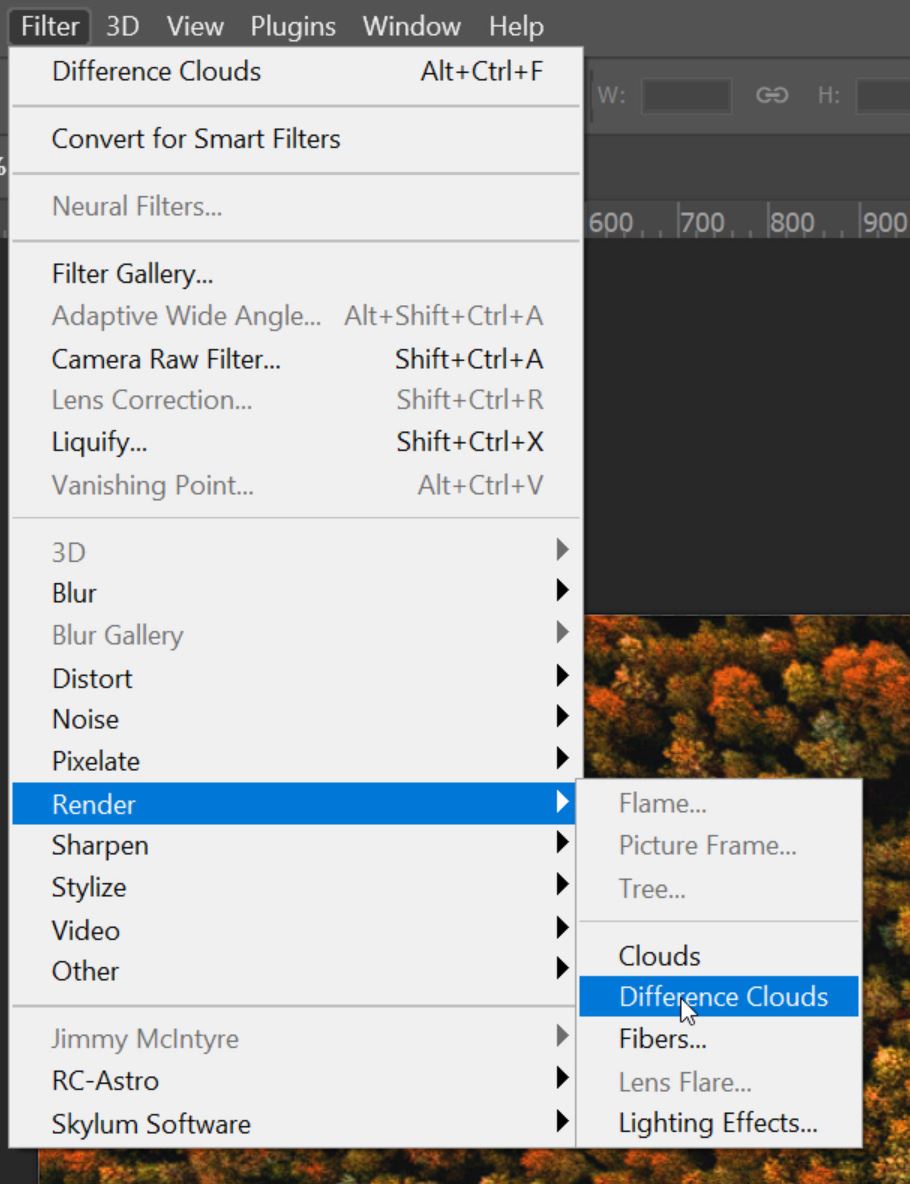
18. Go to the Filter menu and choose Render > Difference Cloud.
19. Click on the Quick Mask icon (or press Q) to turn off Quick mask mode. This will now give you an active selection.
 20. It’s very important at this stage to select the Layer “Mask”.
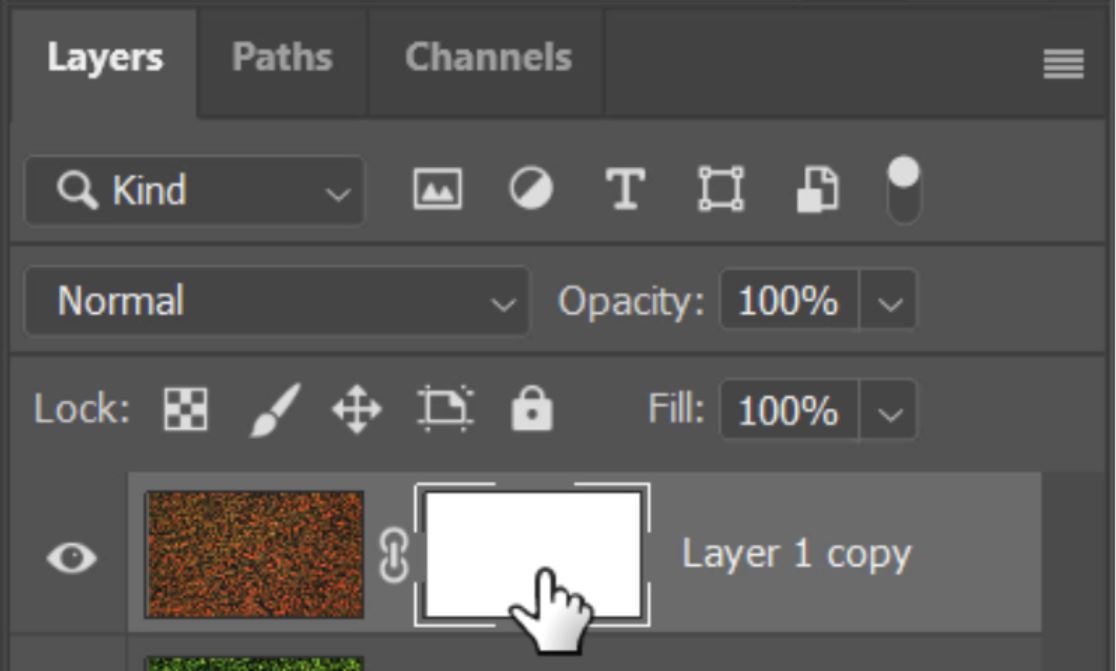
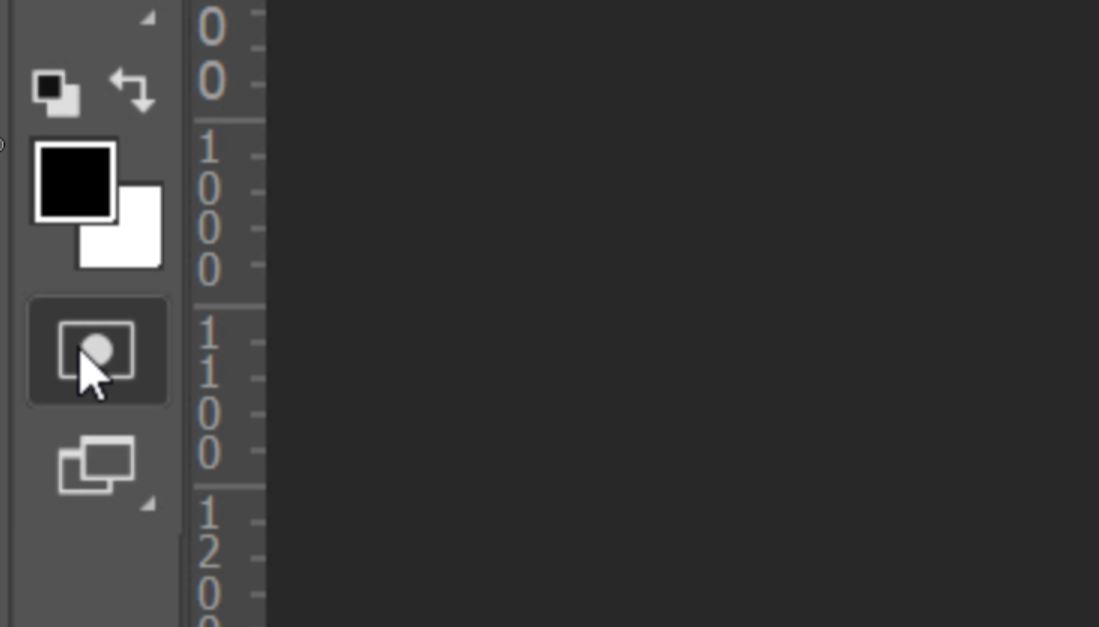
21. Now that you have the layer mask selected, select the Paint Bucket Tool.

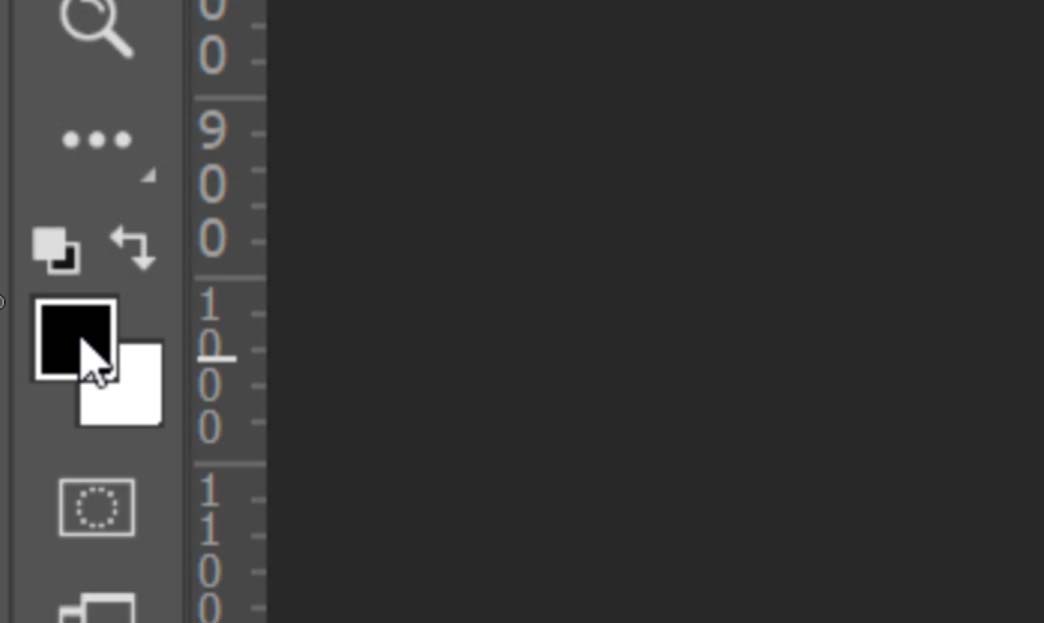
22. Make sure you have a black foreground.
23. And left-click anywhere on the image to fill the active selection of the layer mask with black to hide what was selected. This will blend these wonderful Autumn Colours.


24. Press Crtl+D (Cmd+D) to release the active selection.
25. Now select the other layer that you created which has not had a mask applied. In this example, it is our bold green layer. You might have multiple layers which you will have to go through one at a time.
26. Repeat steps 16 – 24.
- Add a New Layer Mask.
- Press Q on your keyboard to turn on Quick Mask Mode.
- Go to Filter > Render > Difference Cloud.
- Press Q on your keyboard to turn off Quick Mask Mode.
- Select the Layer “MASK“.
- Select the Paint Bucket Tool.
- Choose black as your foreground color.
- Left-click on the image to hide parts of the layer. You can do this more than once to hide even more of the layer.
Take a look at the before and after images below where we have transformed this forest canopy into an Autumn Woodland.