
Photoshop Secrets 17: 5 Ways To Color Correct Beautifully (Even Remove Strong Casts)
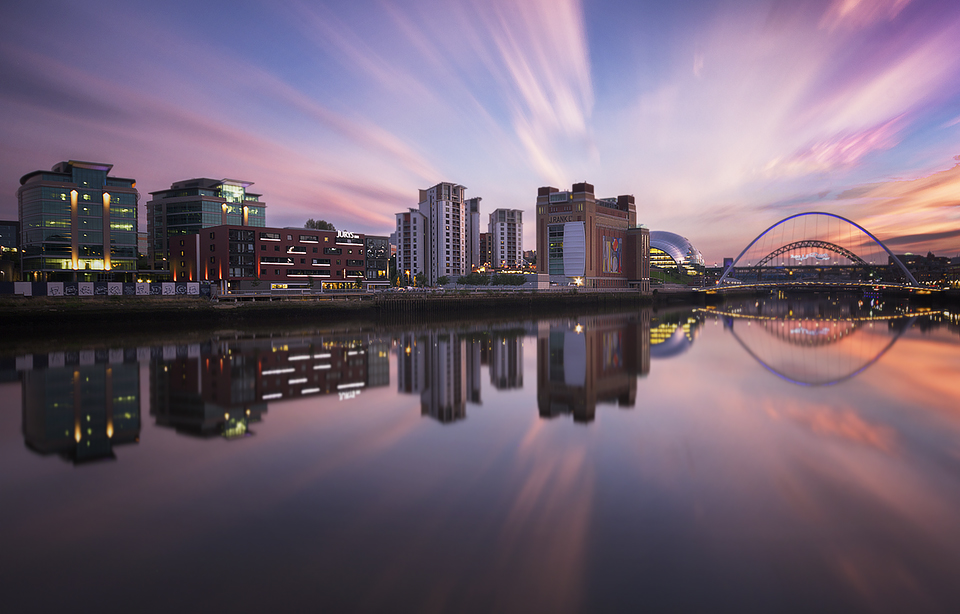
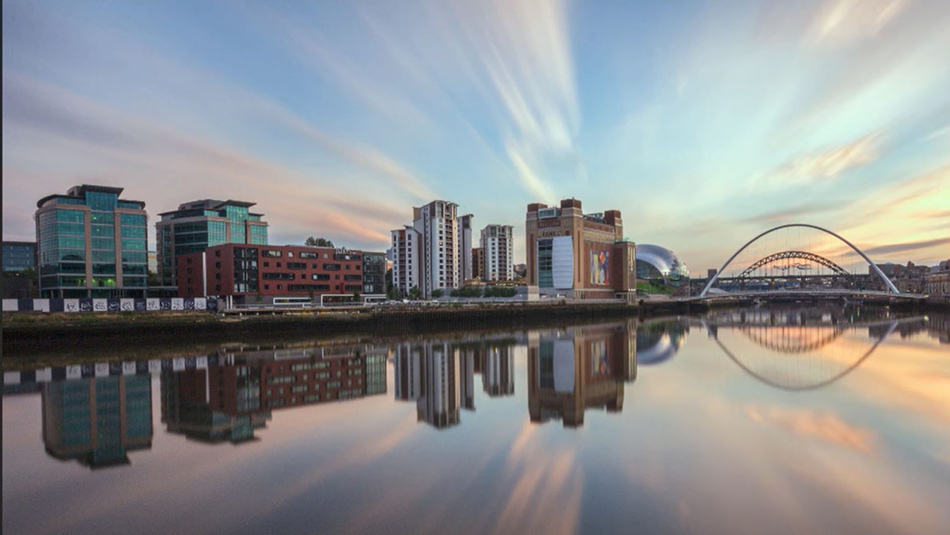
In today’s 5 ways to color correct Photoshop Secrets, we will look at a number of very effective ways to remove even the strongest colour casts in Photoshop.
These techniques are quick and easy. Three of the methods are instant, letting Photoshop choose the colors for us. Different methods work for different scenes. That is why I have put together the free action above. Just run this once and delete the layers you don’t want to keep.
The other two techniques require more manual input from us, but gain more consistent results. While establishing a white point is a fairly common technique, matching colours from different images, which we see in the video, is less known but very effective.
5 Ways of Colour Correcting in Photoshop
Method 1
1. With your image open in photoshop, go to Image>Auto Colour or Press Shift+Ctrl+B on a PC or Shift+Cmd+B on a Mac.

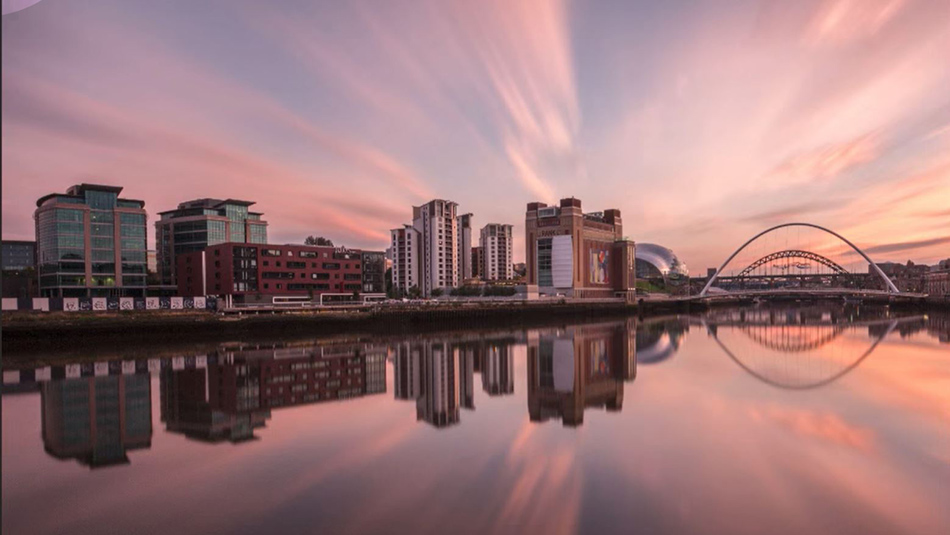
2. As you can see it does a decent job of removing the colour cast.
Method 2
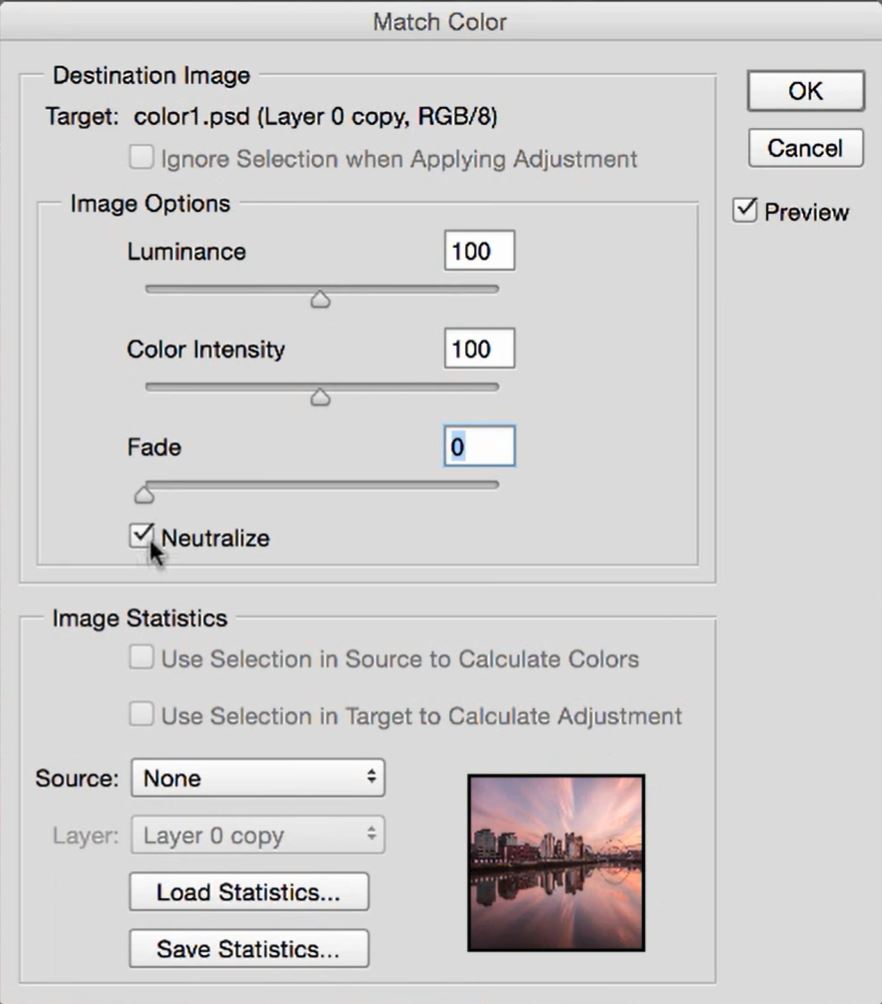
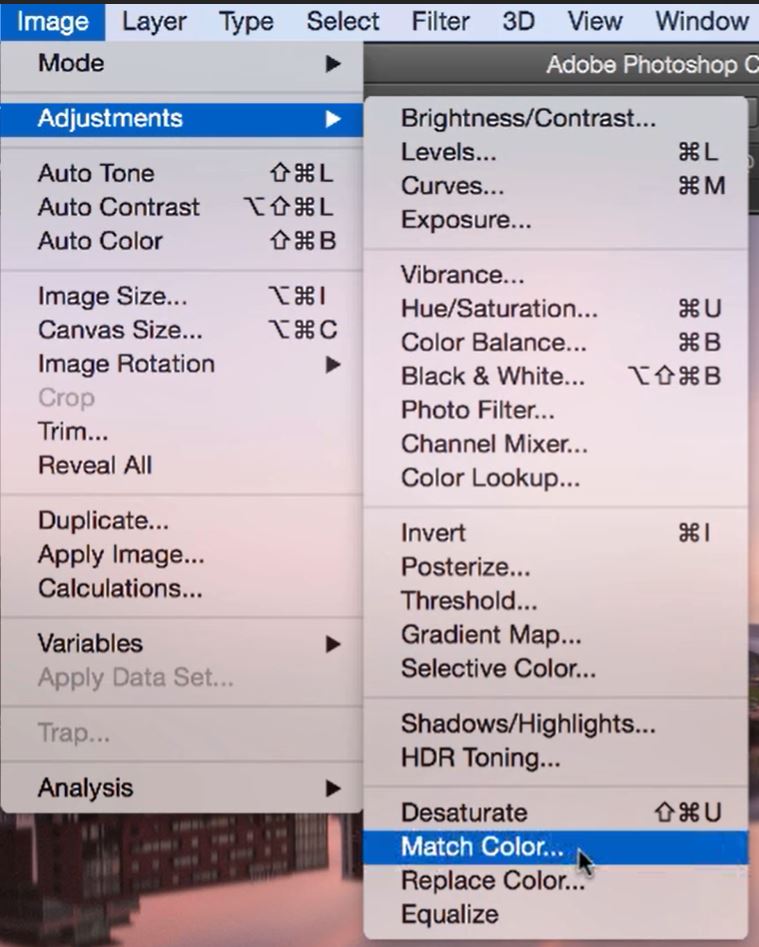
1. On the menu navigation pane go to Image>Adjustment>Match Colour.

2. When the Match Colour option appears select the tick box ‘Nuatralize’. Then, click OK.
3. A different after effect from the first method but equally as good.
Method 3
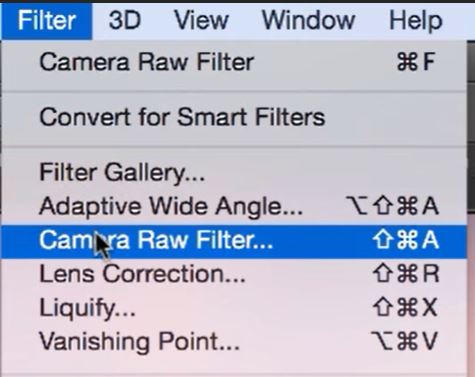
1. For the third method we’re going into Camera RAW. Go to Filters>Camera Raw Filter or press Shift+Ctrl+A on a PC or Shift+Cmd+A on a Mac.
2. In the dropdown option for White Balance select Auto.
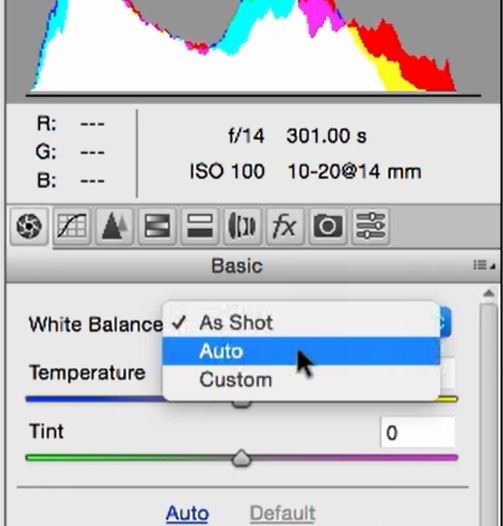
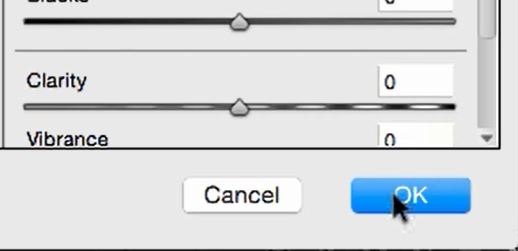
3. Click on OK to return to photoshop.
4. The colour is balanced and we have kept some subtle colours.
Method 4
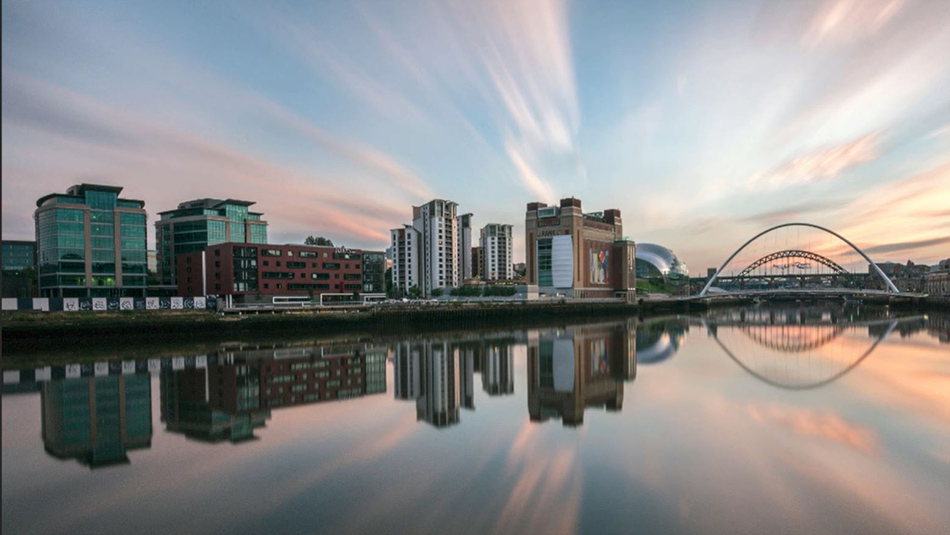
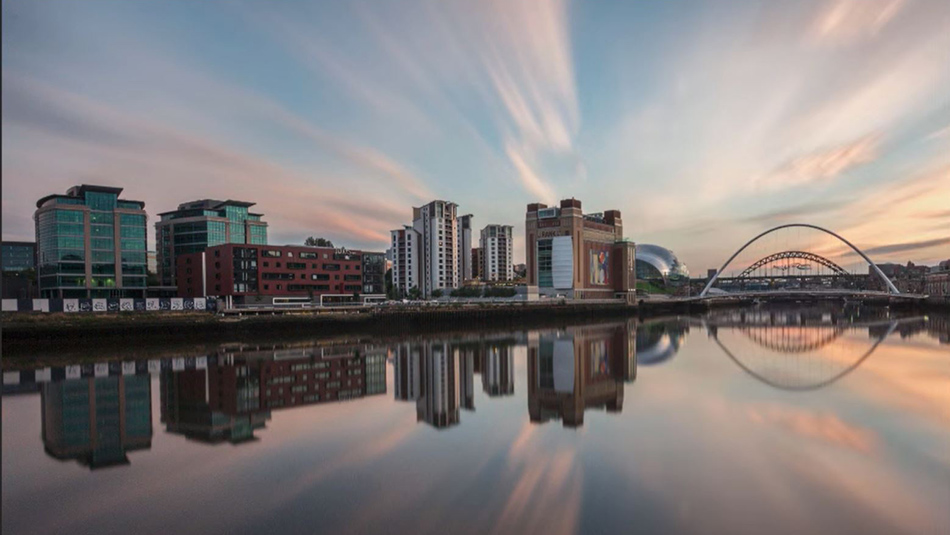
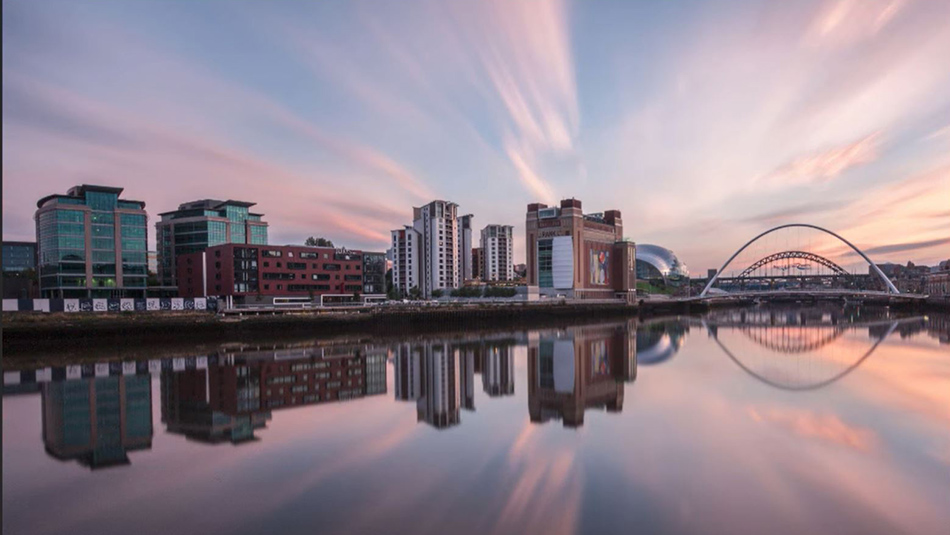
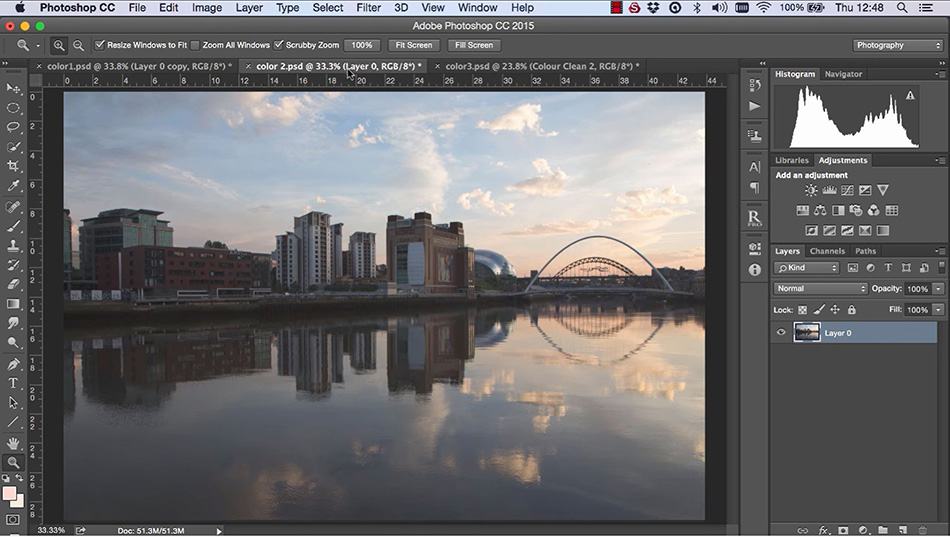
For this method, we will be using an image of the same scene that was taken at the same time but without an ND filter.
1. We open an image containing the colours we want.
2. As we did in one of the previous methods, go to Image>Adjustments>Match Colour.
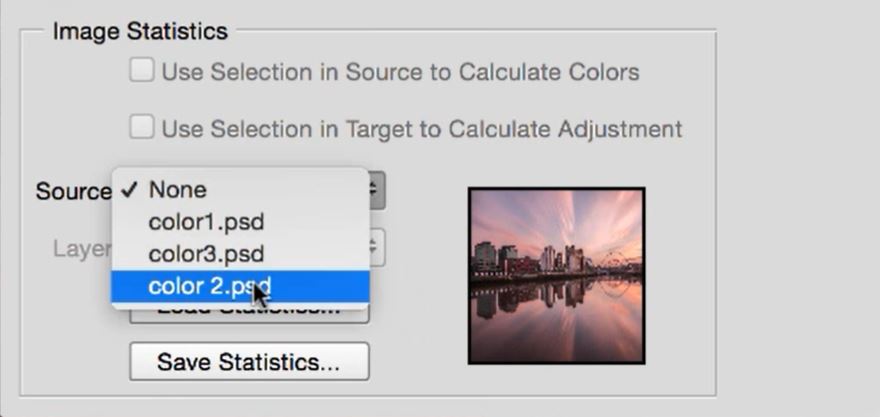
3. When the dialogue box opens, under the image statistics for your source, select the image which you want to balance the colours from.
In our example, it is named “color 2.psd”.
4. This time we have control. Under Image Options you can adjust the Luminance, Color Intensity ,and Fade. When you’re finished click OK.

5. Because we have some level of control this method is much more flexible than the others and can produce a variety of different results.
Method 5
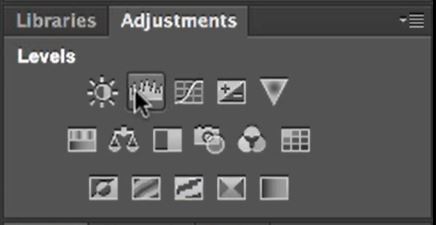
1. Our final method uses Levels or Curves.
2. Select the eyedropper tool to find the white point.
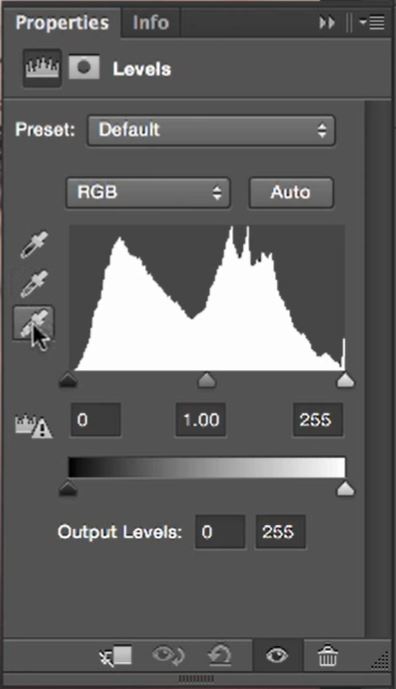
3. Take your eyedropper tool over the image and hold down the Alt or Opt key. The image will change dramatically to display the brightest areas of the image.
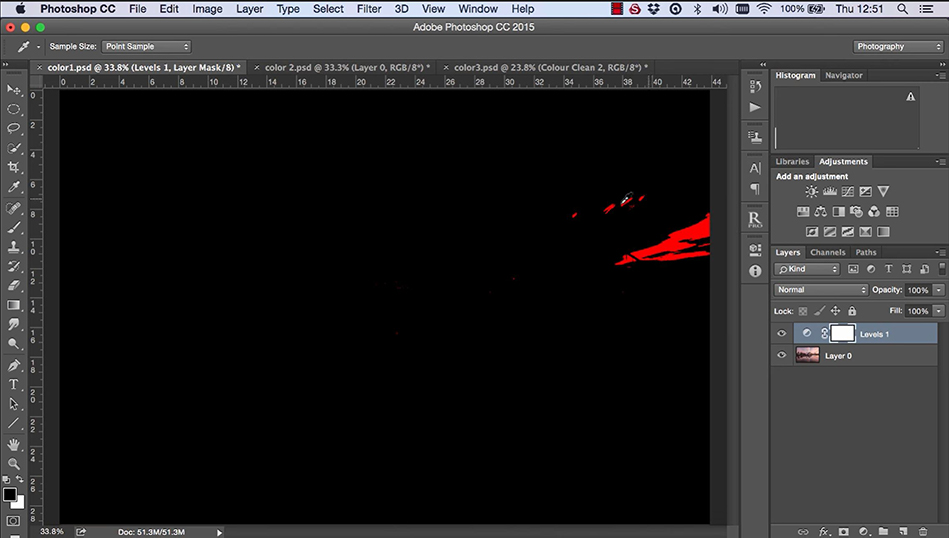
4. Refine the selection by using the sliders.

5. Release the Alt or Opt key and click on the area of your image that you would like to use as your White point.

6. Again, another good result. Proof that Photoshop has a good variety of ways to color correct quickly and easily.
There are addition methods but these simple and effective methods are the easiest 5 ways to color correct in photoshop.


Download the free actions by subscribing here.
If you liked this tutorial we have several other tutorial on color control and manipulation which be found at the following link https://www.shutterevolve.com/page/2/?s=colour.
For an 18 minute detailed explanation on color correction, you should watch this youtube video on The Complete Color Correction Process in Photoshop.
Enter your email below and join our community of more than 100,000 photographers who have also
Subscribed to our newsletter.
Downloaded our FREE Photoshop Course.
Got our FREE Easy Panel for Photoshop.
And, have our FREE Essential Guide To Luminosity Masks E-Book.
To go directly to any of our products, simply click on the image below.


