Current Version: 2.0
Next Version: N/A
Release Date: N/A
Support Page: https://www.shutterevolve.com/raya-pro-support/
___________________________________________
All Raya Pro users get all updates for FREE, for life!
___________________________________________
This page is for you, a Raya Pro user, to give suggestions for what you would like to see in future updates of the panel. I’m afraid it may not be possible to include all suggestions, but I look forward to hearing your opinions.
Please note, this is not a support page. For support, please visit the link above.
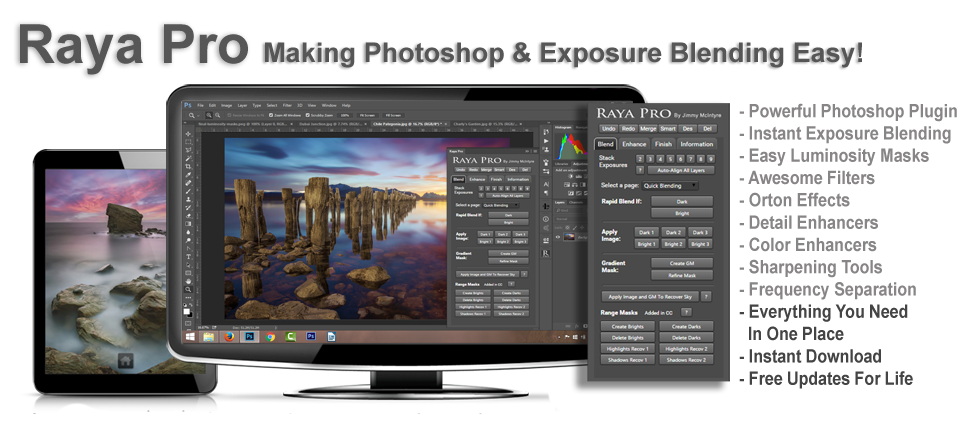
Screen shots below give an example of how the panel may look, but the final panel may look somewhat different.
___________________________________________
See The New Improvements for 2.0
– Precision Masks: A new and improved exposure blending feature will be added called ‘Precision Masks’. These masks will be quicker and easier than luminosity masks, with the added benefit that we can shape them any way we want. They will also be easier to access, since they live in the layers panel, and they will not take up as much memory as luminosity masks. In the near future, I see these Precision Masks completely replacing classical luminosity masks.
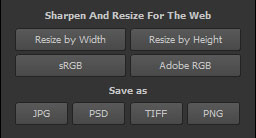
– Sharpening Tools: All of the Prepare for web buttons will be replaced with two buttons: ‘Sharpen by Width’ and ‘Sharpen by Height’. These will allow you to choose any width or height for your final image. You can already download these actions here: Quick Photoshop Secrets 16: Perfect Sharpening & Resize for the Web
– Save As and Color Space: We will now be able to save our files as JPG, PSD, TIFF or PNG with one click. And we can also change the color space easily too.
– Black/White Masks: These buttons will add masks to all layers, apart from the background layer. ‘Black’ will add black masks. ‘White’ will add white masks.
– Frequency Separation 16Bit: Along with the 8 bit Frequency Separation button added in 1.1, we will also add a 16 bit button in 2.0.
– Zone Contrasts: With one button, 6 curves layers will be created. Each of these layers will have a mask that affects a certain area of brightness. There will be two Brights curves layers, two Darks and two Midtones. This will allow us to make precise contrast adjustments to only certain parts of our image.
What new features would you like to see in version 2.0?
Awesome set of tools of course! Just bought them a week ago and am loving every bit of it. Make my workflow so much more faster. I used to have actions for creating these masks, but your panel is a lot faster and more convenient. Kudos!
One suggestion I have is to allow us to pick one of the two drop downs for blending techniques (under “select a page” – Quick blending or Luminosity Mask.
Right now, it defaults to Quick blending, but for those of us that are used to using only lum masks, it is one more step.
Another feature I’d love is to refine my lum mask using color range. This would give us even more control. To do this right now, involves 3 extra steps but these could easily be combined into an action.
Too funny I wanted to mention being able to use luminosity masks to select COLOR RANGE and here it is already mentioned.
Agree with comments bellow. Also it would be nice to have preview of the mask done by BW curves.
Jimmy, bought Raya Pro 2 months ago, still in the learning phase, really love the program. Q: oftentimes when I try to open 2 or 3 images from ACR to PS using the “Stack Exposures” buttons, I get this message: “The parameters for command “Close” are not currently available” and the exposures are NOT stacked. Can you help me with this?
I got raya pro a while ago and have been sick on and off since. I have photoshp cc 2016 so i cannot get it to load. any suggestions. PS I am not a computer wiz.
Hi Lois,
Could you please email me via the contact form below, and include the email address you used to purchase Raya Pro. We will send you the latest version with clear instructions: https://www.shutterevolve.com/contact/
Hi Jimmy. Do the Zone Contrasts coming up in 2.0 work with curves affecting colour? I was looking at another product out there that uses curve adjustment masks to adjust images precisely. If these new features are what I think they are then I won’t bother and just wait for the new version of Raya Pro.
hi jimmy my I still have the first version of ray pro and never updated it how would I go about that ? thanks Adam
adamwild84@yahoo.co.uk
Just started using Raya Pro and I am very impressed. I had been playing around with HDR for a couple of years but, as you have mentioned in several of your videos, have found it difficult to achieve a natural or realistic look. Exposure blending provides what I have been looking for. Regarding the next version of Raya Pro, I like the idea of being able to sharpen and save by width or height (as the actions you have provided allow you to do), and I also like the idea of the zone contrasts, similar to what Blake Rudis offers with his Zone System.
Will the 2.0 version also worj with cs6?
Hi Jimmy, I’m a Raya pro user and enjoy the panel very much. I just downloaded the new 2.0 version which seems to have nice improved features.
My concern is the SHARPENING feature, I very often end up with too much sharpen even if I deselect the extra-sharpen layer. What would be great is sharpen ON A SLIDER on the resulting web-prepared image for us to choose the final amount from 0 to 100% (through opacity, smart filters, multiple sharpen layers to select : 0, 25, 50, 75,100% whatever..).
Indeed, I shoot my already sharp lenses like Nik 14-24 at their sweet spot, I do NOT add sharpen in LR (slider at 0) to the raw image, i do NOT add other sharpening whatsoever in PS or via the RP panel (detail buttons) and I find myself several times with what may look like an oversharpened web-prepared image in the end.
Hope this helps! Apart from that the panel is great (could use some colors to make sections more obvious), installation is flawless, videos are great.
Keep up the good work
My bad, i didn’t look enough into the resize & sharpening function which you updated.
Now you’ve left a layer with the unsharpened image that’s looks good.
What about the resize method, i guess it’s a “bicubic smooth gradients” which would prevent PS’s resize sharpening be applied and leave the image ready for your own mix.
The 3 sharpening layers (standard, more and extra) are great because we can now manage opacity and even paint sharpening on the added mask. Great work Jimmy 🙂
Just a note after resize it always asks to convert to sRGB even it it was converted beforehand (but that’s no big deal)
I LOVE your work Jimmy! I am through the Mastering-Ray-Pro-Part-1. I was a user of 1.1 and have gone through that course too. I REALLY like the new options on the 2.0 panel! Having said that would it be possible for you to produce two short checklists? I would love to have one to refer to when I am actually taking the photos that I plan to later blend. Then another to setup the photos in Photoshop for blending. Something quick and short, just enough to cover the basics and get me started. Maybe something I could store on my phone?
Thanks again for all your work. I’m afraid that I’ll never get this, but it sure won’t be because you didn’t present it well!
Hi Jimmy, It’s now past the 23rd and I haven’t any e-mails about the new version. How do I upgrade without the link?