
Photoshop Secrets 20: Easily Remove Distortion (Perspective & Barrel)
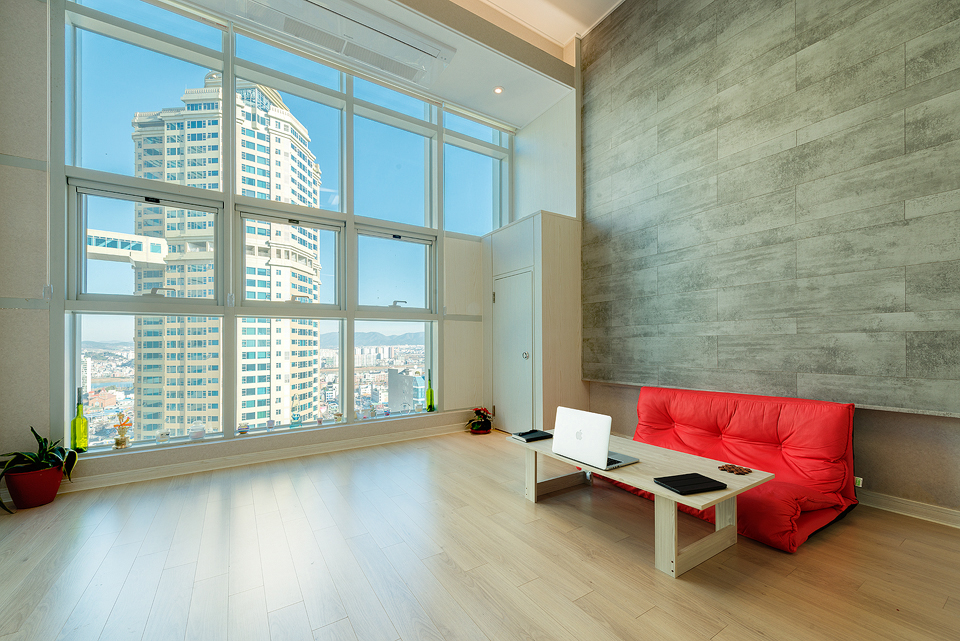
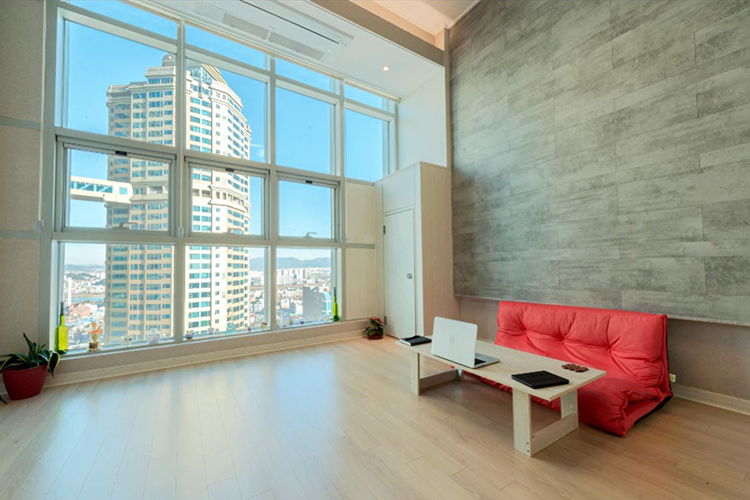
This tutorial will teach you two techniques for correcting both barrel distortion and perspective distortion in Photoshop.
The first method, which I use in most of my images, is quick, easy and uses the Distort function in Photoshop. I usually check Enable Lens Profile Corrections in Adobe Camera RAW before importing images into Photoshop. This reduces the barrel distortion. Then with Distort, I can nicely straighten the image.
The next technique teaches Adaptive Wide Angle. This tool is a strange one – it can be fairly easy to use and produces great results. Yet, sometimes, when images are more complex, with a good number of horizontal and vertical lines, things can begin to get messy. Hopefully in this video, I keep it simple enough so that you can use this tool to correct barrel and perspective distortion in many of your images when Distort doesn’t work.
Method 1 – Transform & Distort
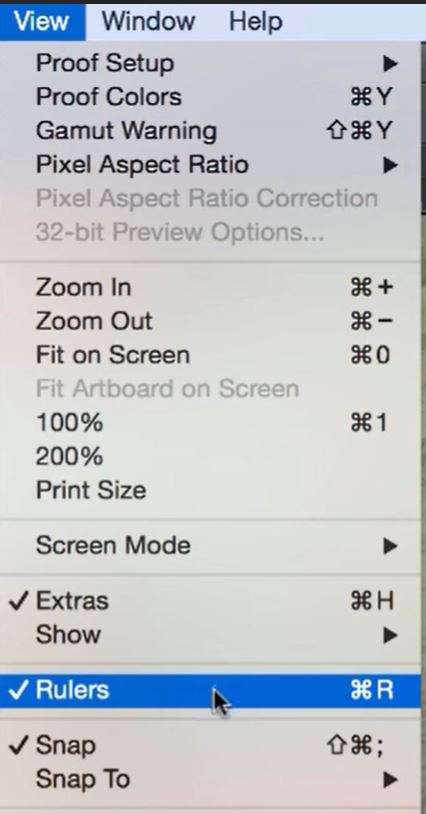
1. With your image open ensure the Rules are visible. Go to View and select Rulers.
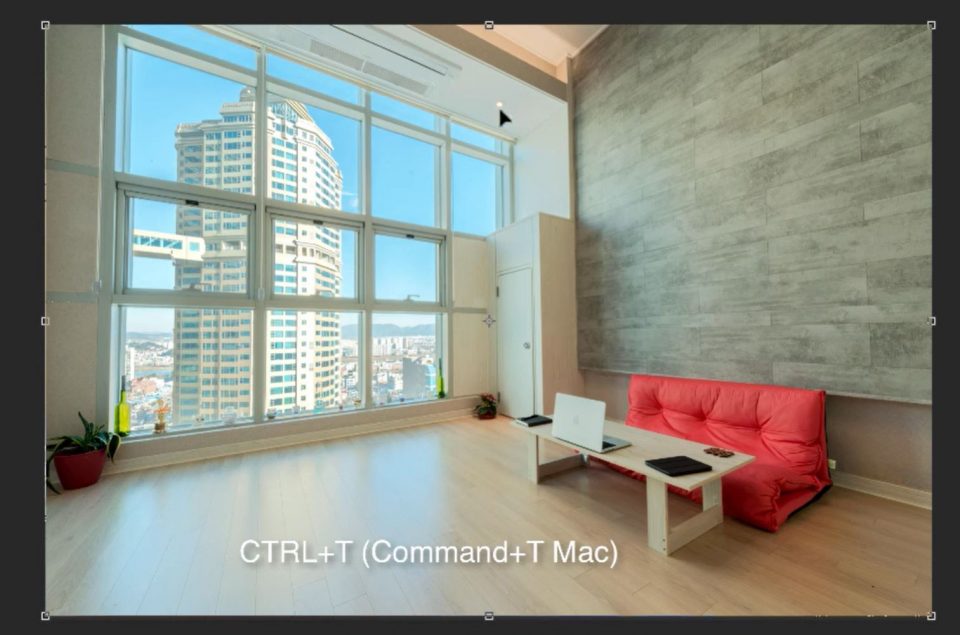
2. With your image selected press Ctrl+T or Cmd+T to start to transform your image (transform cursors will appear along the edges and corners).
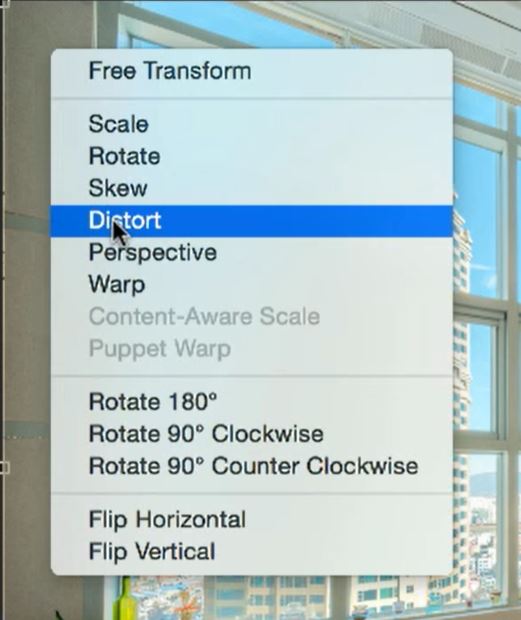
3. Right-click on your image and select Distort.
 Distort” width=”521″ height=”620″>
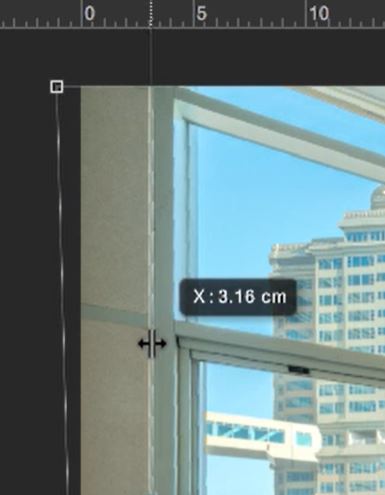
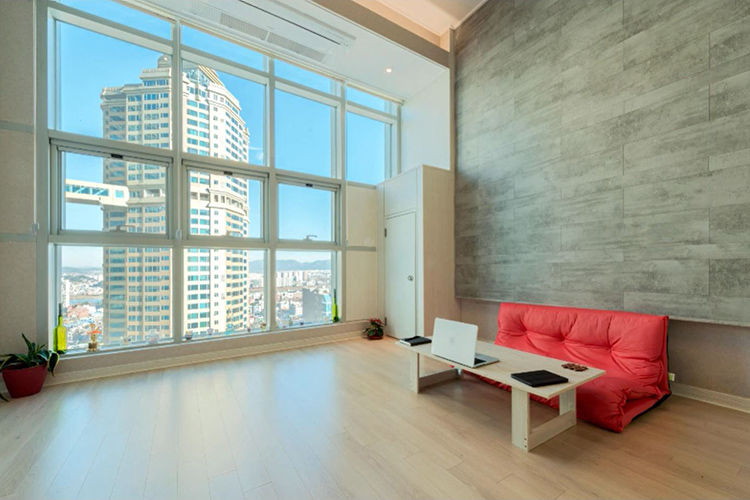
4. Now left-click and drag a corner out to align and correct the distortion.

5. Left click on the vertical ruler and drag a guideline out over your image to provide a reference.
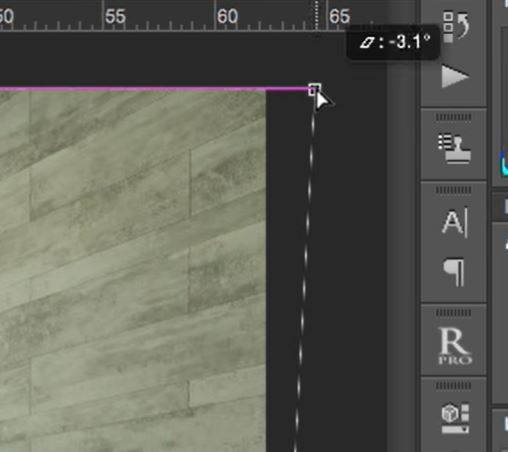
6. Repeat the process on the opposite corner, Drag it out to straighten your image.
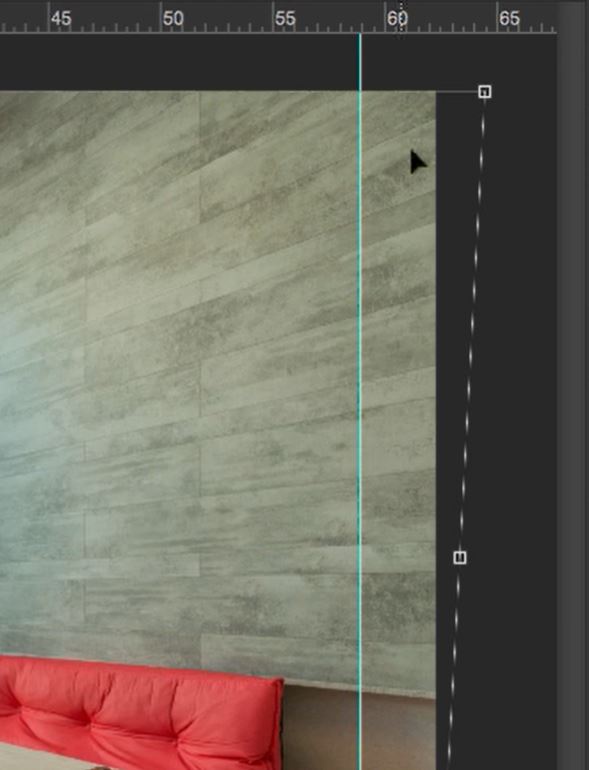
7. Drag another guideline from your ruler for vertical reference. Now you should have two guidelines on either side of your image.
8. you will have to readjust the corners to strengthen the image again.
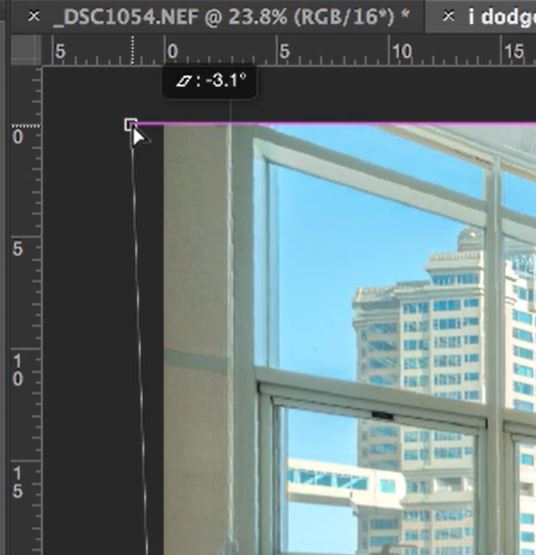
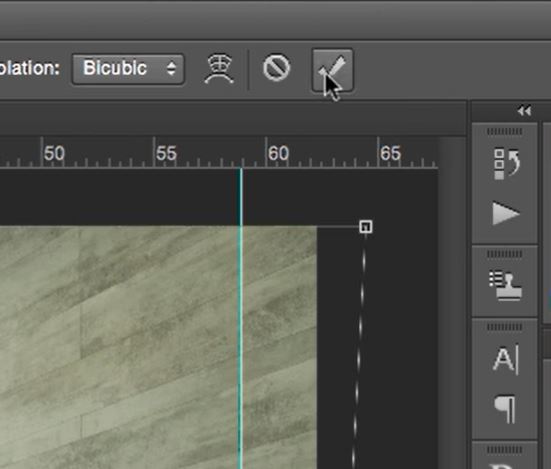
9. Once your happy and your image is straight click the big (OK) tick at the top of the screen.
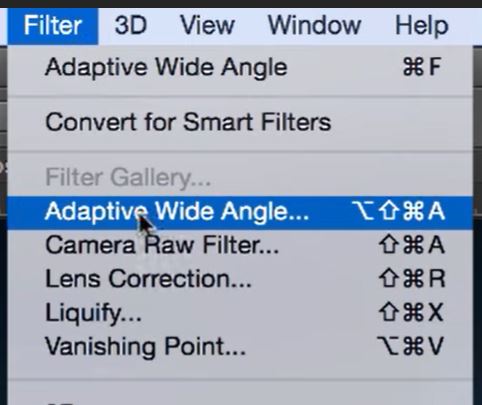
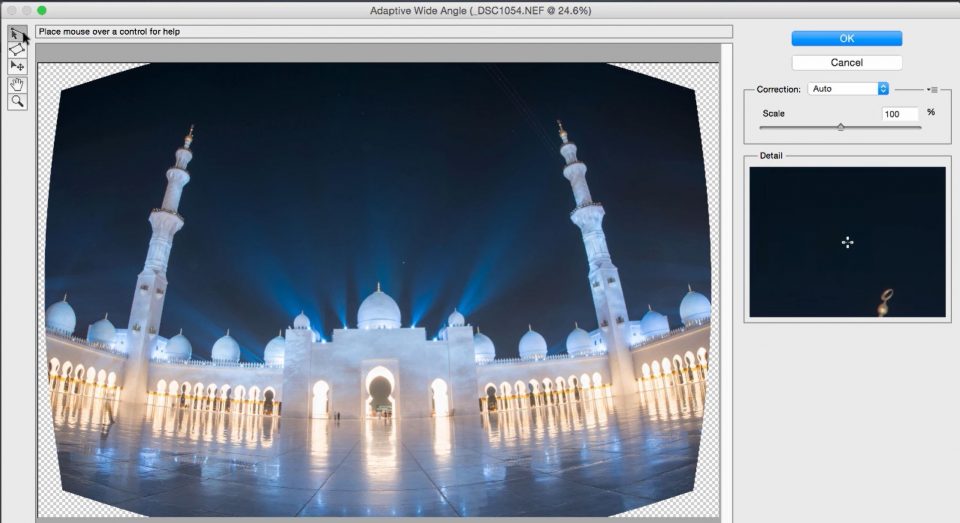
Method 2 – Adaptive Wide Angle
1. With your image open go to View>Adaptive Wide Angle. or Click Ctrl+Alt+Shift+A on a PC or Cmd+Opt+Shift+A on a Mac.
2. Make sure your setting are the same as ours.
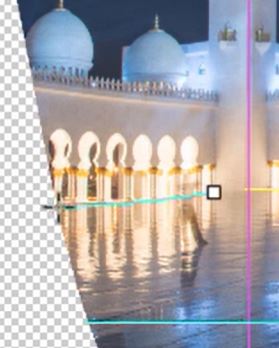
3. Find a horizontal reference point.

4. Left-click and drag to the opposite reference point. Hold down the Shift key and release your mouse button. This will give you a true Horizontal.

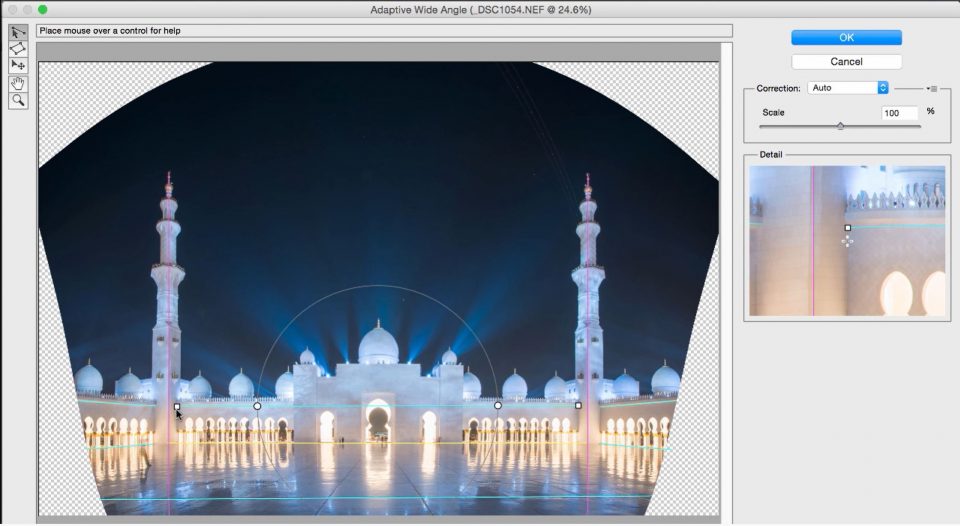
5. Now let’s align vertically. Left-click on a high vertical reference point and draw down to a low point and release your cursor.

6. Repeat the same process on the opposite side of the image.

7. Find more horizontal reference points and draw lines along them to bring them into perspective.

8. Now do the same for diagonal lines.
9. You should now have a load of reference lines on your image. Now, click OK.


Additional Resources
We have another tutorial on Perspective & Panoramic Blending for Landscape Photography by Dave Morrow.
Alternatively, the Adobe website goes to great lengths to explain about Lens Distortion and Correction.
Enter your email below and join our community of more than 100,000 photographers who have also
Subscribed to our newsletter.
Downloaded our FREE Photoshop Course.
Got our FREE Easy Panel for Photoshop.
And, have our FREE Essential Guide To Luminosity Masks E-Book.
To go directly to any of our products, simply click on the image below.


