
Photoshop Secrets 23: The Easy Way To Stitch difficult Panoramas
Panoramas can be tricky to shoot and stitch together. When done well, they can also be extremely impacting. But sometimes, Photoshop, or other panorama software, don’t like the files you’re trying to stitch together. In this tutorial, I show you two awesome techniques to stitch even the most difficult panoramas together in Photoshop.
The video also gives a few tips on how to shoot panoramas so the stitching is easier. Essentially, try to make sure there is about 40% overlap between tiles. And the narrower the focal distance, the less distortion you will have, the easier it will be to stitch the pano.
However, if you do have to shoot wide, and find you’re having difficulty creating your pano in Photoshop, these two techniques could make your life easier.
And you can also try these two alternative panorama stitching programs if Photoshop is not playing ball:
Hugin – Panorama photo stitcher
Three Top Tips to Stitch Difficult Panoramas
Overlap
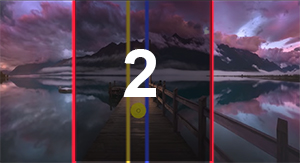
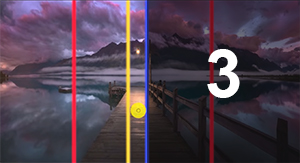
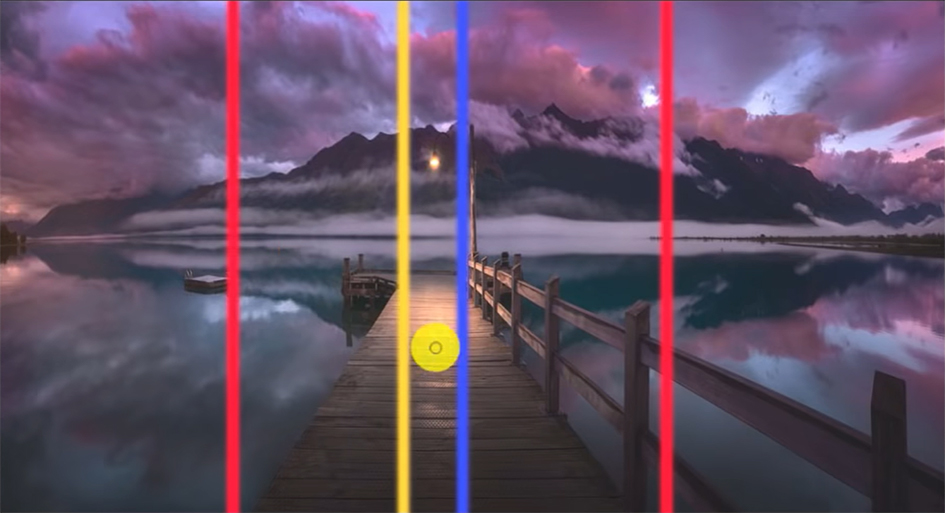
Getting it right with the camera can save so much time and be far less stressful when post-processing. Be sure to take your images with plenty of overlap for photoshop to gather information from. What do we mean by overlap? Imagine taking multiple images to create a panorama, and taking those images from left to right. Image 1 should have more information than is needed to the left of the frame, this will eventually be cut away to give your image a sense of completion. Image 2 should be taken so that at least 30% of the right-hand-side of image 1 is also present in the left-hand-side of image 2. The same principle applies, so 30% of image 2 should show in image 3 and there should be more information to the right which will be cropped. The below images will help visualize the overlap. which is also covered in the video tutorial from 1 minute and 27 seconds into the video.

Cropping
If you have used the Photomerge function in File>Automate>Photomerge, but there is a lot of distortion. What we can do to reduce this distortion when we try to stitch difficult panoramas is to crop images, so that only the sections that we want to stitch are available. Because of the different angles, we use when shooting panoramas, and the time it takes to take each image the information in those images can change. Such as, clouds moving in the sky or the sun rising or falling like in this example at 5:27 of the video tutorial.
Distortion
Shooting with a wide-angle lens will invariably produce some lens distortion. When we use Photomerge to stitch difficult panoramas it tries to match images by distorting them. The results of this can be pretty scary. depending on which exposure Photmerge determines as the base image, the other images being stitches will be stretched and transformed to suit. To reduce how badly the images get distorted, we can correct the distortion manually before stitching them together to make our panorama. There are filters to correct distortion such as Adaptive Wide-Angle and Lens Correction or we can just use the transform tool. Learn how to avoid harsh distortion when stitching panoramas by watching the video tutorial from 8:38 onwards.
Other Resources
In a previous episode of Photoshop Secrets 20: Easily Remove Distortion (Perspective & Barrel) which can help correct distortion in images before stitching a panorama.
Enter your email below and join our community of more than 100,000 photographers who have also
Subscribed to our newsletter.
Downloaded our FREE Photoshop Course.
Got our FREE Easy Panel for Photoshop.
And, have our FREE Essential Guide To Luminosity Masks E-Book.
To go directly to any of our products, simply click on the image below.


