Quick Landscape Photo Edit In Photoshop
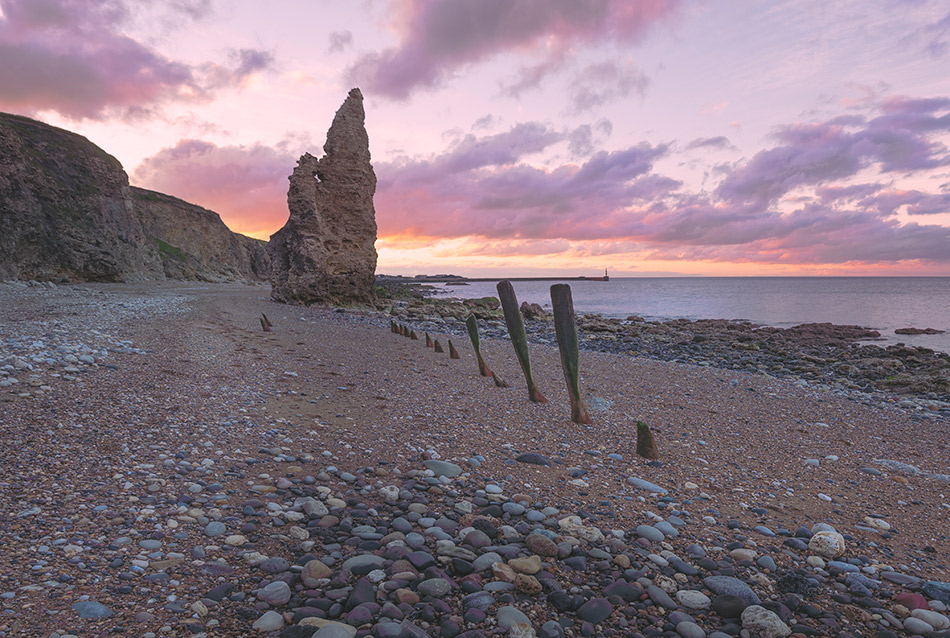
For this really simple and fast photography edit, we’re going to be mainly focusing on the Multiply Blending Mode. Multiply blend mode works really well on images that have a soft colour pallet. What multiply does is simple, it looks at the colour information and darkens it. It works on a monochromatic scale, on dark areas of a layer that has the blending mode as Multiply become darker, whereas white areas are unchanged. How this works in colour images is entirely based on the luminance of the colours within the image. In this quick landscape photo edit in photoshop we use multiply to create a more contrasting scene, we also use a mask to control the adjustment.

If you wish to experiment with this, I would really appreciate it if you included my name (Duke McIntyre) and www.shutterevolve.com when you publish your image. If you post your published image on our Facebook page I’d be happy to check it out.
Multiply Blend Mode
From the Adobe website this is how they describe the characteristics of the Multiply Blend Mode. “Looks at the color information in each channel and multiplies the base color by the blend color. The result color is always a darker color. Multiplying any color with black produces black. Multiplying any color with white leaves the color unchanged. When you’re painting with a color other than black or white, successive strokes with a painting tool produce progressively darker colors. The effect is similar to drawing on the image with multiple marking pens.” https://helpx.adobe.com/photoshop/using/blending-modes.html
By knowing the characteristics of the Blending Mode that we use in our edits, we can figure how best to make them work in our favor. We can use Multiply to strengthen colours and darken images. So that is exactly what we will do in this example. We will bring more vibrancy to the scene and make a vignette that brings contrast and mood to the image.
– Tutorial continued below –
Enter your email below and join our community of more than 100,000 photographers who receive regular tutorials and have also

Subscribed to our newsletter,
Downloaded our FREE Photoshop Course
Got our FREE Easy Panel for Photoshop
And have our FREE Essential Guide To Luminosity Masks E-Book
Quick Landscape Photo Edit In Photoshop
1. To complete this quick edit all you need is one exposure (or layer). We copy this by dragging it down to the Add New Layer icon at the bottom of the Layers panel.
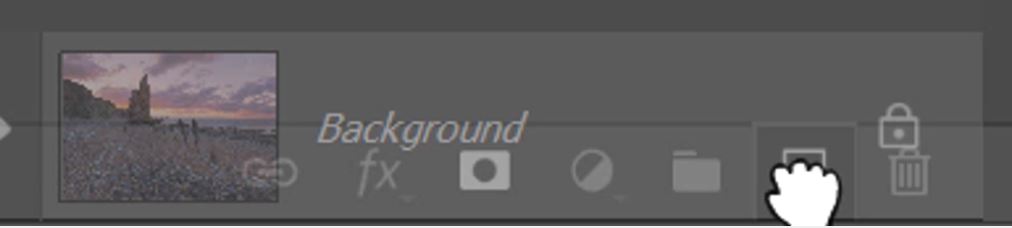
2. Automatically the new layer should be the one that is selected in the layer panel, but if not click on the layer thumbnail to select it.

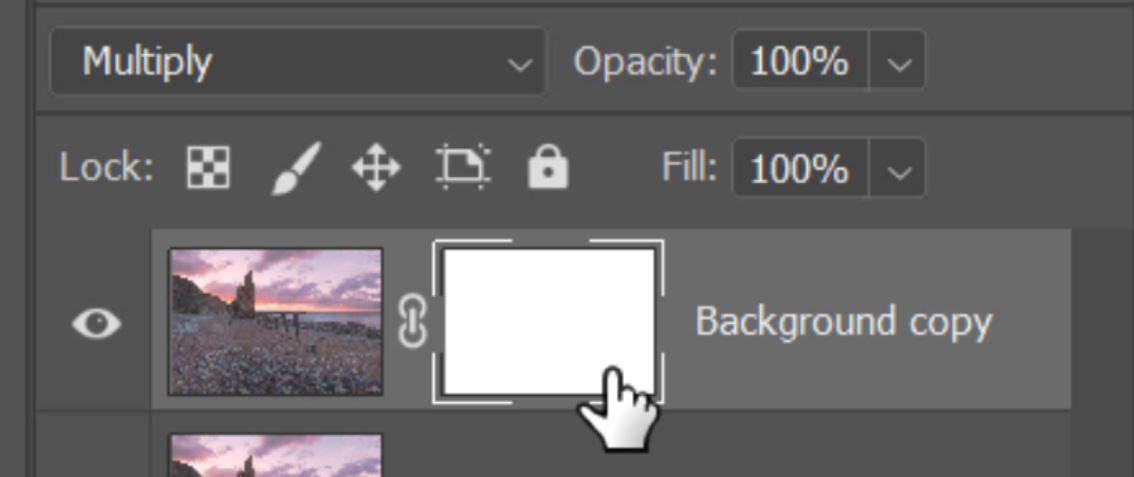
3. Near the top of the Layers panel there is a small drop-down window. This is where the different Blending Modes are.
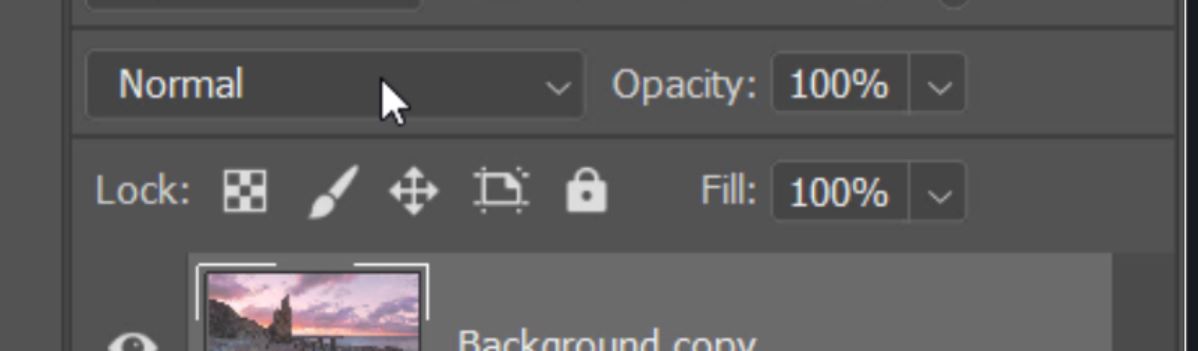
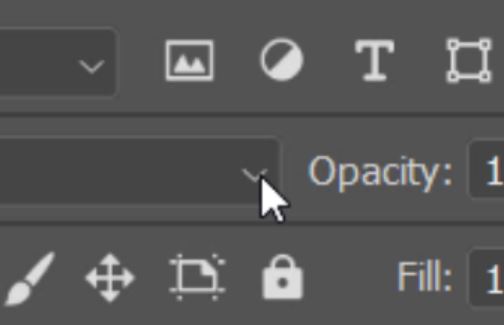
4. Left-click on the small drop-down arrow to open the options.
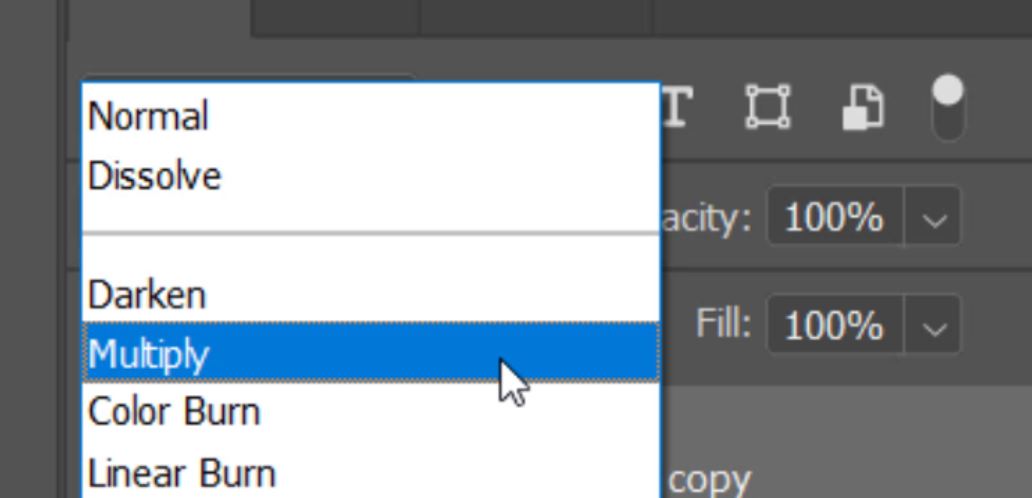
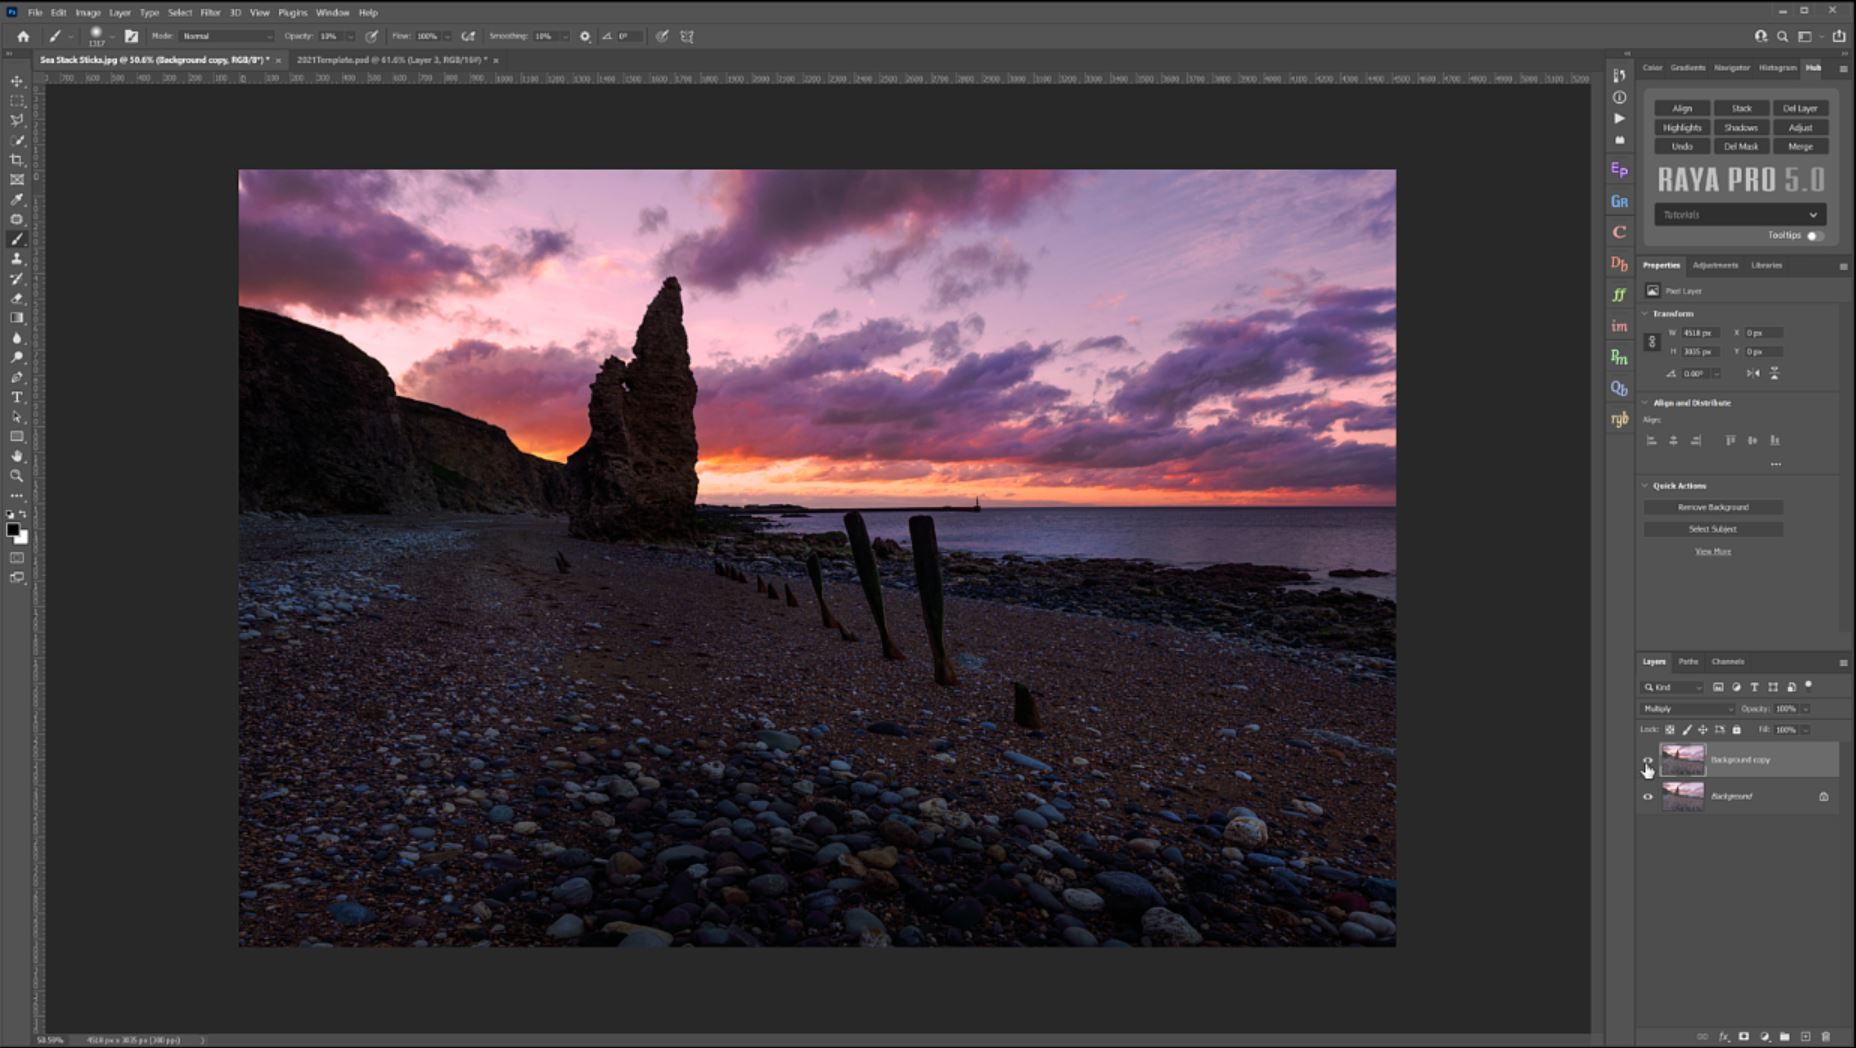
5. From the list that appears, select Multiply.
6. The effect on the image will be dramatic especially in the darker areas.

7. To control this we use a layer mask. Click on the Add New Vector Mask icon at the bottom of the Layers panel.

8. When the layer mask is applied to the layer it should also be selected. If it isn’t selected, left-click on the layer mask thumbnail to select it.
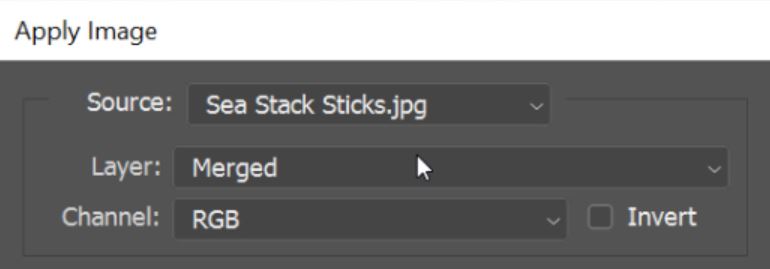
9. Let’s get Photoshop to do all the work and build our mask for us by going to the Image menu and selecting Apply Image.

10. This is going to apply the image that is visible to us to the layer mask as a type of luminosity mask.
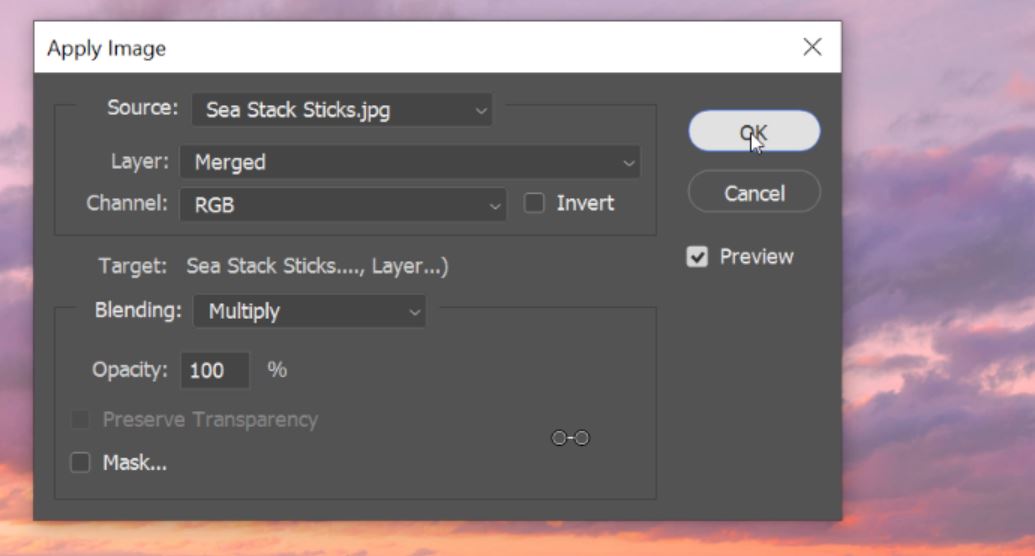
11. Please make sure in the Source section of the Apply Image properties window, the Layer is set to Merged, and the Channel is RGB.
12. In the Target section, the Blending should be Multiply, and the Opacity 100%.
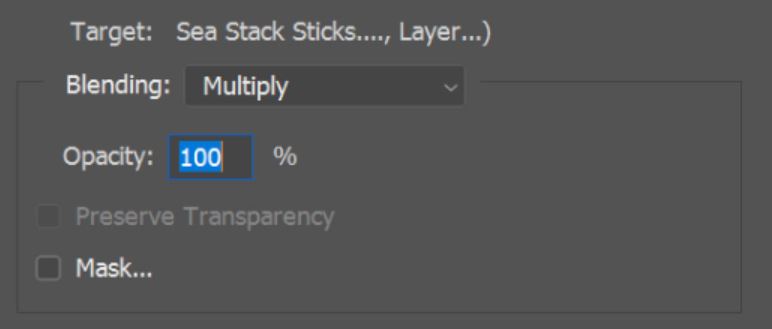
13. Click OK to apply the merged image to the layer mask.
14. Now your image will look a lot more controlled than before.
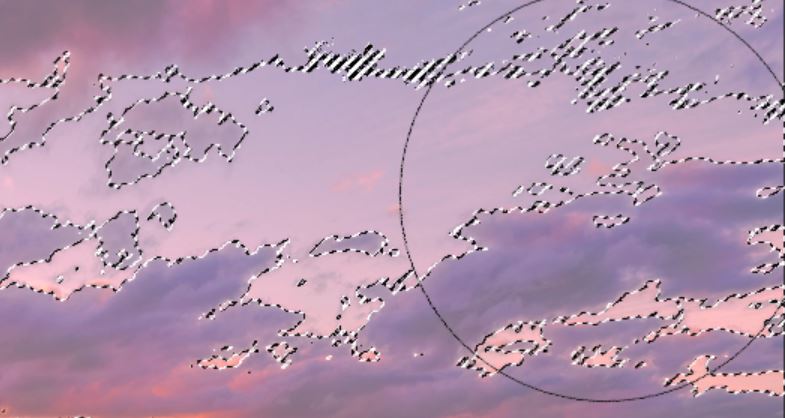
15. Press and hold Ctrl key (PC) or Cmd key (Mac) and left-click on the layer mask thumbnail to get an active selection of the brighter parts of the mask.

16. To hide the marching ants press Ctrl+H (PC) or Cmd+H (Mac).
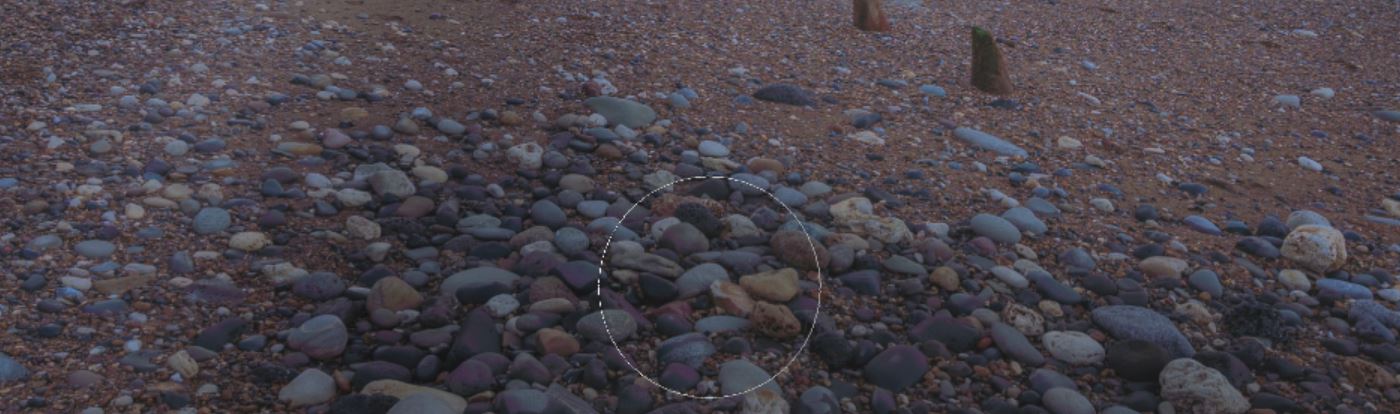
17. Now select the Brush Tool by pressing B, and with a white foreground begin to paint over the mask in areas that you want to darken the colours again. Your painting will be restricted by your active selection.
18. To gain control of the entire mask press Ctrl+D (PC) or Cmd+D (Mac) to drop the active selection.
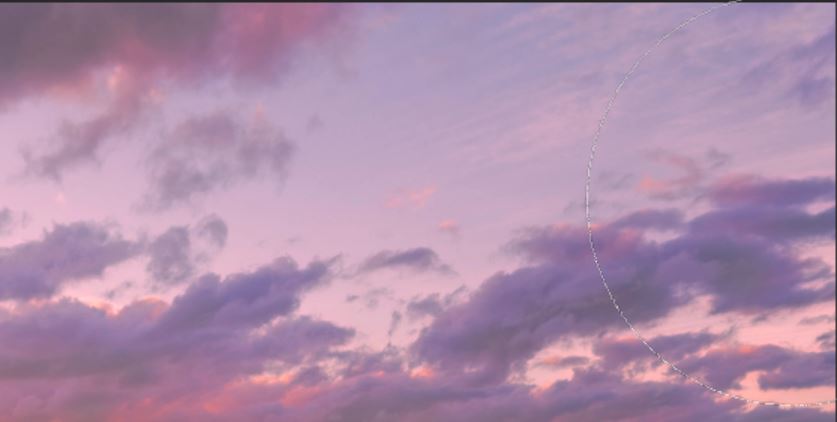
19. Now you can paint anywhere to restore the effect of the Multiply Blending layer. This is particularly useful for not only strengthening colours but can also be used for building an unconventional yet effective Vignette.
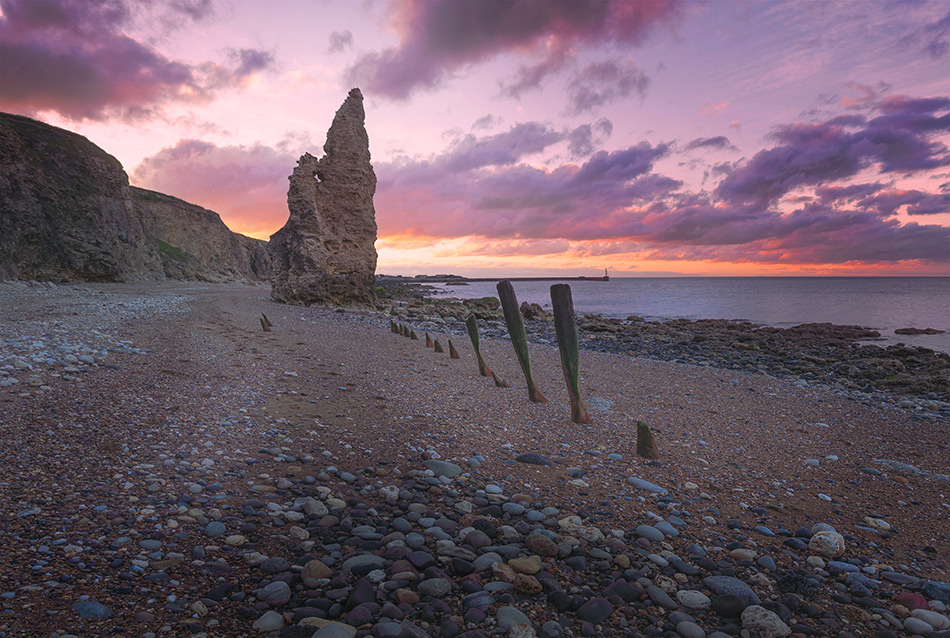
This is a really quick editing technique in Photoshop. In less than 2 minutes we have an edited landscape photo that has been transformed quickly and easily.