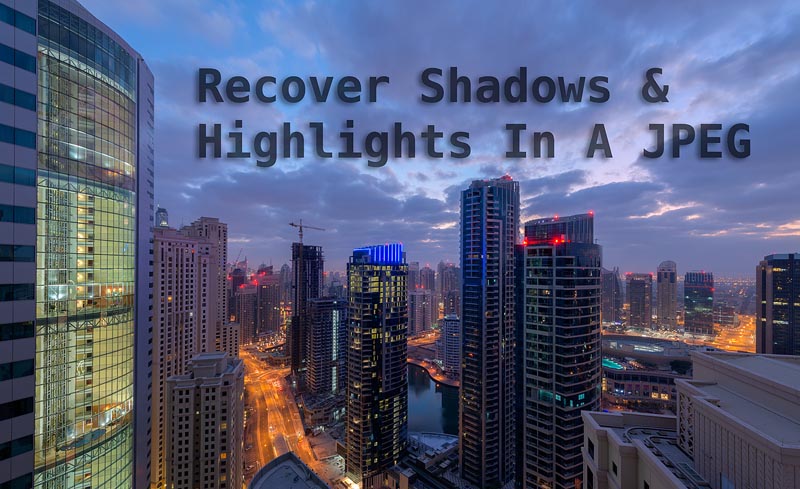
Easily Restore Shadows & Highlights in a Single JPEG
Although we are greatly limited in what we can do with a single JPEG file in terms of recovering highlights and shadows, there are ways in which we can restore shadows & highlights in some images in Photoshop. In today’s tutorial, I present one such way.
However, I urge every photographer to shoot RAW files, You don’t necessarily have to bracket (although it helps a lot), but a RAW files will give you far more data to play with.
Step-By-Step Guide
1. With your image open in photoshop open up a brand new layer.

2. Choose the Paint Bucket tool and set a Black foreground colour.
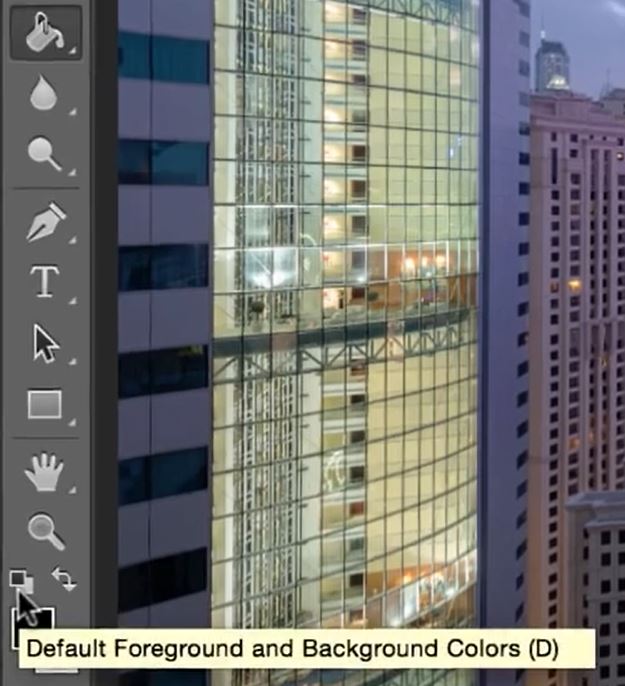
3. Paint the new layer black.

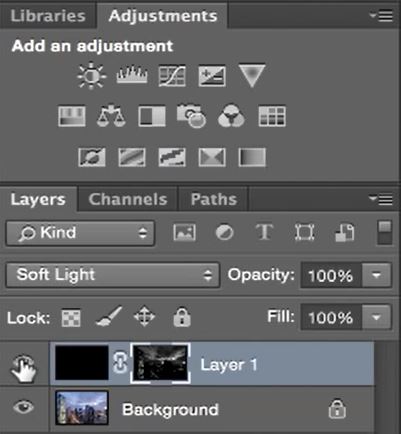
4. Change the Blend Mode to Soft Light.
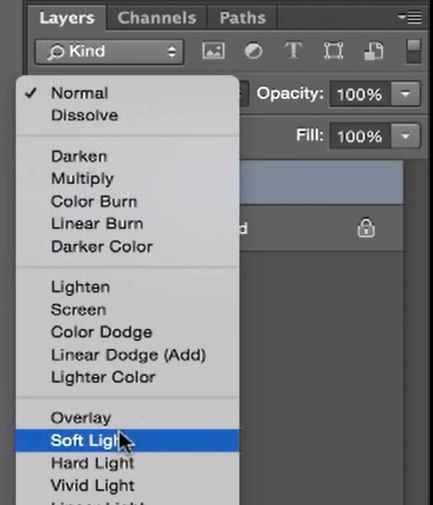
5. Create a layer mask on the black layer.
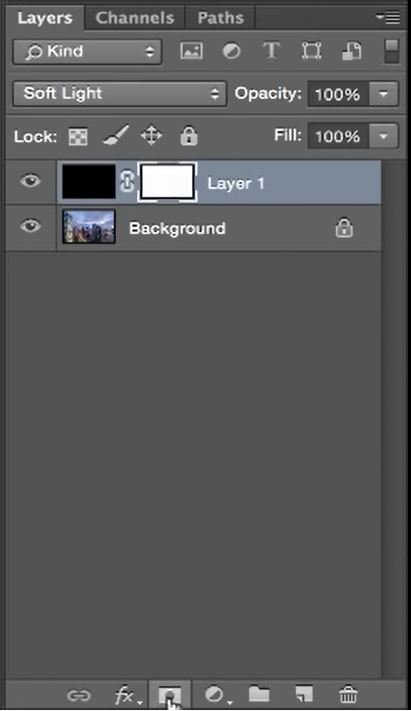
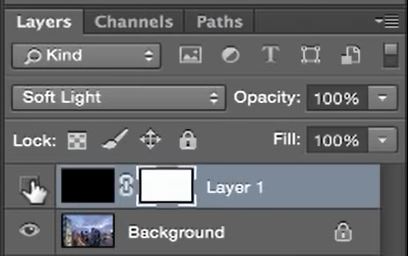
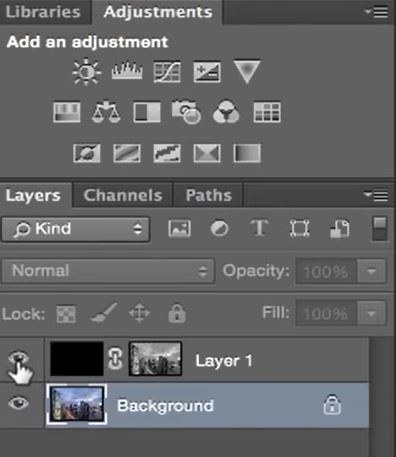
6. Hide the black layer.
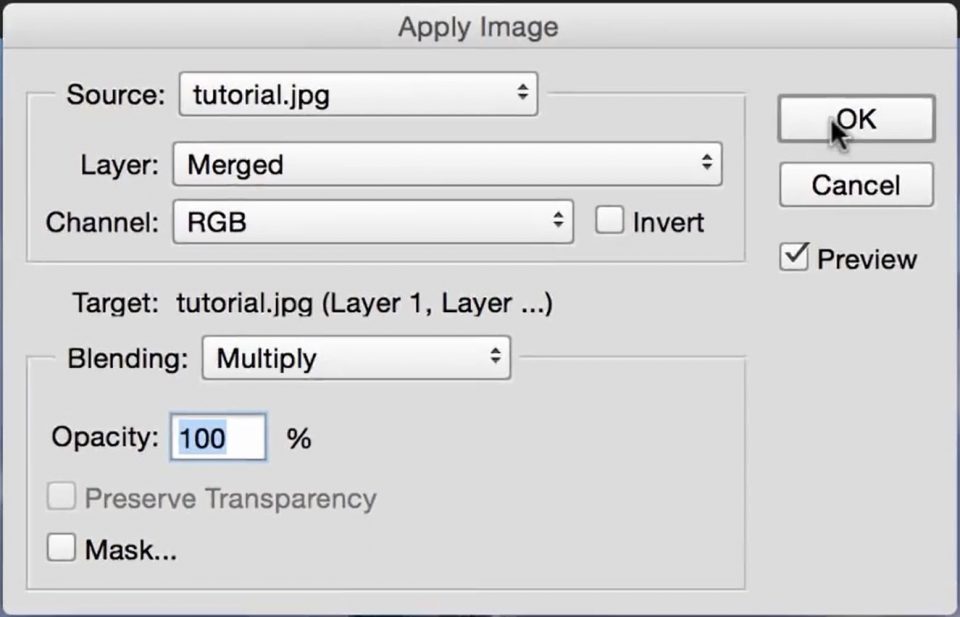
7. With the Black layer still selected go to Image>Apply Image.
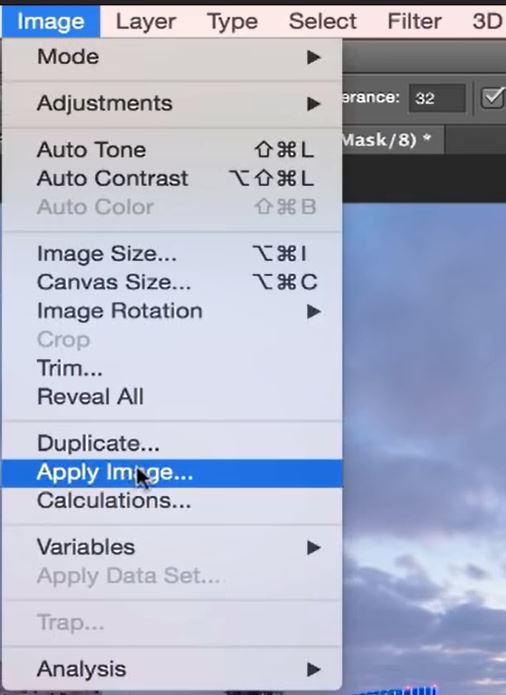
8. Make sure your setting are the same as ours and press OK.
9. Now make the black layer visible.
10. Repeat the Apply Image function until only the areas you want to be affected are.
NOTE: This method was used to restore highlights. If you want to restore shadows, instead of painting the layer black. You need to paint the layer white. When you apply the image, make sure you tick the box to ‘Invert’ the image before you click OK.
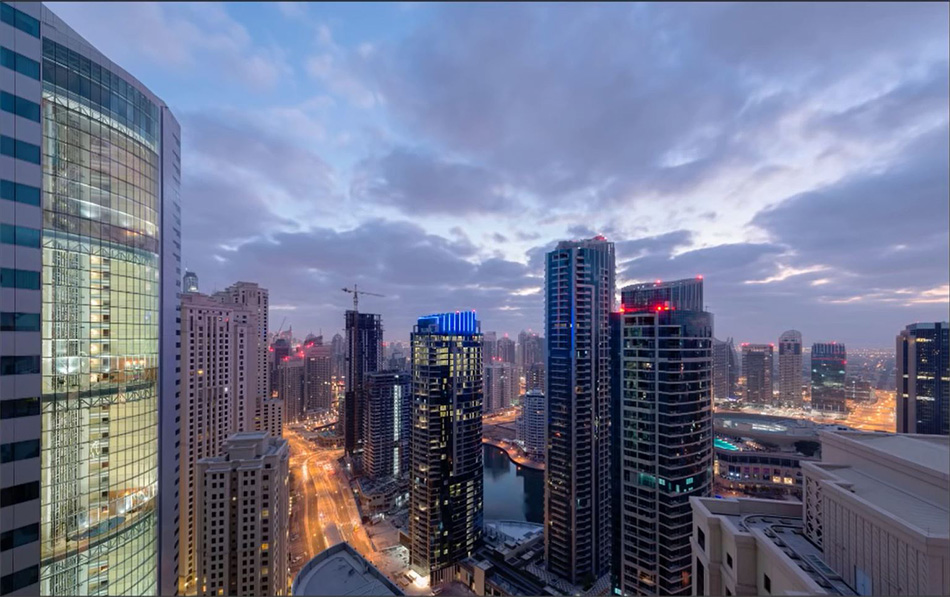

To see how much more control we have when shooting in RAW. I used this very same scene in a previous tutorial. Quick Photoshop Secrets 8: How To Digitally Blend a Single RAW file.
Of course, there’s more way to restore shadows and highlights in Photoshop. Photoshop is such a powerful tool with adjustments such as Curves and Levels. I found another tutorial for you using these particular adjustments layers take a look at How to Rescue Under-Exposed JPEG Images with Adobe Photoshop.
