
Quick Photoshop Secrets 13: Add Awesome Colours In Your Photos
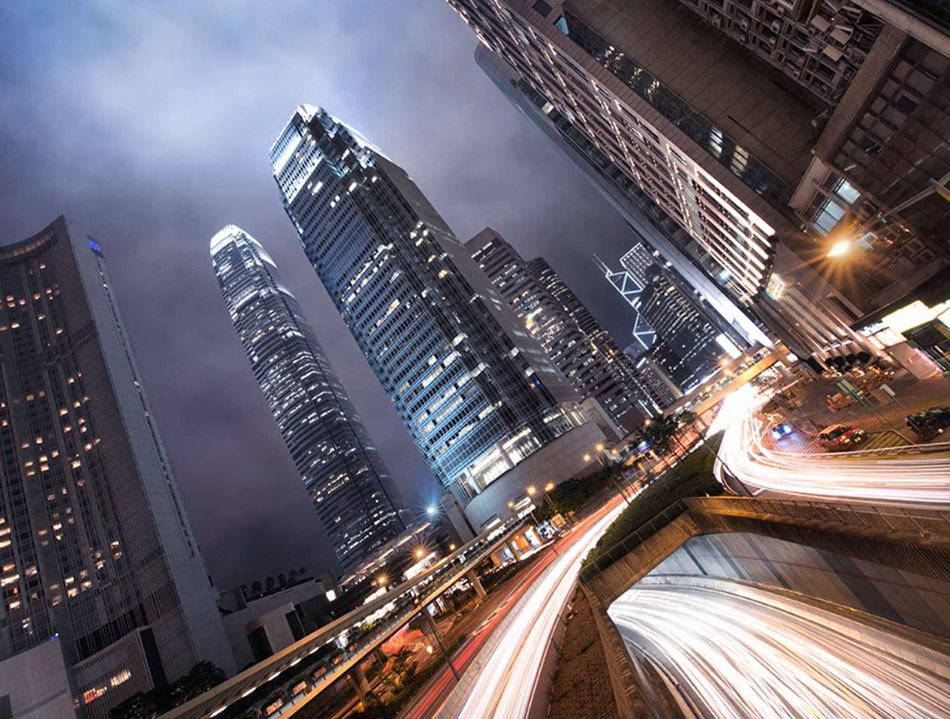
There are some great techniques for instantly adding interesting colours to your images in Photoshop. In this week’s Photoshop Secrets, I show you a little method I stumbled across a couple of years ago which will add awesome colours to your photos, and make sure that any warm filters you add, are targeted towards the correct areas.
Essentially we’re using Photo filters, clipped to a 50% grey layer to gain more control over how the colour is applied to the scene. But it is the Blend Mode of the grey layer where the real magic happens.
How To Add Warmth in Photoshop
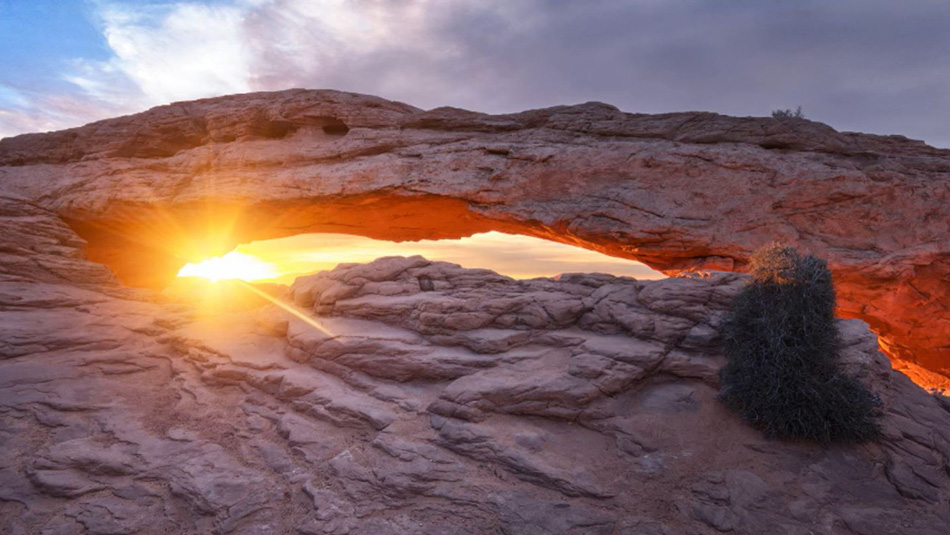
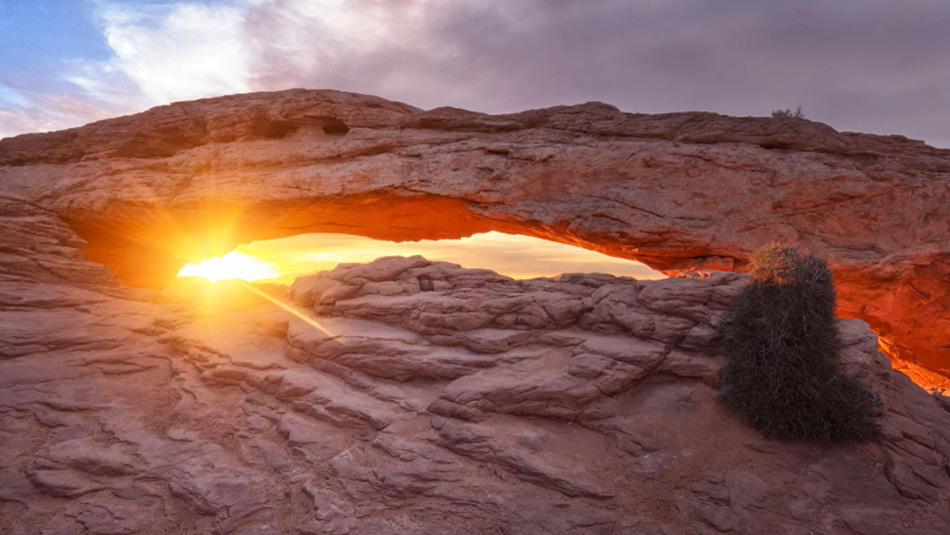
One way to add colours in your photos is by injecting more warmth into sunrises or sunsets.
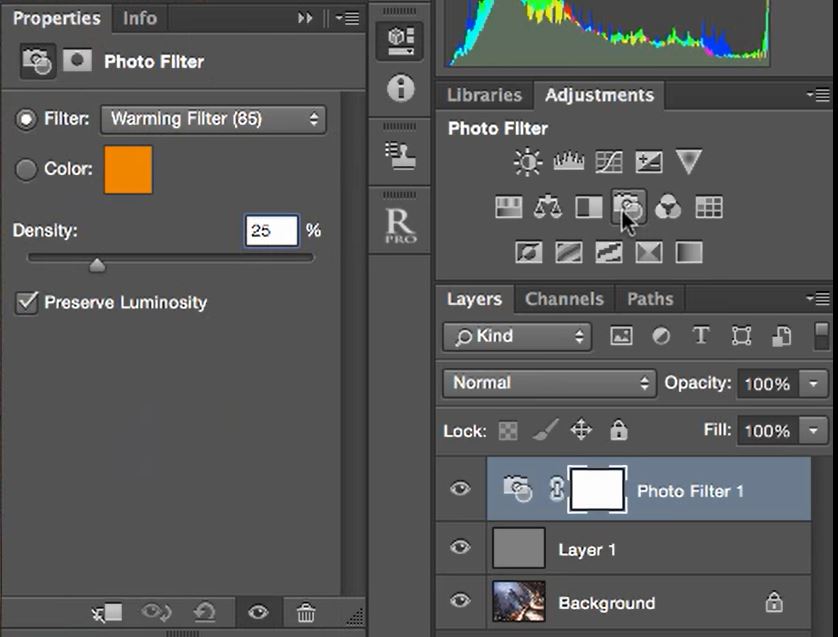
1. Add a photo filter.
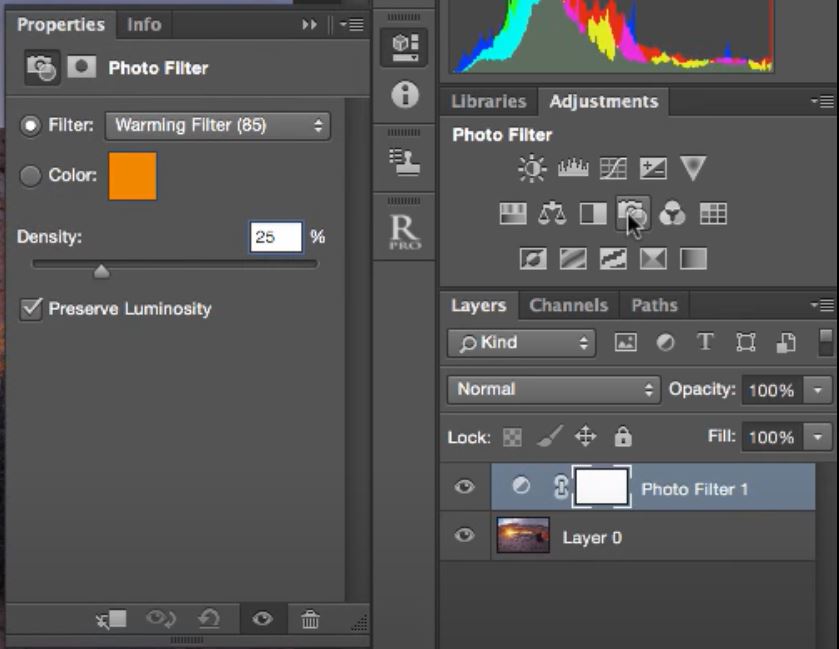
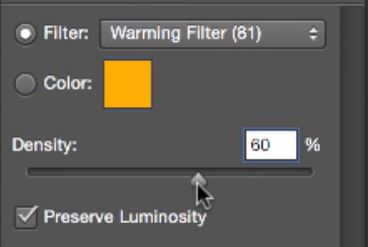
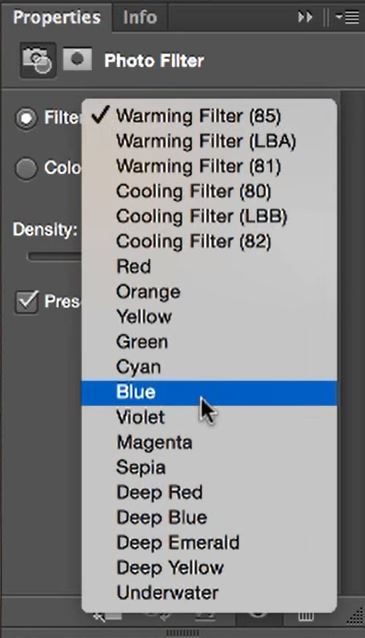
2. Select the filter that you want to apply.

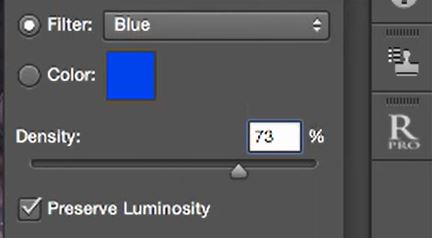
3. Adjust the density to increase or decrease the strength.
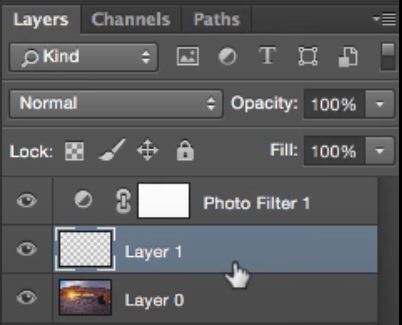
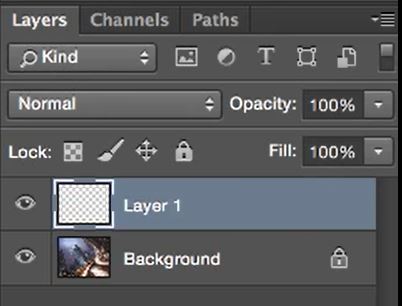
4. Remove unwanted warmth by adding a new layer between your image and photo filter.
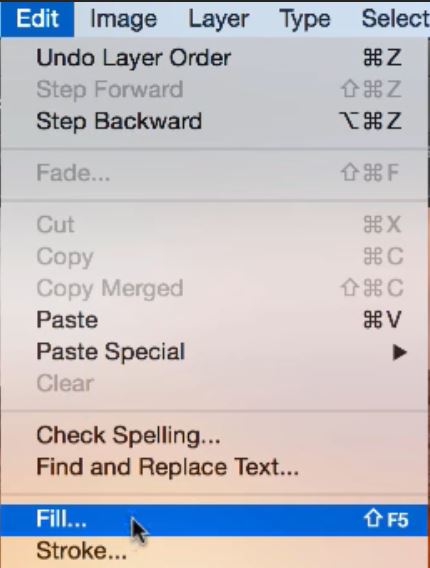
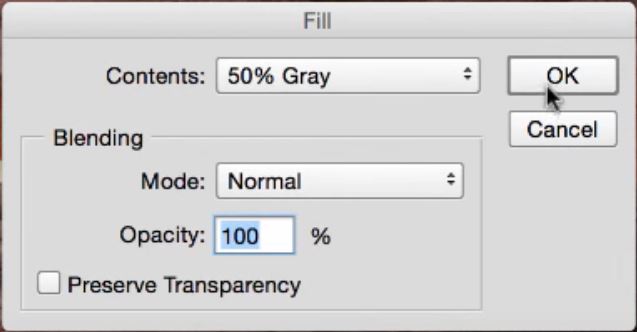
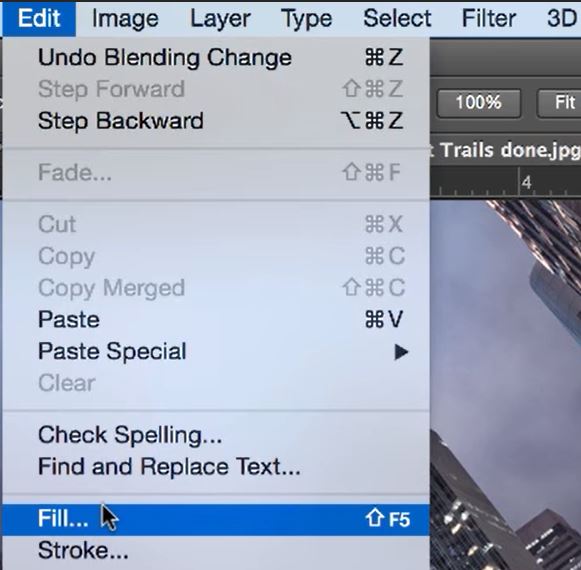
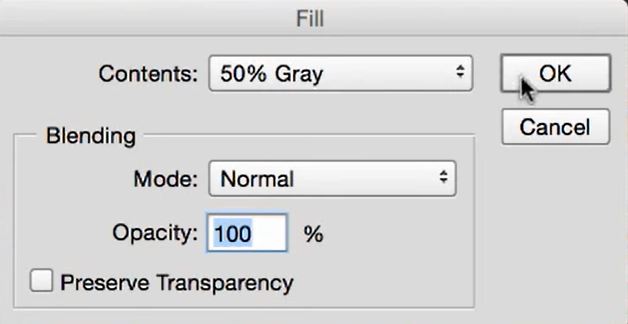
5. With your new layer selected. Go to Edit>Fill.
6. For ‘Content’ select 50% Grey and click OK.
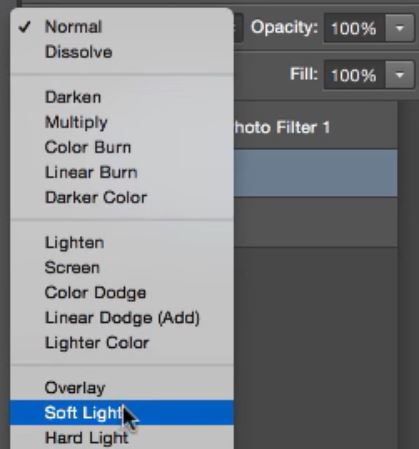
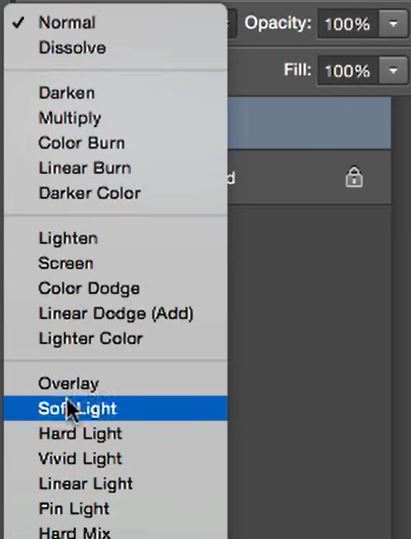
7. Change the Blend Mode of the layer to Soft Light.
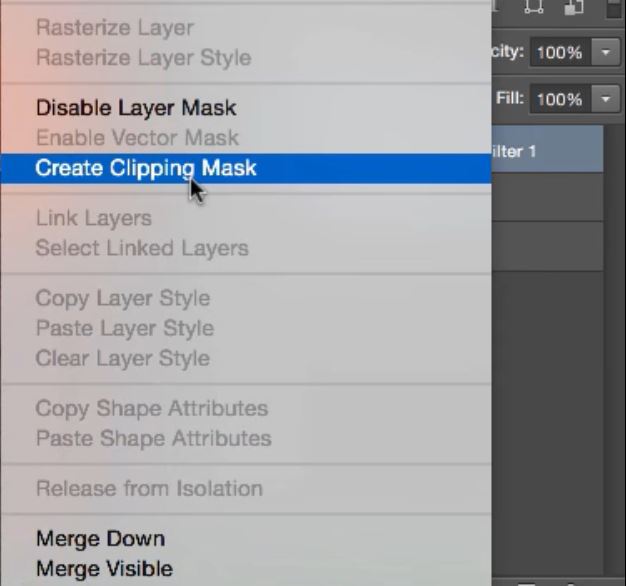
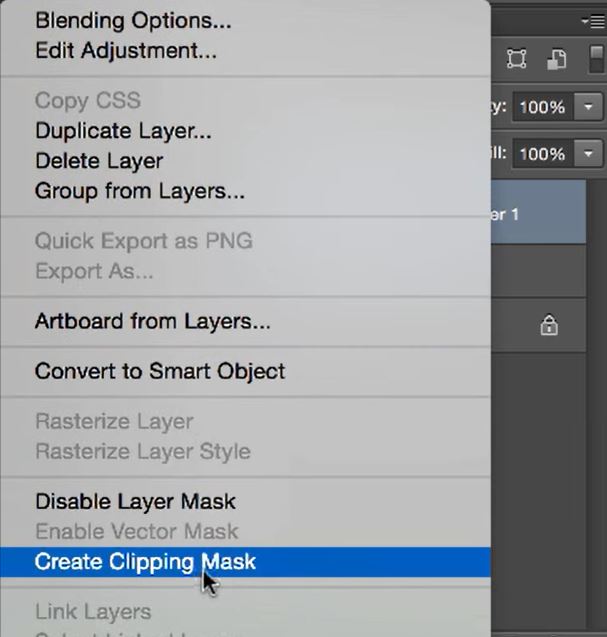
8. Select the Photo Filter layer. Then, right-click and choose Create Clipping Mask.
Now we have added a much more natural warmth to our image without saturating areas like the sky.
[compare]
[/compare]
Adding Colours to Shadows in Photoshop
Another way to add colours in your photos is by using a colour Photo Filter.
1. Fist, Add a new Layer.
2. Change the Blend Mode to Soft Light.
3. Fill this new layer by going to Edit>Fill.
4. Choose ‘50% Gray’ for contents and click OK.
5. Add a Photo Filter.
6. Choose a coloured filter to apply.
7. Adjust the density to raise or lower the strength of the filter.
8. Right-click on the layer and select Create Clipping Mask.
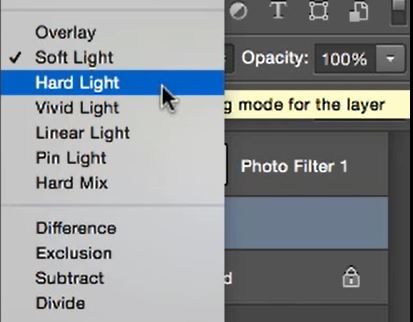
9. To increase the strength of the filter, even more, change the blend mode from Soft Light to Hard Light.
10. If the effect is too strong reduce the opacity of the layer until you’re happy with it.

[compare]

[/compare]
If you like this article you might also like to learn how to Add Colour to Highlights.
Alternatively, If you want to change the colour of a specific object you might enjoy this article, click HERE.
Enter your email below and join our community of more than 100,000 photographers who have also
Subscribed to our newsletter.
Downloaded our FREE Photoshop Course.
Got our FREE Easy Panel for Photoshop.
And, have our FREE Essential Guide To Luminosity Masks E-Book.
To go directly to any of our products, simply click on the image below.


