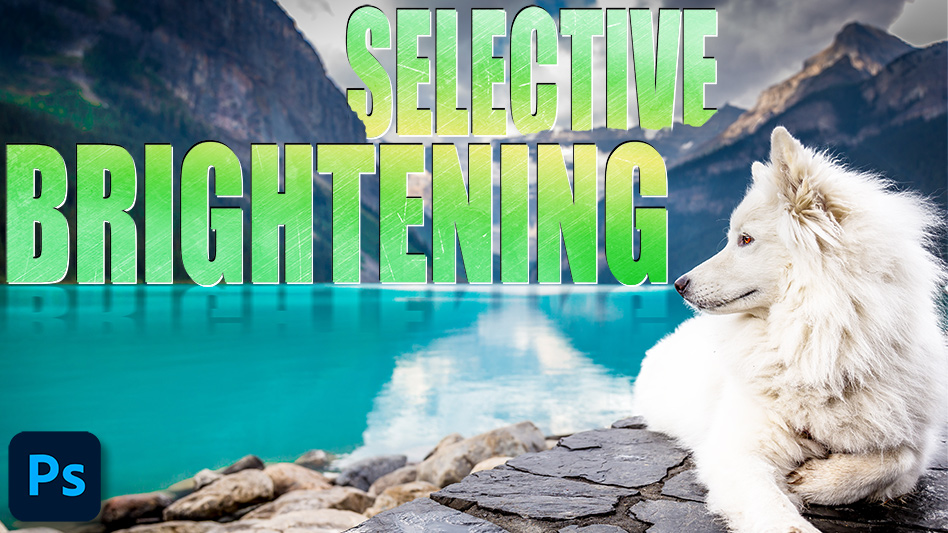
Selective Brightening Technique in Photoshop
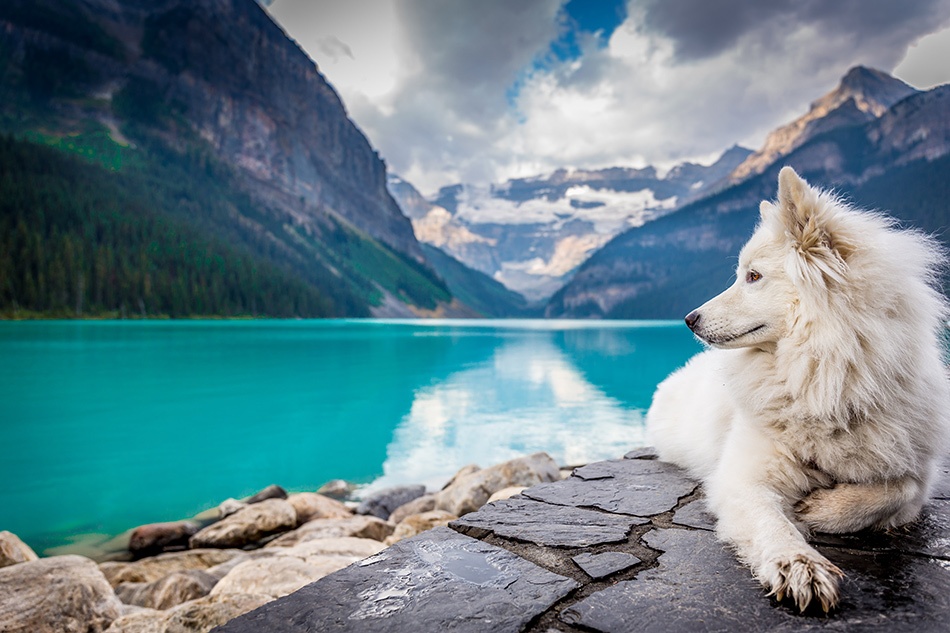
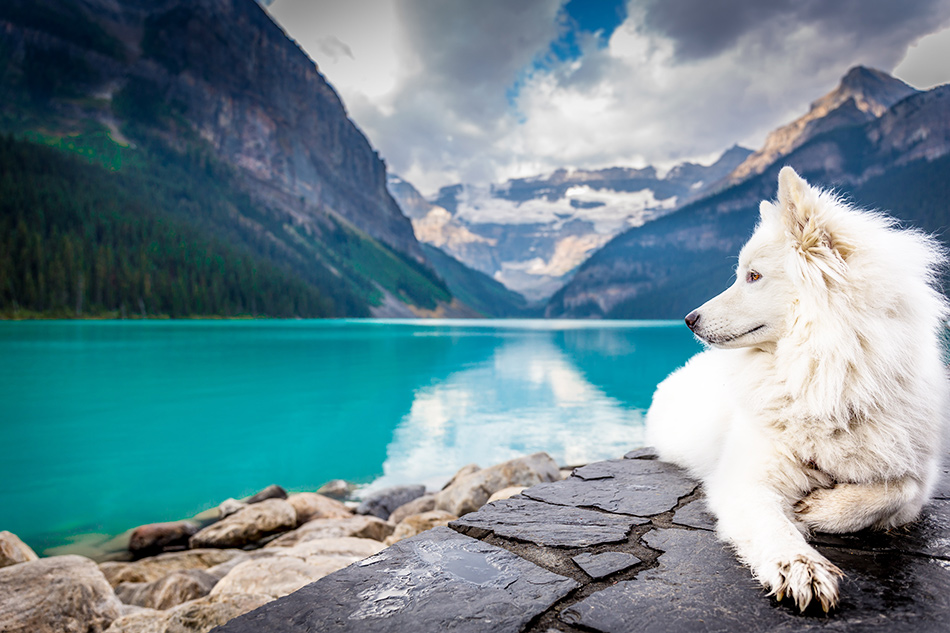
Use selective brightening to highlight specific area or subjects without affecting the whole image. In this tutorial, we’ll look at a specific selective brightening technique in Photoshop. Using a few simple tools for masking and selecting we’ll be able to separate the dog from this scene, brighten him up and put him right back in the frame, without affecting the rest of the image. In this example, I’ve used this technique to brighten the wolf but it could also be used effectively to brighten clouds and mountain tops. But, it can also be used to brighten and intensify clours as well.

Step-By-Step Guide To Selective Brightening
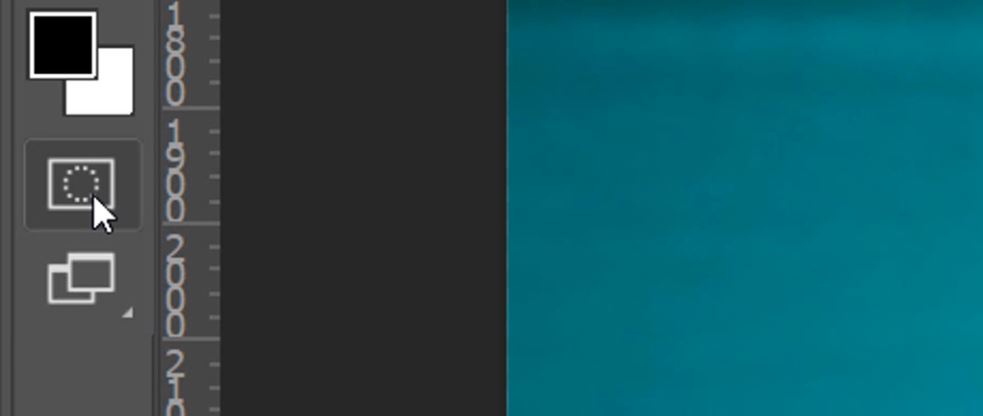
1. Double click on the Quick Mask icon.
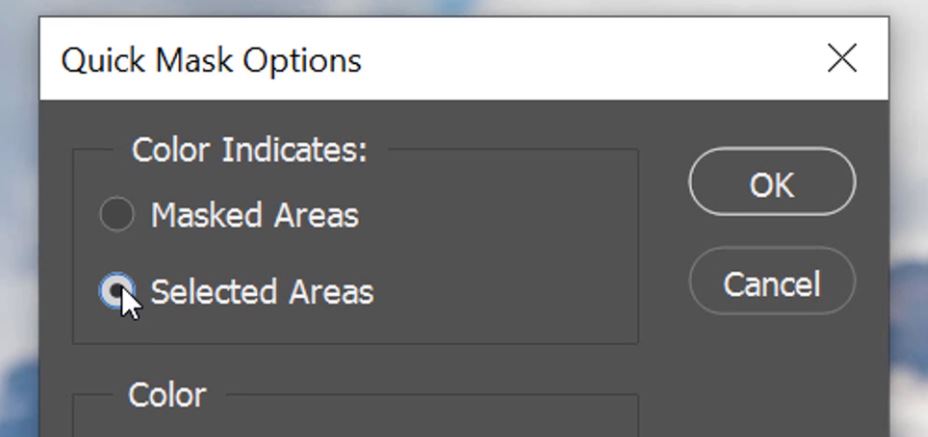
2. Make sure that the “Color Indicates” option is set to Selected Area then click OK.
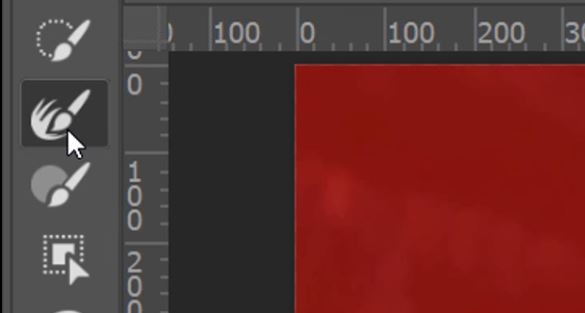
3. Select your Brush tool.
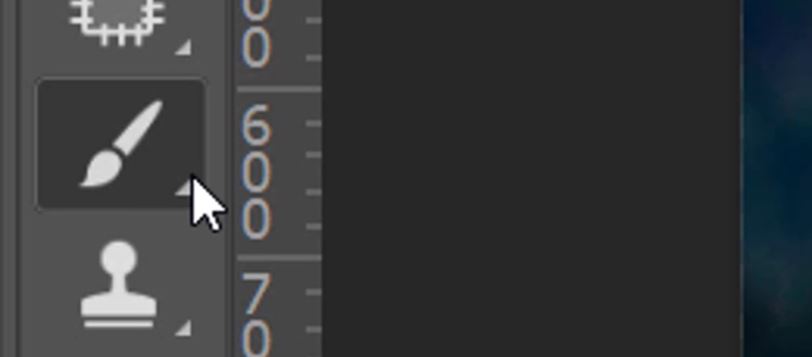
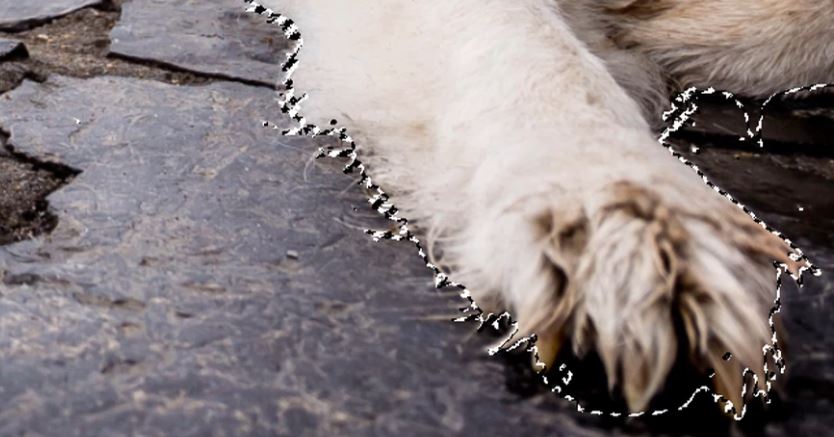
4. Now paint over the area or subject that you want to select.
5. You don’t have to be particularly neat. Once you’ve painted over the entire area or subject, press the Q key or click on the Quick Mask icon again.

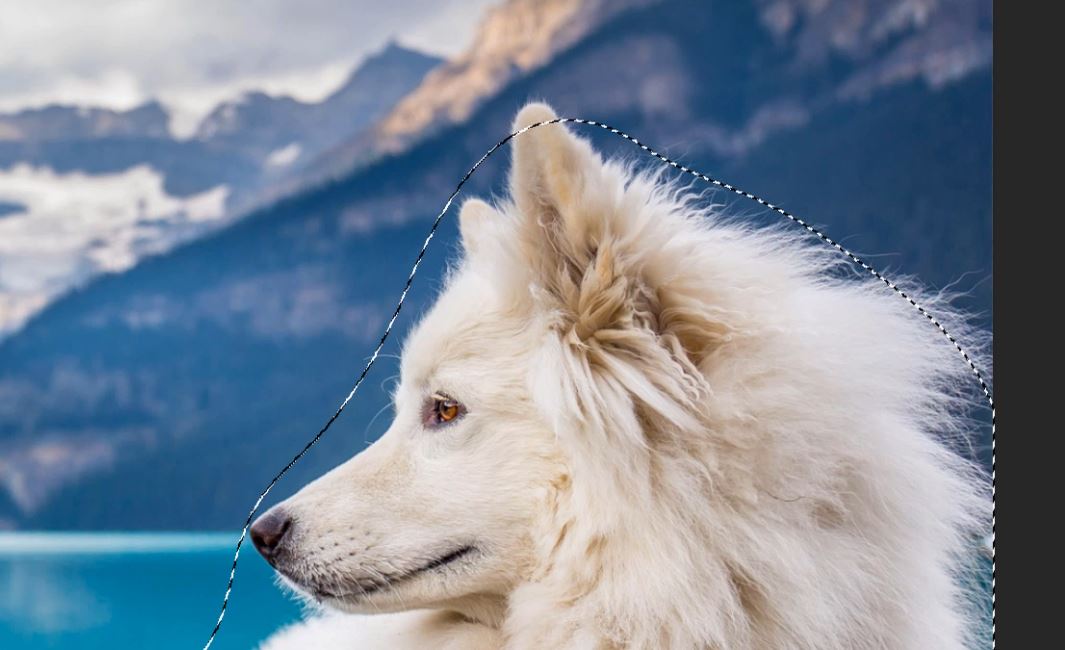
6. This will give you an active selection with marching ants.
– Tutorial continued below –
Enter your email below and join our community of more than 100,000 photographers who receive regular tutorials and have also

Subscribed to our newsletter,
Downloaded our FREE Photoshop Course
Got our FREE Easy Panel for Photoshop
And have our FREE Essential Guide To Luminosity Masks E-Book
How To Brighten Part Of Your Image
7. To clean up the selection you can either select one of the quick selection tools by pressing W and then choosing Select and Mask in the top menu. Or, you can press Ctrl+Alt+R (PC) or Cmnd+Opt+R (Mac) to refine the selection.

8. Select the refine edge tool.
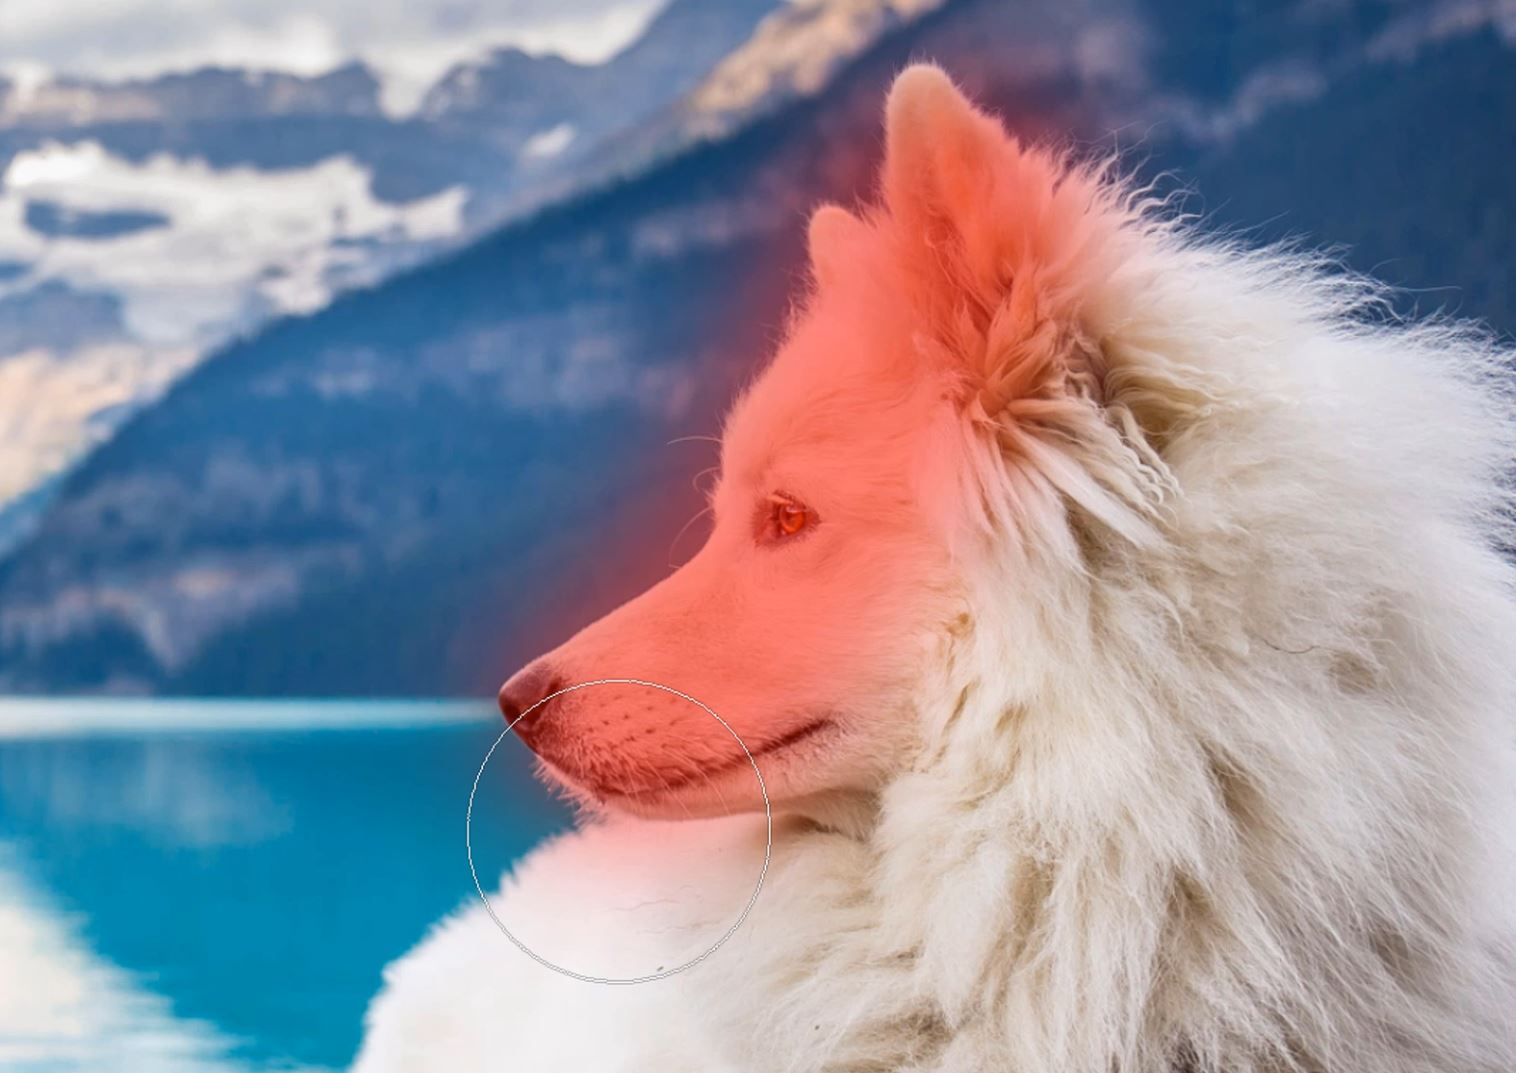
9. Now begin painting over the edges of your selection to tidy them up. Everything that is red will not be part of the selection.

10. When you have finished refining the edge of your selection click on OK in the bottom right corner.
11. Now you will have a much cleaner selection.
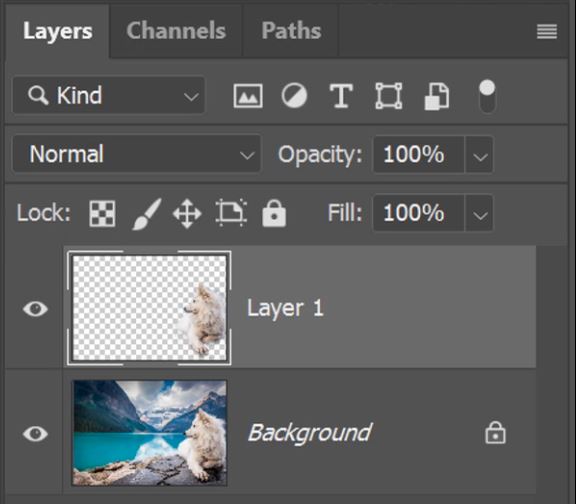
12. Press Ctrl+J (PC) or Cmnd+J (Mac) to duplicate the selection into its own layer.
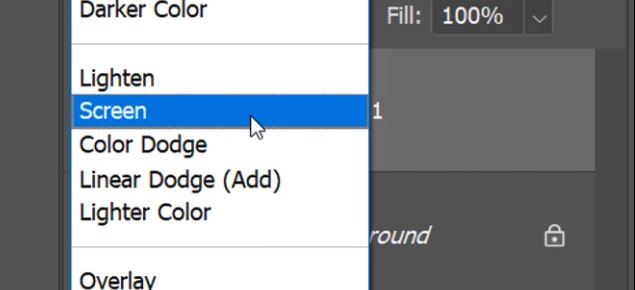
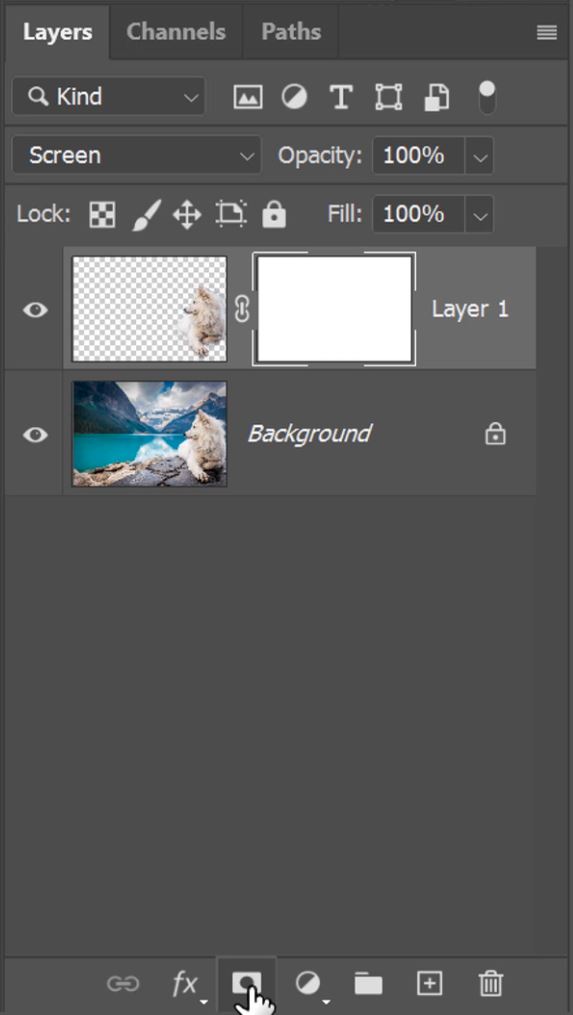
13. Change the Blend Mode of this new layer to Screen.
14. To reduce the strength of the effect you can reduce the layer opacity.
15. Or, like in this case, we wanted to reduce the effect in a targeted area, so we used a layer mask.
16. And used a black brush with 50% opacity, just to bring some of the details back in the face area.

More about Selective Brightening in Photoshop
How to Brighten a Part of Your Image in Photoshop
How to Lighten or Darken Selective Colors in Photoshop
Using the ‘Quick Mask’ mode in Photoshop
Thank you for reading this article on Selective Brightening Technique in Photoshop, be sure to sign up for our newsletter for more tutorials and great offers.

Enter your email below and join our community of more than 100,000 photographers who have also
Subscribed to our newsletter.
Downloaded our FREE Photoshop Course.
Got our FREE Easy Panel for Photoshop.
And, have our FREE Essential Guide To Luminosity Masks E-Book.
FREE Photoshop Course

The Art Of Photography

Raya Pro for Photoshop

Selective Brightening Technique in Photoshop