
Add Sunbeams To An Image Using Photoshop
In an earlier tutorial, we looked at Making Realistic Sun Rays in Photoshop. Here is a completely different method to achieve a similar outcome. This method is more of a manual process which gives you a lot more control over the direction of the sunbeams. Capturing sunbeam in your images can give so much depth and character to an image. And it’s not that difficult to do at all. It’s a case of having the correct weather conditions (broken clouds) and photographing at the right time of day. Just after sunrise and just before sunset is the best time to get those long multi-directional sunbeams. If you shoot too early or too late, then you’ve missed the opportunity. Fortunately, this tutorial will show you how to Add Sunbeams To An Image Using Photoshop.

Adding Sunbeams In Photoshop
1. Click on the Create new fill or Adjustment layer Icon.

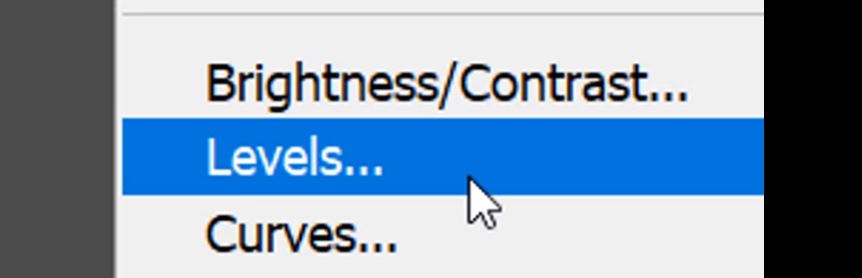
2. Select Levels.
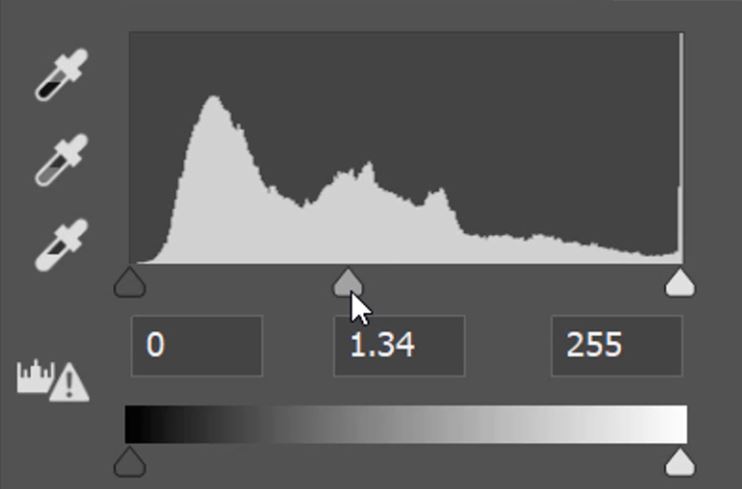
3. Slide the middle (mid tones) slider to the left to lighten the image.
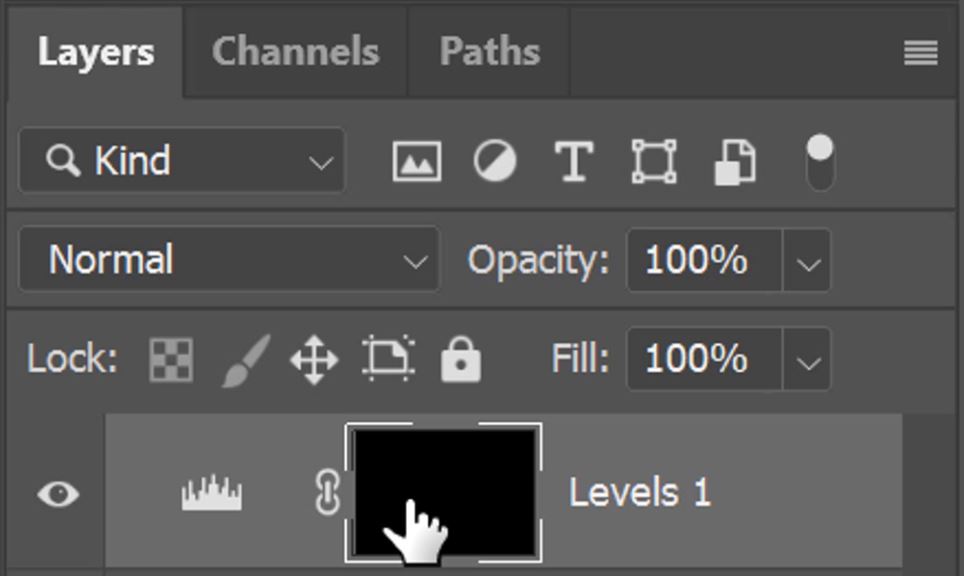
4. Select the Levels layer mask thumbnail.
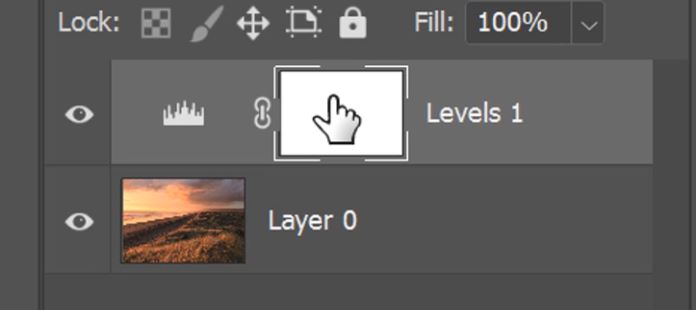
5. Press Ctrl+I (PC) or Cmnd+I (Mac) to invert the mask, this will hide the adjustment that we made.

6. Now, click on the image thumbnail on the layer below.

– Tutorial continued below –
Enter your email below and join our community of more than 100,000 photographers who receive regular tutorials and have also

Subscribed to our newsletter,
Downloaded our FREE Photoshop Course
Got our FREE Easy Panel for Photoshop
And have our FREE Essential Guide To Luminosity Masks E-Book
Adding Sunbeams To A Photo
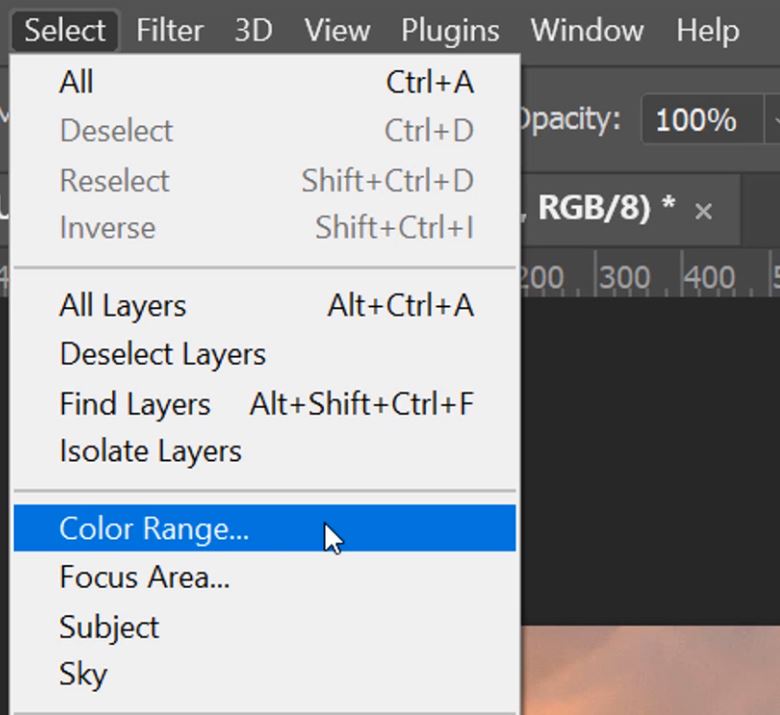
7. Go to the Select menu and choose Color Range.
8. In the Select dropdown box select Highlights.
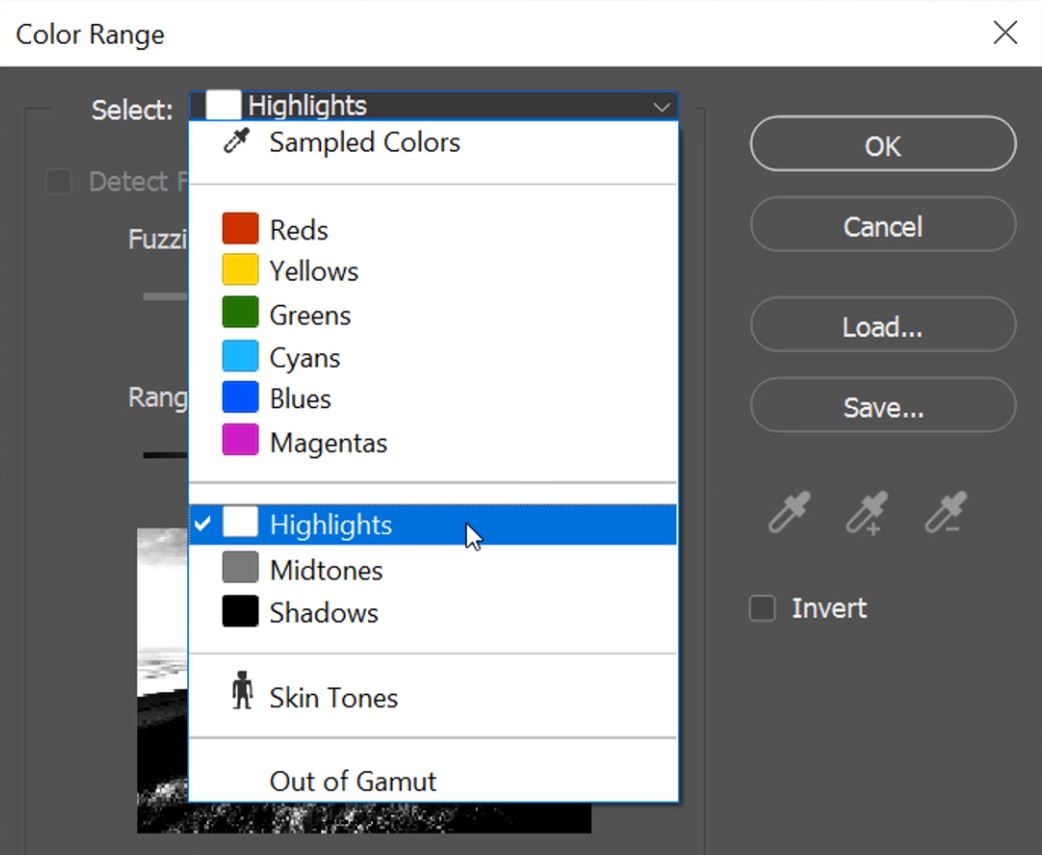
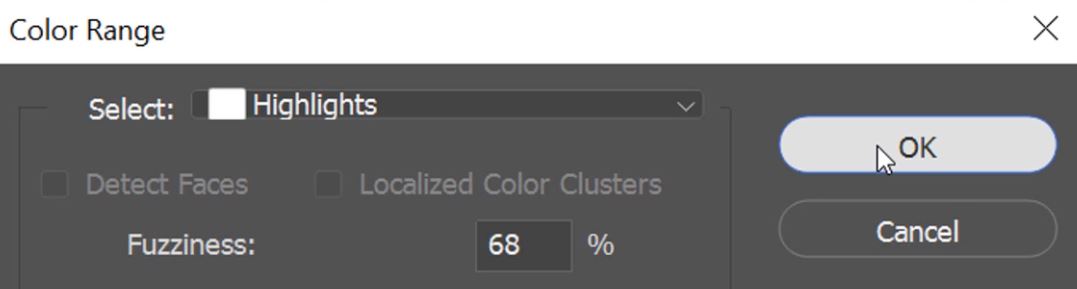
9. Now adjust the Fuzziness and Range sliders to refine your selection.

10. Once you are happy with your selection click OK.
11. When the Color Range window closes you should see marching ants which indicate you have an active selection.
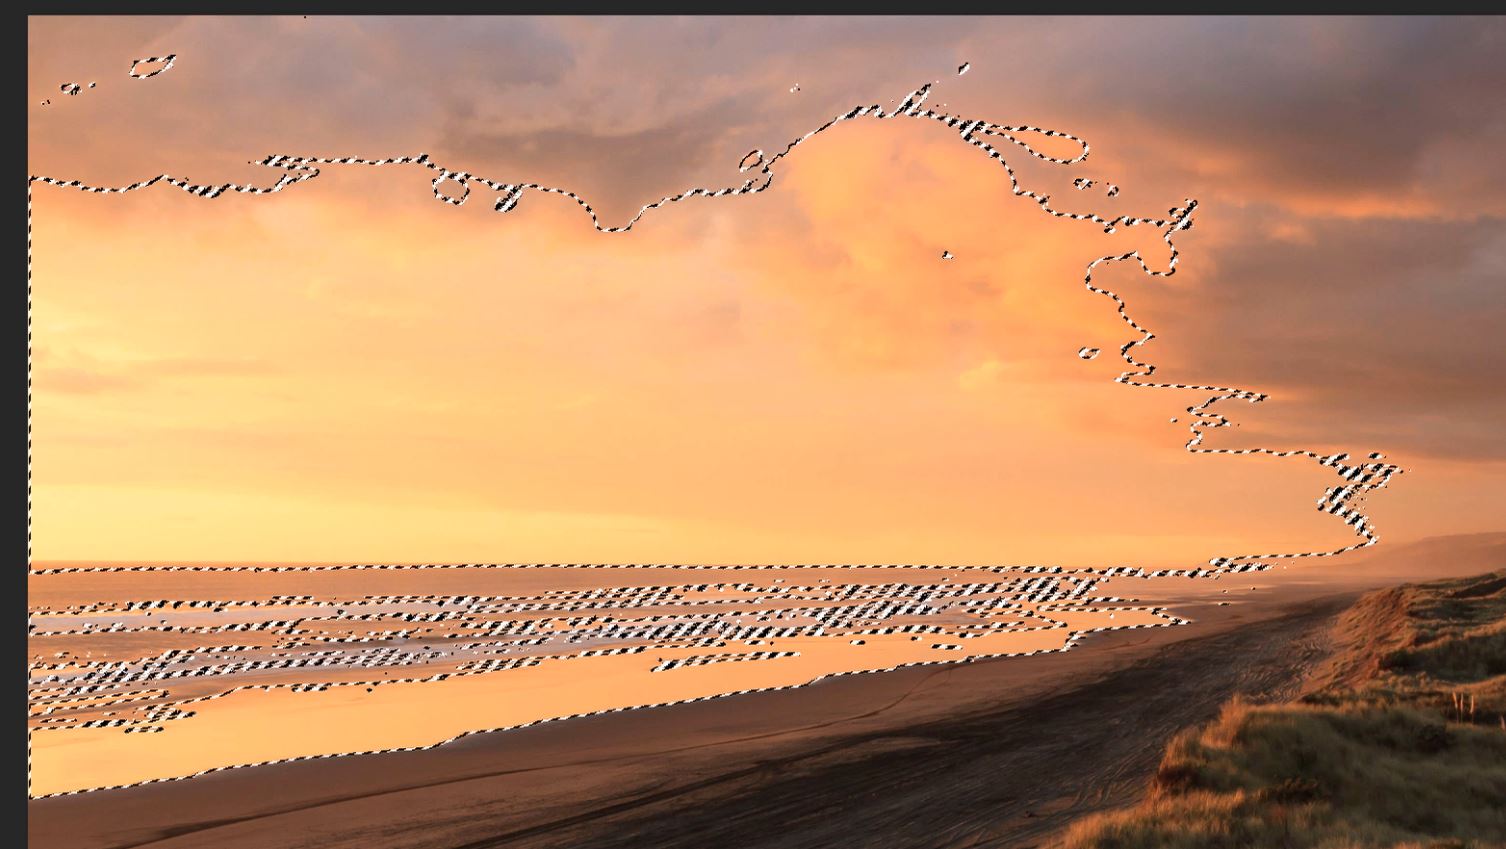
12. Click on the Levels layer mask thumbnail in the layers panel, if you want to hide the marching ants, click Ctrl+H (PC) or Cmd+H (Mac).
13. Select the Gradient Tool. If you can’t see it, right-click on the icon that you do see under the Eraser tool to reveal the hidden tools.

14. Make sure your foreground is set to White.

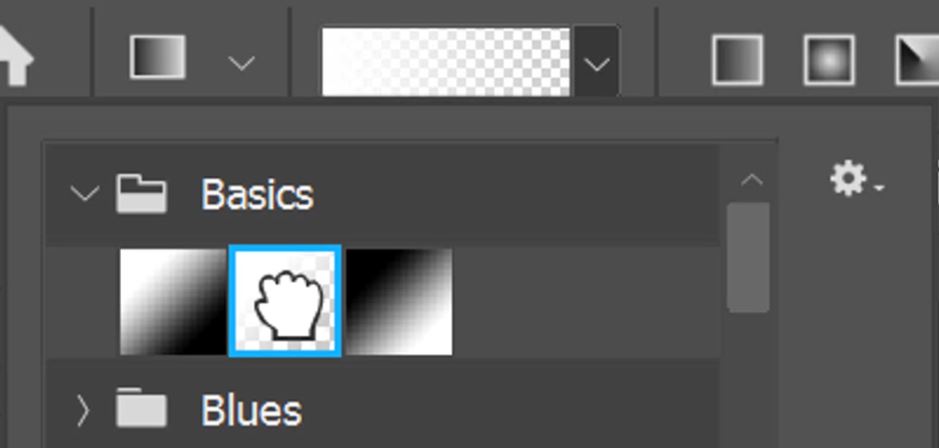
15. Edit the gradient and select the Foreground to Transparent gradient in the Basic folder. Hover over the gradients and their names should appear.
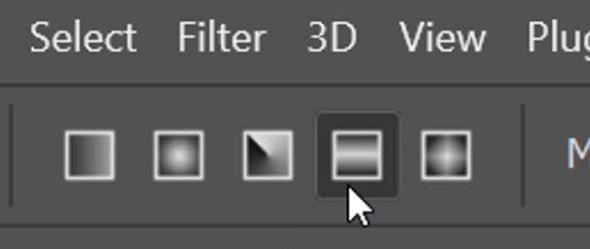
16. For the type of Gradient select the Reflected Gradient.
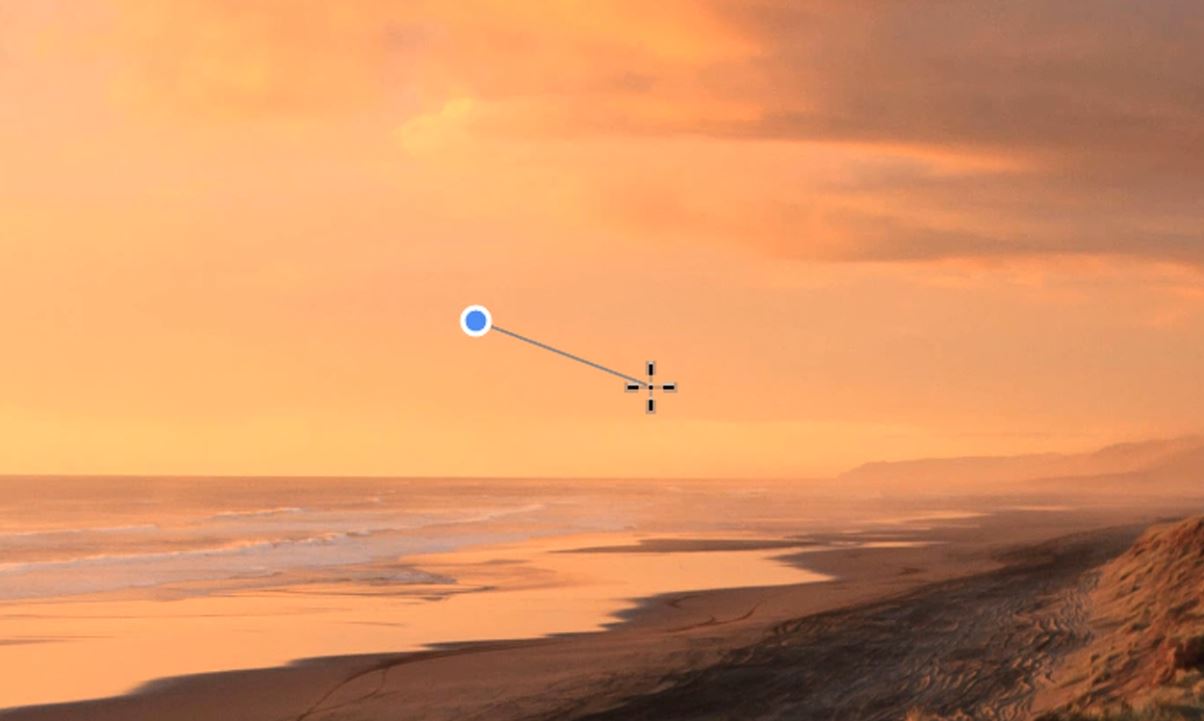
17. Now left-click, hold and drag to begin placing your Sunbeam. You can make it as wide as you like and at any angle. When adding multiple sunbeams try to have them emanating from the same origin.
18. If you want to adjust the strength of the sunbeams, click on the Levels icon in the layers panel.

19. Now adjust the sliders in the properties window.
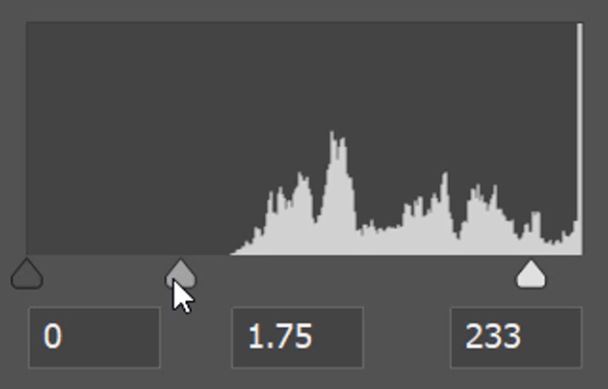
And as quick as that, you now have some subtle but effective Sunbeams.
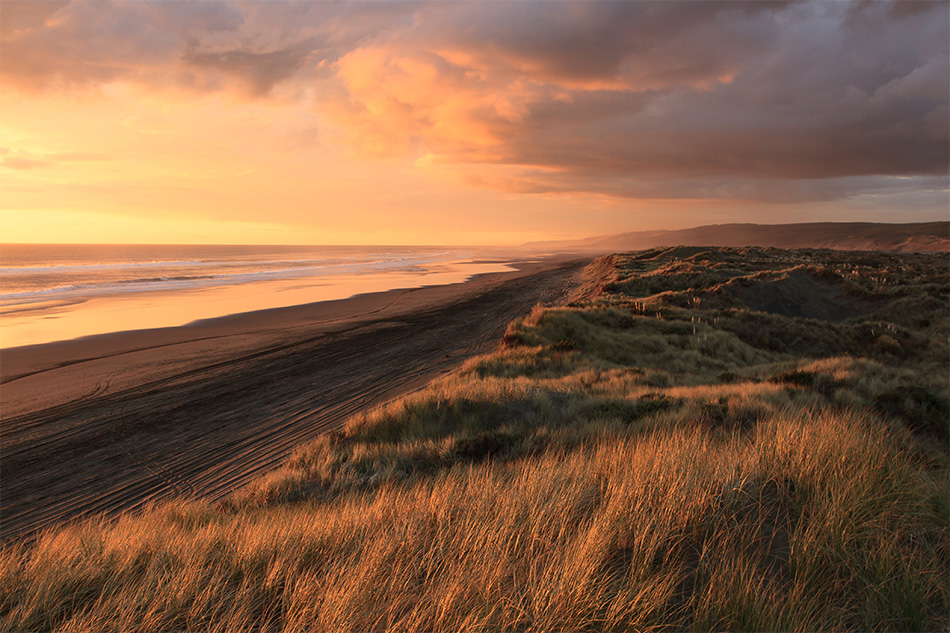
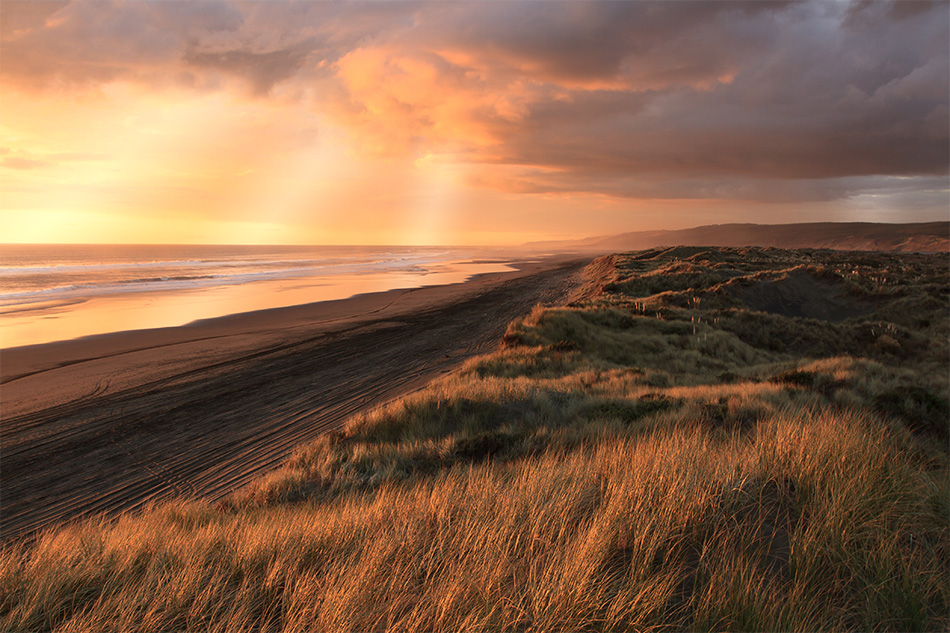
Photo by Petr Vyšohlíd on Unsplash
Other Color Match Articles That Might Interest You
Add Rays Of Sunlight To A Photo With Photoshop
How to Add Sun Rays in your Photos in Photoshop
How To Capture Magical Sun Rays
Thank you for reading this article on How To Add Sunbeams To An Image Using Photoshop, be sure to sign up for our newsletter for more tutorials and great offers.

Enter your email below and join our community of more than 100,000 photographers who have also
Subscribed to our newsletter.
Downloaded our FREE Photoshop Course.
Got our FREE Easy Panel for Photoshop.
And, have our FREE Essential Guide To Luminosity Masks E-Book.
FREE Photoshop Course

The Art Of Photography

Raya Pro for Photoshop
