Advanced Lightroom Classic Catalog and File Practices
This article on Advanced Lightroom Classic Catalog and File Practices is by Mike Ince, If you would like to write for us, please read here.
Last winter we talked about Getting started with Adobe Lightroom. As we settle into spring, let’s take things a step further and talk about some intermediate Lightroom tips you may want to consider within your workflow.
Once you are comfortable inside Lightroom, editing a photo is only half the battle. Things can quickly spiral out of control with the organization and options of your catalog. And what the heck is a catalog anyhow? It’s important to learn some of the ins and outs of Lightroom so that you can keep things tidy and remain efficient as the months fly by and your collection of photographs and files quickly expand.
What is a Lightroom Catalog?
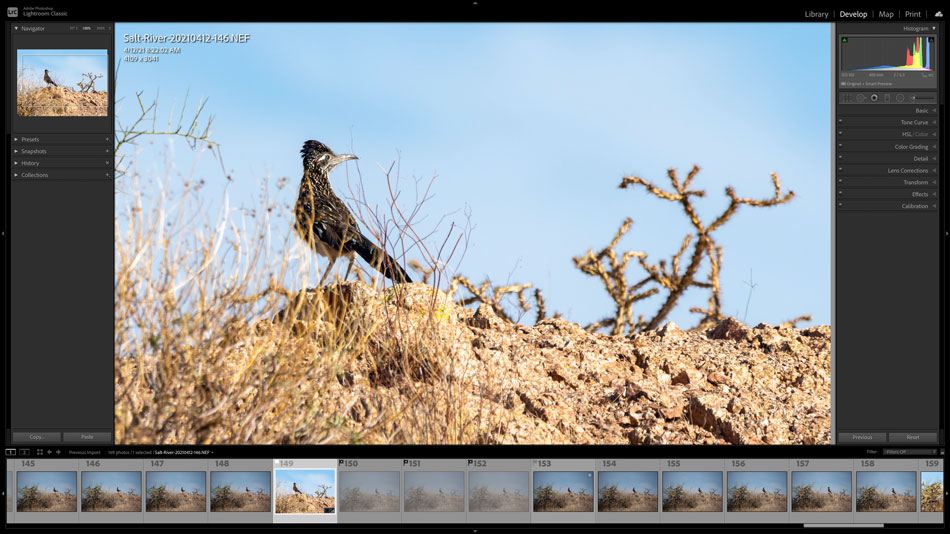
Think of this as your photo database. Your files do not get stored inside this catalog. Those will go where you decide to put them, more on that in a second. The catalog references your photos (your original RAWs/JPEGs). It also stores all the information to make Lightroom operate and correspond with your images. Information such as where these files are located, metadata, and the editing adjustments you have done, such as white balance, shadows, highlights, crops, etc. You can even review your history, step by step, which is handy for numerous reasons. Your RAW photos do not get modified. Those will remain safe.
This is non-destructive editing. But the catalog reads the adjustments you have made and then via the catalog displays those adjustments on screen. At that point, as you know, we export the image to a final version with those adjustments reflected.
Enter your email below and join our community of more than 100,000 photographers who receive regular tutorials and have also

Subscribed to our newsletter,
Downloaded our FREE Photoshop Course
Got our FREE Easy Panel for Photoshop
And have our FREE Essential Guide To Luminosity Masks E-Book
Good Practices with Your Files and Catalog
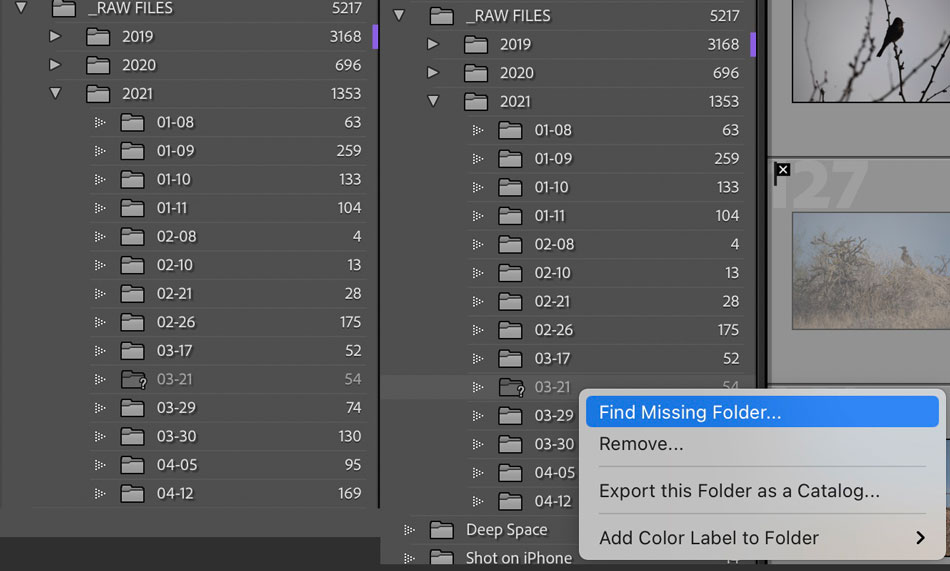
You can rename your files and folders after importing a session, but a better habit is to do this on import. You can also move files and folders. It’s best to do these tasks within Lightroom. You can drag and drop folders around in the interface itself.

You can even move an entire folder (or individual images) from one hard drive to another. If you do not move files and folders around within Lightroom, then Lightroom will display a “?” next to the file or folder. You will then have to right-click and update the new location. This is fine for a folder or two but can get tedious and overwhelming if you move too many files around outside of the application.
One Big Catolog vs Lots of Small Catalogs
A common question that comes up within Lightroom is if you should be using one large catalog or multiple small catalogs. For most of us, myself included, one is the way to go. Lightroom is extremely powerful at organizing photos and helping you find what you need fast. From keywords and ratings to searching within the catalog, Lightroom has amazing search and tag functionality. You lose out on these features if you have various catalogs. Adobe also recommends using just a single catalog if possible.
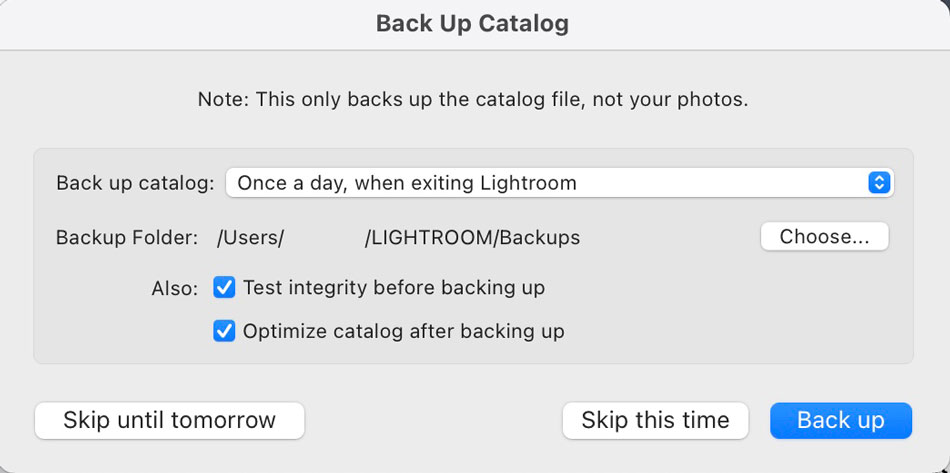
There is a prompt that will ask you if you want to back up the catalog when you exit Lightroom. It’s handy, and one of a few ways to do this. If you like the reminder to do this, you can set how often it occurs in the catalog settings under the file menu. When the prompt asks you this upon exit, you have the option to choose where this backup is placed. Be sure to pick a different hard drive than where the default catalog is. You also have the option to optimize (as mentioned above), when this happens. I back mine up once a month, or when returning from a trip with a few sessions of newly acquired photos.
Many people will be settled into Lightroom for weeks or even months before they take note if they are using RAW photo files, or converting to DNGs. This all happens on your original import. Let’s touch base on these briefly so you can perhaps decide this before your catalog gets any bigger.

RAW Files
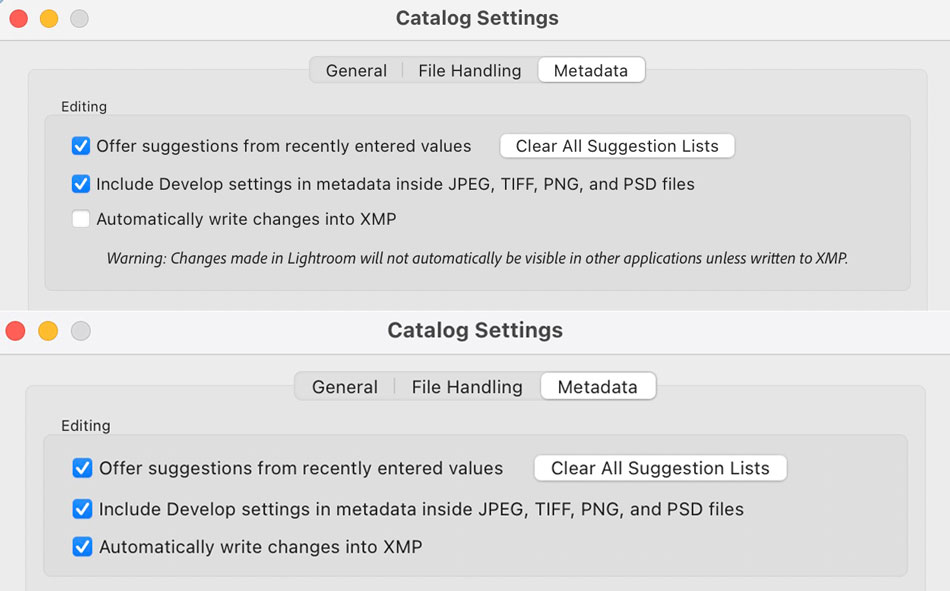
RAW files are proprietary for each manufacturer, which also means each camera brand has its own RAW type of file. This is the untouched photo straight out of the camera. The biggest thing to note with RAWs is that in order to take the edits and adjustments you’ve done outside of Lightroom or the Adobe ecosystem, you need to also save .xmp files. The good news is these are tiny, and it’s automated once you enable this in your preferences. Each file/photo will have its own .xmp file. If you gave the RAW to someone else, you would need to give them the .xmp as well. That way it shows them your edits on the photo. Without that, it will be the image out of the camera. And if you are not using .xmp files, then the changes and edits are simply stored within the catalog contents only.
Sometimes, competitions may request your edit, along with the untouched raw file (to compare), as an example.
The other option is a DNG. DNG is essentially an Adobe branded RAW. Some camera brands such as Hasselblad use this. If you are living in an Adobe ecosystem and plan to for the long haul, you could consider this. When you import a photo session, you have the option to convert files to DNG. It will add some time to the import. If you aren’t crazy about Adobe and may move on later, then perhaps stick with RAWs on import. There are not any guarantees that future photo editing software will support DNG, so it’s something to also consider. We still aren’t sure if RAW or DNG will be the absolute future, for now.
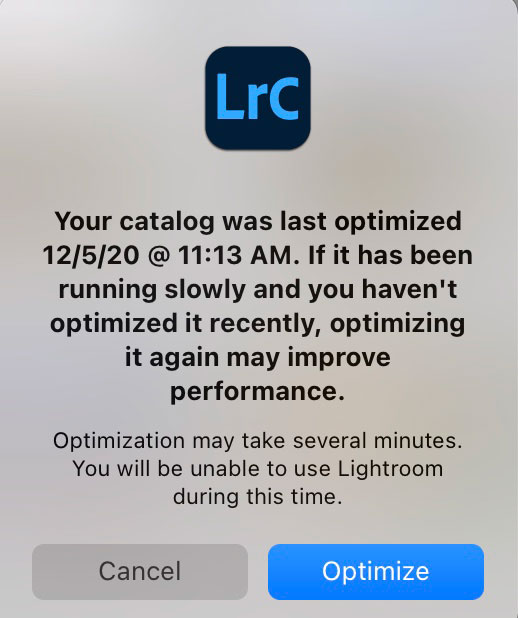
Don’t forget to optimize your catalog now and then. Especially if you see things acting sluggish. It’s simple and located under the file menu. Depending on your catalog size, it may take some time. My optimize is usually finished up by the time I can eat lunch.
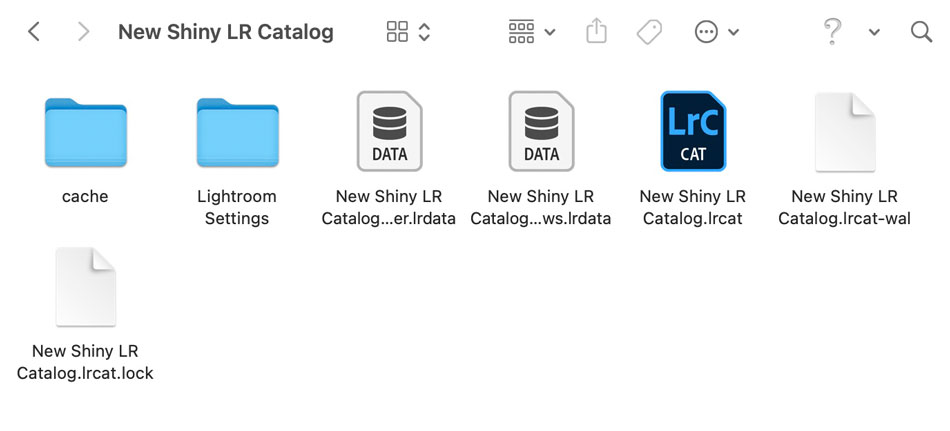
Moving an entire catalog might sound scary, but it’s not! With Lightroom completely closed, simply move the contents from one location to another. This should consist of a settings folder, a cache folder, and some data files. If you are placing the catalog on a fresh hard drive, put the contents in a single folder at the root level. This makes things a tad easier to see and find within the catalog. Afterward, instead of opening Lightroom as usual by clicking the LR app icon, double-click your catalog file, and it will automatically open the app up. This way it’s also set as the default catalog to open.
Where Should I Keep My Catalog and Raw Files?
You can store your files internally on your computer itself or externally on hard drives attached, and a case can be made for both. But what you should do regardless of location, is place the catalog on a solid-state drive, whether that’s inside or outside of your computer. Your camera files can also go anywhere you’d like, again, external or internal.
If your files end up on more than one hard drive, don’t worry because the catalog can read from multiple hard drives at once. If you have only one solid-state drive, prioritize the catalog here. This offers the most optimal performance. I keep my catalog on a solid-state external, and my RAW files on another external. I do this so that when I travel, I can plug both hard drives into my laptop and have my setup. Of course, all this is backed up at home, in case something were to happen with what I am traveling with.
If you are using an external, you have to consider the connection type to your computer. If you have RAW files being read from a 2.0 USB, that’s not going to be fast, and you may see some performance issues, or at least lose some pep in your step when editing. Keep in mind though, this will also depend on how big your RAW files are. You will get away with more using 20MB files than if using 50MB files. Everyone’s situation, camera gear, and computer setup will be different. So do your best and make the most logical choices that make sense for your particular situation.
Parting Thoughts, Tips, and Tricks
Valuable Shortcuts:
- The “\“ key will show you a before and after of your image
- See your mask overlays with the “o” key, and “o” again to turn it off
- Quickly view a photo full screen with the “f” key
- Just like Photoshop, use the bracket keys to adjust brush size
- Quickly zoom from a fitted view to 100% with the “z” on your keyboard
- Toggle a live clipping warning overlay on your photo with the “j” key
- The “l” key will dim the interface to put the viewing focus on your photo. Another press will black out the interface and show only the photo. Press a third time to go back to normal.
- While cropping, press the “x” key to flip the crop box ratio.
Did You Know?
- You can customize the nameplate in the top left corner with your name and even your logo, right-click on it to edit
- Double-clicking a slider title resets it to default
- Right-click on modules in the top right area to disable them if you do not use them
- If you need to rename a batch of photos after import, quickly do this by selecting them and pressing “f2” to bring up the rename prompt in the library module
- You can also use your up and down arrow keys to adjust sliders when hovered over a particular adjustment. Holding the option or shift key with these arrows adjusts more or less gradually.
- And finally, press the “i” key when in the development module to display customizable metadata about your photo. Under View -> View Options will allow you to pick the information display.
Advanced Lightroom Classic Catalog and File Practices By Mike Ince
By now, you should have a better understanding of your catalog and some of the decisions you need to make. We all have different workflows and needs within our own little photography worlds, be it professionally, or for a great hobby. Making wise decisions and practicing good habits within Lightroom now, will make the road ahead smoother and faster when it comes to processing images. And at the end of the day, that will give you more time to do what we all love, get out in the field and shoot more!
Find out more about Adobe Lightroom
Stop Using Lightroom Presets Until You’ve Learnt How To Edit!
Thank you for reading this article on Advanced Lightroom Classic Catalog and File Practices. Be sure to sign up for our newsletter for more tutorials and great offers.

Enter your email below and join our community of more than 100,000 photographers who have also
Subscribed to our newsletter.
Downloaded our FREE Photoshop Course.
Got our FREE Easy Panel for Photoshop.
And, have our FREE Essential Guide To Luminosity Masks E-Book.
FREE Photoshop Course

The Art Of Photography

Raya Pro
