How to Create Depth Of Field in Photoshop
First, let’s think about what Depth of Field in Photography is. Varying the f/stop on our lenses while taking photos alters the field of view that is in focus. The lower the f/stop the narrower the focal point, or Depth of Field, and the opposite applies to a high f/stop. As landscape photographers, we usually shoot with a higher f/stop (narrow aperture) like f/16 – f/22 which gives our cameras longer to capture the information in the scene providing us with a fully in-focus scene. We might want to alter that! If we think of “depth of field” as landscape photographers, what DoF brings is a clear focal point. For example, if we capture a characteristic lone tree using a high f/stop, then find in photoshop that the foreground and background don’t compliment it, we can blur them out to focus to bring more emphasis to the subject. Here you will learn How to Create Depth Of Field in Photoshop.
If you wish to experiment with this, I would really appreciate it if you included my name (Duke McIntyre) and www.shutterevolve.com when you publish your image. If you post your published image on our Facebook page I’d be happy to check it out.
Depth of Field
The use of a shallow depth of field lends itself better to portrait photography. You can produce some exciting effects when using a low f/stop that can really bring energy to a photo. Effects such as the Bokeh effect, where a fast f/stop such as f/2.8 or lower is used. This gives the photographer a very fast shutter speed that captures the moment crisply. Bokeh takes place in front of and beyond the focal point or subject and gives a really soft and out-of-focus style. Below is a good example of where a really narrow depth of field has resulted in a beautiful bokeh effect.

Photo by Neal Kharawala on Unsplash
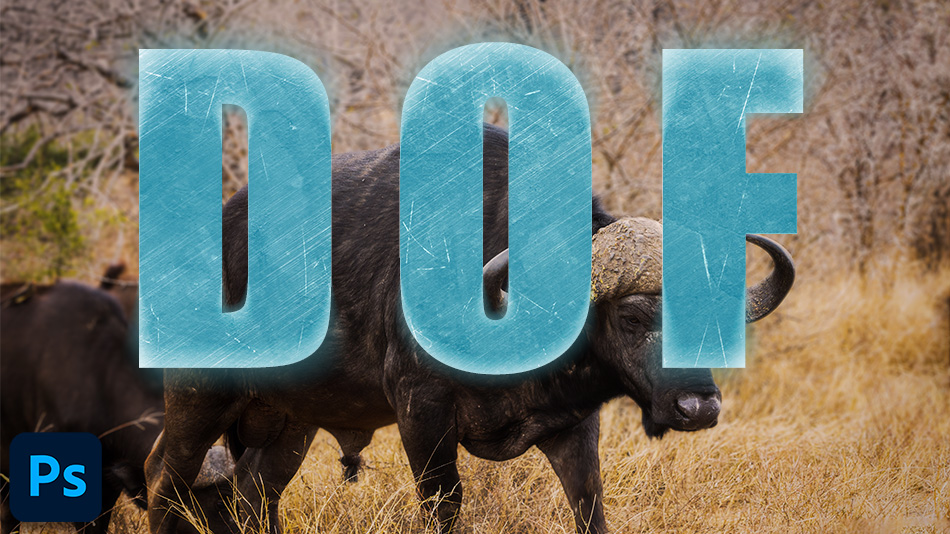
In this tutorial, we take an image of a Water Buffalo that has a busy foreground and background and blur them to replicate how to create depth of field in Photoshop.
-Tutorial Continued Below-
How to Create Depth Of Field in Photoshop
1. The first thing we need to do is separate the subject from the scene. We have already covered how to do this in an earlier tutorial here https://www.shutterevolve.com/how-to-select-branches-in-photoshop/
2. We going to blur the background layer. Left-click on the background layer slide, then right-click to display the layer options.
3. From the various options that are displayed, select Convert to Smart Object.

4. To ensure the layer has been converted to a smart object just check the layer thumbnail which should now have a small grey and white icon in the bottom corner of the thumbnail.

5. Left-click on the Filter menu and hover over the Blur Gallery option until the sub-menu appears, now select Tilt-Shift.

6. After clicking on the Tilt-Shift option a series of horizontal lines will appear over your image.

7. These lines are what we use to define our depth of field. The red zone (between B1 & B2) will remain in perfect focus. If you bring these lines closer together that will reduce the depth of field. From B1 to A1 and B2 to A2, the focus blurs gradually. The shorter the distance between the “A” lines and “B” lines the lass gradual the blur.

8. Left-click and drag the centre control to where you want to centralise your focal point.
9. Drag the horizontal lines to adjust the depth of field to suit your scene.

10. You can increase the severity of the blur effect by adjusting the Blur slider in the tools panel

11. There are some more advanced options that you can also play around with to add special effects such as Bokeh

12. When you’re happy with the Depth of Field adjustments and the effects that you’ve added, simply click OK to apply the effect to your image.

13. REMEMBER! Because you converted the background layer to a smart object the application of this effect is non-destructive. You can adjust the effect that you have applied at any time by double-clicking on the Smart Filter layer.

We have applied a gentle blur to the foreground and background, subtlety gives better realism to the Depth of Field effect that we’ve applied in Photoshop.


