Make Your Highlights Glow in Photoshop
In this tutorial, you will learn how to create a dreamy glowing look to you highlights in Photoshop. This gives your photos a fantasy-like atmosphere. Aleksi from Adventure Photographer adds an effect to both landscapes and portraits to really make them pop.

Step-by-step Guide to Glowing Highlights
1. Duplicate and merge all layers.
The keyboard shortcut to duplicate and merge all layers is Ctrl+Alt+Shift+E (PC) or Cmd+Opt+Shift+E (Mac). Alternatively, select the top layer and hold down the shift key then select the bottom layer. They should all be selected, now right-click and select “Duplicate Layers”. Once the layers are duplicated right-click again, this time select “Merge Layers”.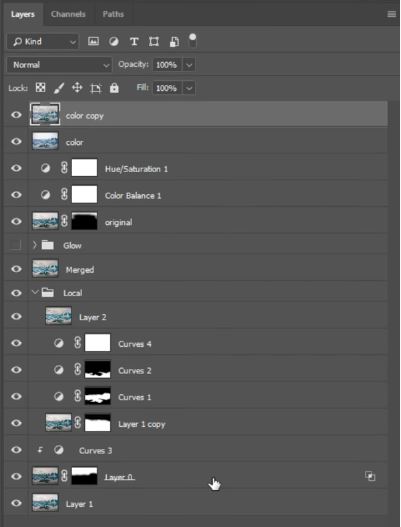
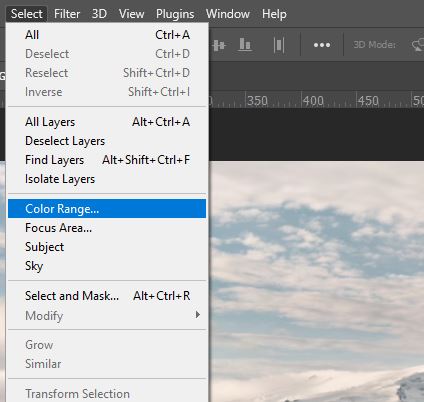
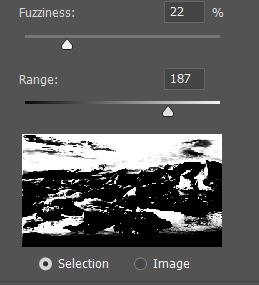
2. On the top menu and go to Select>Color Range.
3. In the first drop-down box select Highlights.
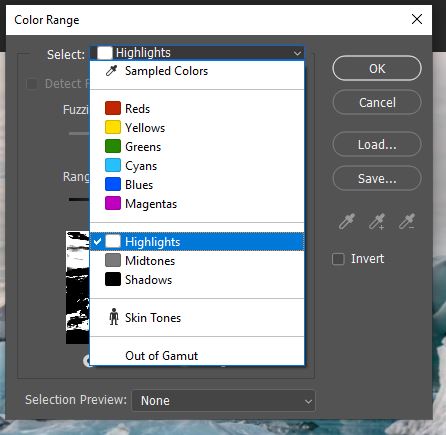
4. Adjust the Fuzziness and Range sliders to refine your selection targeting only the highlights. When you’re happy with the selection click OK.
5. Now that you have the highlights selected. Press Ctrl+J (PC) or Cmd+J (Mac) to duplicate the highlights in a separate layer. Rename both of the layers to ‘Highlights’ & ‘Glow’ as shown below.

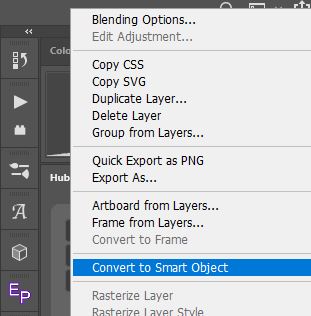
6. Convert both layers to Smart objects by right-clicking on them individually and select Convert to Smart Object.
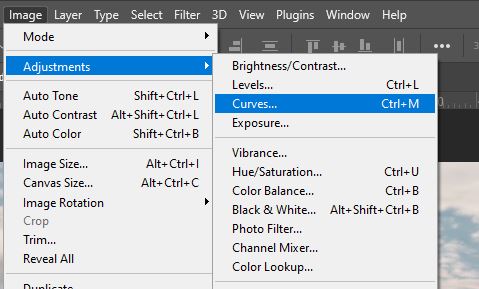
7. Select the Highlights layer then go to Image>Adjustments>Curves.
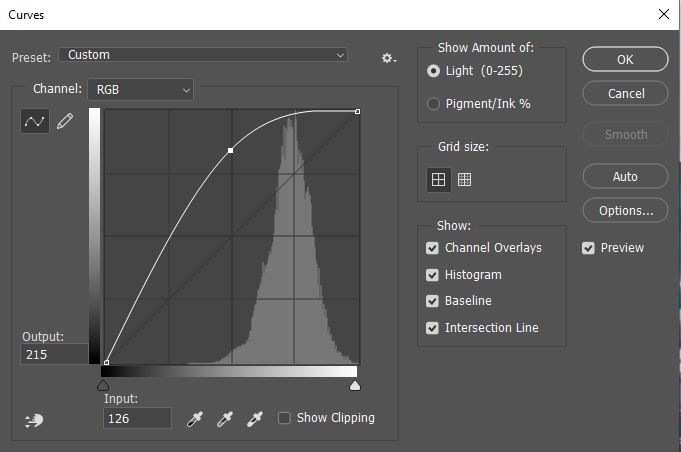
8. Create a really high curves line to brighten the highlights.
9. Reduce the layer opacity to around 50% so the effect isn’t too overpowering.

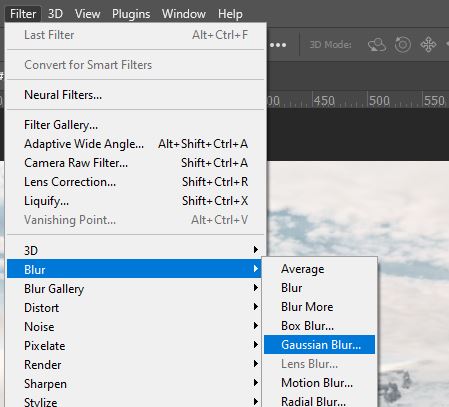
10. Now we need to add a Gaussian Blur. Go to Filters>Blur>Gaussian Blur.
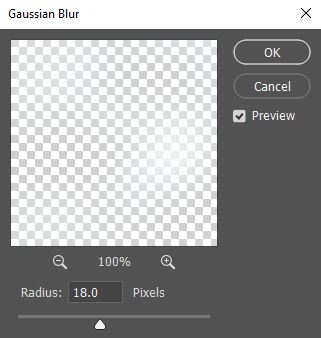
11. Adjust the blur Radius to bring in your glow. A smaller radius will have a smaller but more intense glow. Whereas a bigger radius will give a larger and softer glow.
12. Select the Glow Layer and repeat the two steps above by adding a Curves Adjustment and a Gaussian Blur.
Only this time, the curves adjustment is used to bring more contrast. And, the Gaussian Blur is used to balance the image.
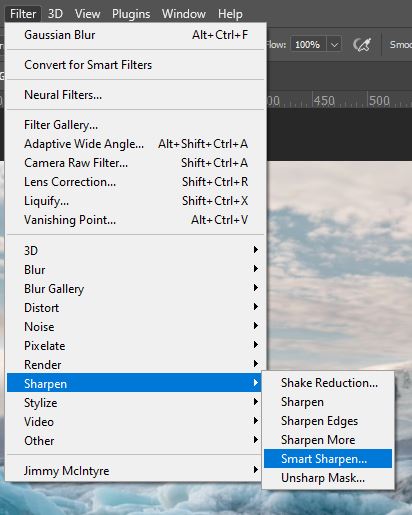
13. Duplicate and Merge ALL layers as we did in step 1. Now, to finish the image off we’ll sharpen it by going to Filter>Sharpen>Smart Sharpen.
14. Make adjustments to all three sliders (Amount, Radius, & Reduce Noise) until the image is as sharp as you would like it then press OK.

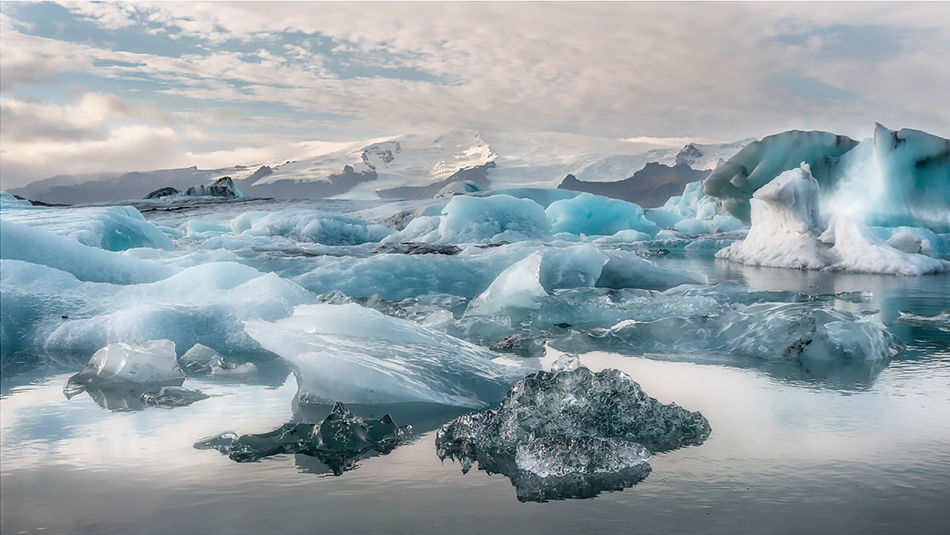
Make Your Highlights Glow
Let’s take a look at the before (left) and after (right).

Other Articles That Might Interest You
How to Make Targeted Corrections with Shadows/Highlights Adjustments in Photoshop
How to Add Colour To Highlights For Beginners
Restoring Hidden Detail With Shadows/Highlights In Photoshop
High Key Glow Effect With Photoshop
Thank you for reading this article, be sure to sign up for our newsletter for more tutorials and great offers.

Enter your email below and join our community of more than 100,000 photographers who have
- Subscribed to our newsletter.
- Downloaded our FREE Photoshop Course.
- Use our FREE Easy panel in Photoshop.
Also you can now download our Photoshop course for beginners for FREE, click HERE.
FREE Photoshop Course

The Art Of Photography

Raya Pro
