Quick Photoshop Secrets 14: Light Bleeding For Warmer Images
Light bleeding can work wonders for your images. It can help you add more vibrancy and warmth to your scene. There are many different ways to achieve a similar effect, but one thing we must keep in mind is that light bleeding is most effective when there is already an actually light source to work with. If not, the result may look too unnatural.
In this video I show you one of the quickest ways to create a light bleeding effect in Photoshop using a Soft Light layer and a warm foreground colour, and painting in at various capacities. And we can always mask out areas that don’t look very natural.
Step-by-Step Guide to Light Bleeding
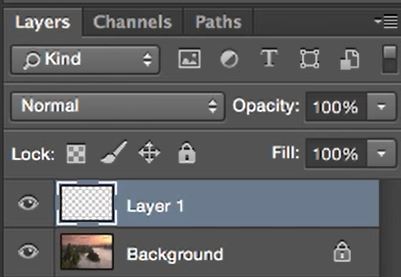
1. Create a new layer by pressing Ctrl+Shift+N on a PC or Cmd+Shift+N on a Mac.
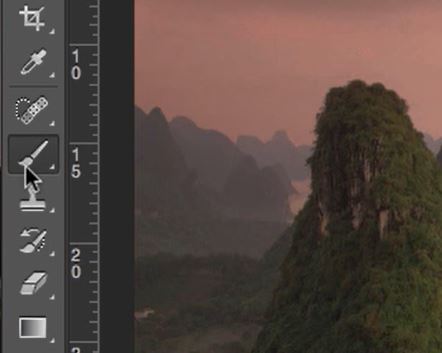
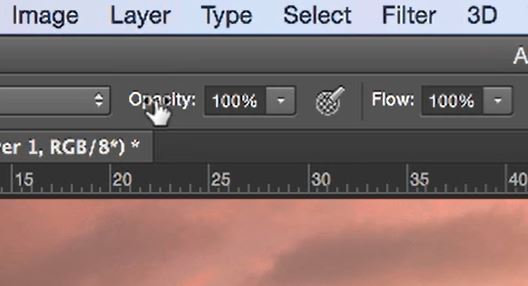
2. Select your Brush Tool.
3. Set the brush Opacity to 100%.
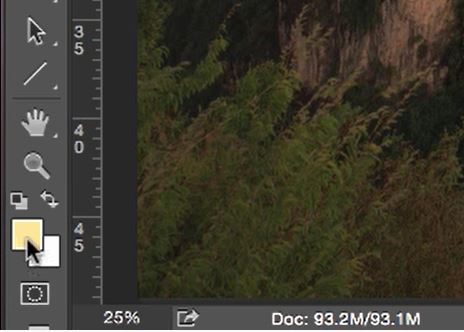
4. Click on your foreground colour.
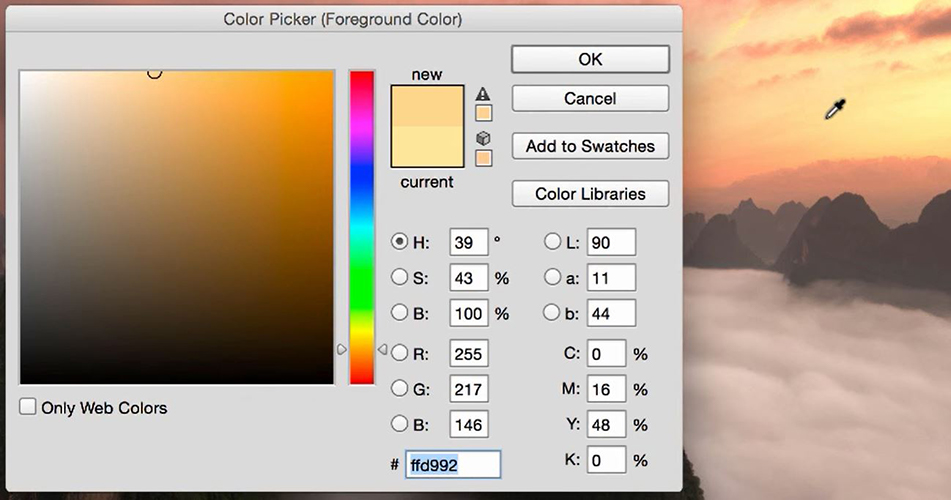
5. Using the dropper tool select the colour that you want to bleed.
6. Make your brush very big and with a soft edge.
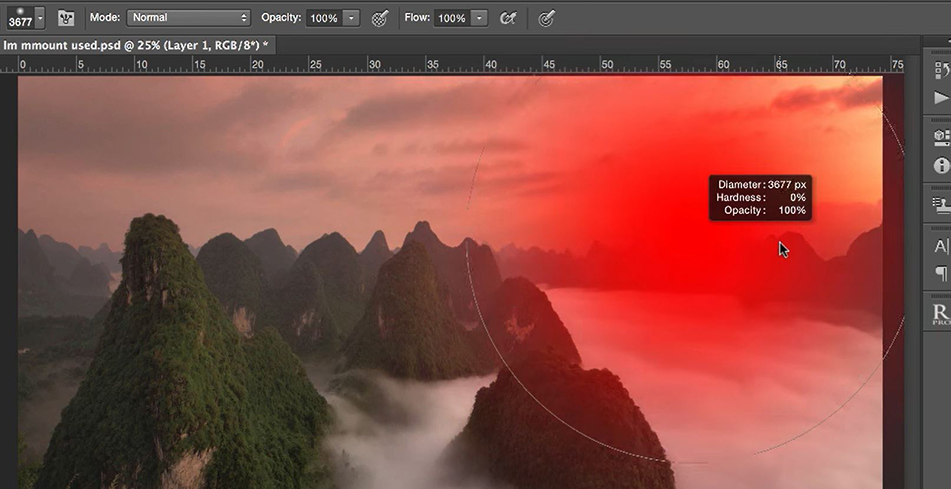
7. Paint over the area you want to bleed into.
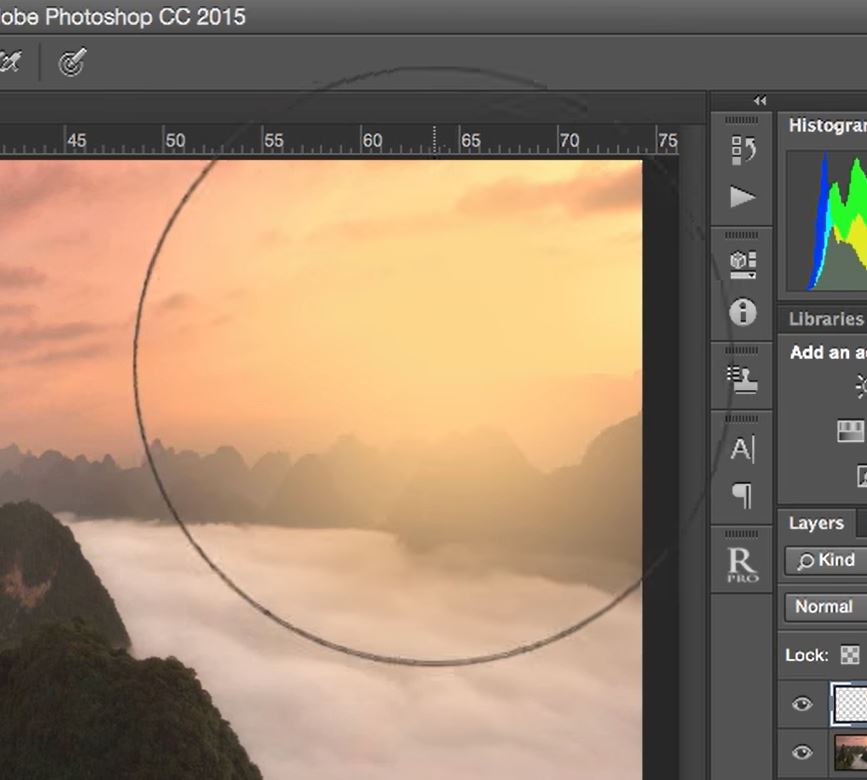
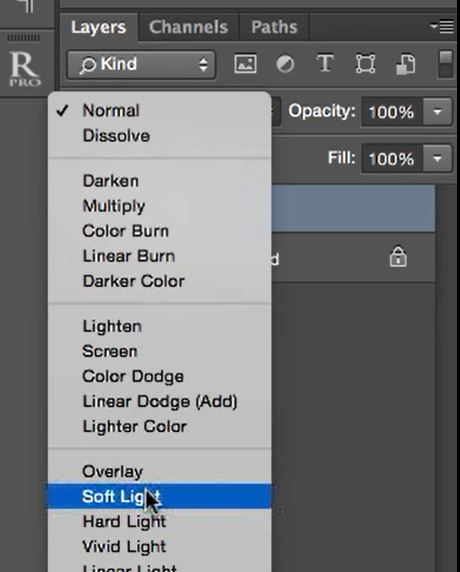
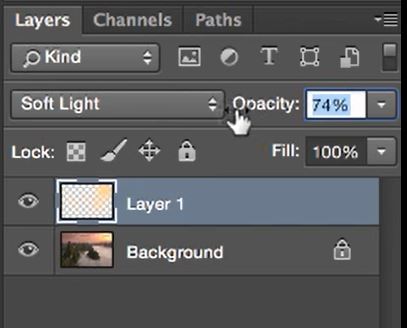
8. Set the blend mode of the layer to Soft Light.
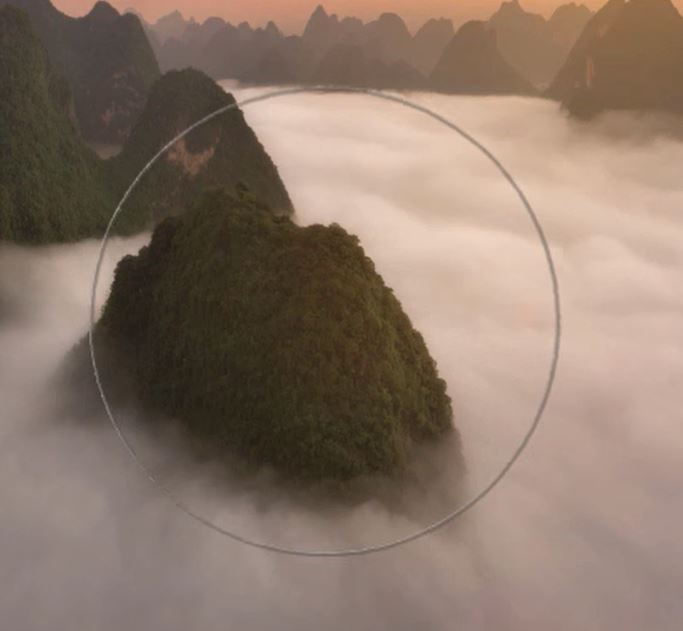
9. Reduce the brush size and opacity and paint area that you want to bleed light into.
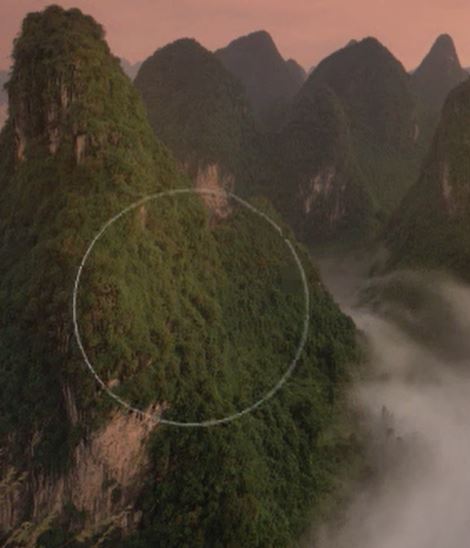
10. Reduce the brush size and opacity even further to paint areas of finer detail.
11. Reduce the opacity of the layer to reduce any overwhelming light bleeding effect.


Thank you for reading our article. If you would like a great tool to help you edit your images in Potoshop but don’t have Raya Pro, don’t worry. We have our FREE Easy Panel to now include built-in masks and adjustments. You can download our FREE Photoshop Extension “Easy Panel” HERE.
If you liked this tutorial you might also like out 2-minute tutorial on Adding Colourful Highlights.
There are other ways to bleed light in photoshop here are some cool hints on How to Fake Golden Hour.
You might also like


