How To Create a Beautiful Landscape Shot in Bad Light
Article by Maria Draper.
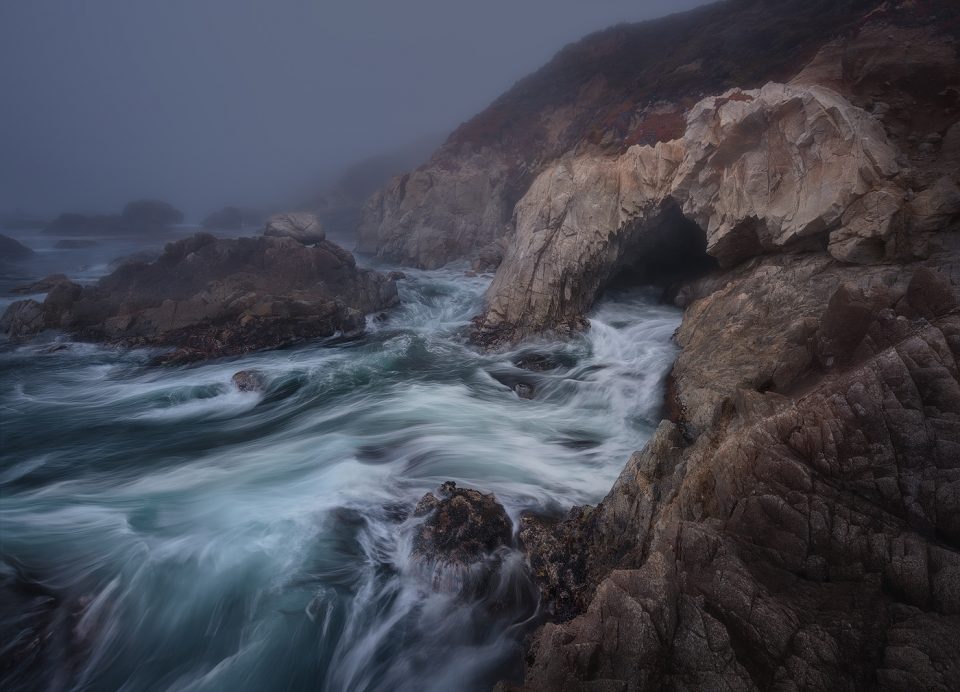
It’s easy to make an image taken in good light look attractive, but how about if the light and weather were not what we hoped for, yet we still want to keep the image? Maybe it was a place we felt connected to, or brings back special memories, or maybe the effort to reach it was so big that we feel we must have an image from there. Whatever the reason, the question is: how do we create a beautiful landscape shot in bad light? Hopefully, I can answer that here because in this tutorial I’m going to show you a full workflow that I used to create the below image.
All of the steps below use the superb functions in Raya Pro. You can check out Raya Pro, the Luminosity Mask Software here.
Before/After Image Comparison
Left is the before image. Right is after post-processing.
[compare]

[/compare]
This is an image I took on the Big Sur Coast in California, at Garrapata State Park.
Camera Data:
Canon EOS 5D Mark III
f/16
0.8s
ISO-100
Lens: EF16-35mm f/4L IS USM
B+W Circular polarizer
About The Location
This place is well hidden and quite challenging to reach as it requires sliding down from a steep cliff, climbing on rocks, and even crawling, all while being careful not to touch the vicious poison oak infestation that’s all around this coast. The day started well, I arrived on the spot a few hours before and carefully chose my spot to catch the retractive waves of the high tide, and what appeared to be a gorgeous sunset with the sun setting right above the furthest rock on the left edge. This would have created a side illumination for the rocks around the cave allowing the beautiful textures to stand out and shine. But that didn’t happen. As the sun was going down, layers of fog rolled in invading the entire coast. Considering the effort that I put into reaching this place I decided to stay and photograph hoping that I can save the image in post-processing.
Before Processing With Raya Pro in Photoshop
This is a single exposure which needed only a bit of Fill Light in Adobe Camera Raw to lighten the end of the cave, then I opened it in Photoshop. The image was now properly exposed, but the light was not great which made it look bland and unattractive. I concluded that if I make the interesting parts of the image stand out, such as the water and the cave, and obscure the rest, I can give it a bit of life and make it more interesting.

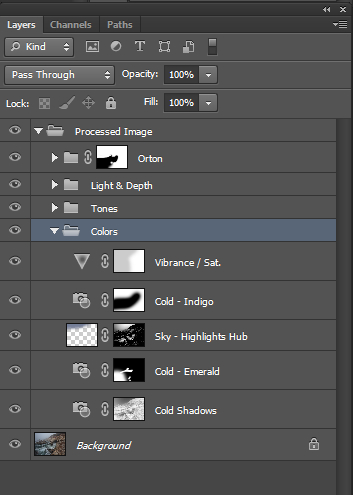
How To Process Colors in Raya Pro and Photoshop
Deciding on the colors was not difficult this time, since the water was naturally turquoise. I wanted to enhance that feature and I also wanted the slightly warm highlights on the rocks.
Here are my steps to accomplish this:
- From the Raya Pro 5 Color Center panel I added a “Cold Shadows” filter.
- From the same panel I added a “Cold” cast filter, I changed the color to “Underwater” [#00c2b1] and masked out everything but the water. This was to enhance the color of the water.
- I felt that the attention was leaking out at the top because of the brighter area in the sky. To fix that, I generated a Highlights layer using the option in RP5 Hub. I clicked on “Adjust” to narrow the mask so that the sky is selected entirely and the hill is masked out. Then I picked the sky color from the top left and painted over the sky to cover that glow.
- From the RP5 Color Center Panel I added another “Cold” filter this time masking out the water. I changed the color to an indigo [#493a57]
- Finally, I added a Vibrance adjustment filter with these settings: [+25,+10]
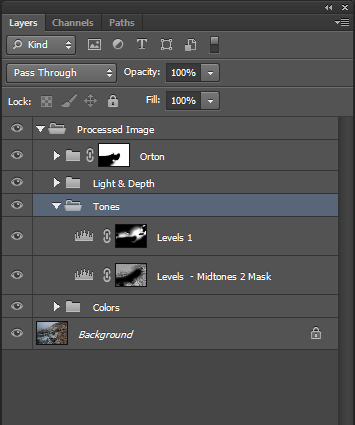
How to Adjust Tones Effectively in Raya Pro and Photoshop
Having the colors in place it was time to adjust the tones. Basically, I wanted to make the water and cave brighter and the rest of the image darker.
For that, I added these 2 layers:
- From the RP5 InstaMask4 panel I generated a “Midtones2” mask, I added the mask to Levels using the option from the same panel, and darkened the midtones by these values [0,0.80,255 / 0,255]. I adjusted the mask by completely masking out the water and cave
2 I added another Levels Adj. Layer brightening the rocks around the cave with these values [8,1.11,235 / 5,255]
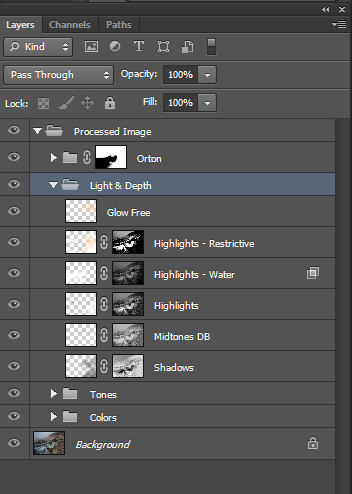
How To Add Deeper Mood to Your Photo
Now that I made the cave and water be the center of attention, I wanted to enhance the light a bit and add some depth.
- From the RP5 Dodge and Burn panel, I added a Shadows layer that I used for darkening some of the shadows in the rocks to make the striations look deeper.
- From the same panel, I added a Midtones layer that I used for both, dodging and burning, to create more depth in the rocks
- Still using the same Dodge and Burn panel, I added 3 Highlights layers, one targeting the rocks on the bottom right, one targeting the water and cave, and one with a more restrictive mask targeting the edges of the rocks, to give the feel of a subtle light hugging them.
- And finally, I added a Glow Free layer for additional dodging, mainly on the rocks surrounding the cave.
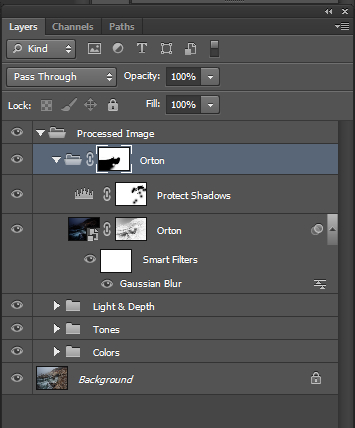
How To Use The Orton Effect
To finish up, I added an Orton effect which softened the textures and also helped to enhance the mood. As usual, I preferred to use “Magic Green Lands” from the RP5 Actions and Filters panel, so that the blur layer is editable. From the layers that were generated, I kept only the Gaussian Blur layer and the Protect Shadows layer, and I deleted the rest. I left the default blur value of 41.5, but I adjusted the values of the Protect Shadows layer to [0,0.95,255 / 7,220], which also darkened the image more. Since I didn’t want the water to get darker nor be softened by the Orton effect I added a mask to the group to exclude it.
Although there isn’t a colorful sunset in the image, I was pretty happy with the final result, and maybe next time you find yourself out there and the weather turns ugly, you will consider shooting. With the tips in this tutorial, you may find it possible to create a beautiful landscape shot in bad light, too.
Final Image

Article By Maria Draper
Other resources on this site:
Tutorial – Overcast Landscapes Don’t Have to Be Boring
Tutorial: How To Use Luminosity Masks and Single Exposures (One Exposure)
Alternative related resources online:
How to Master Low Light Photography
8 Pro Tips for Shooting Perfect Photos in Low Light