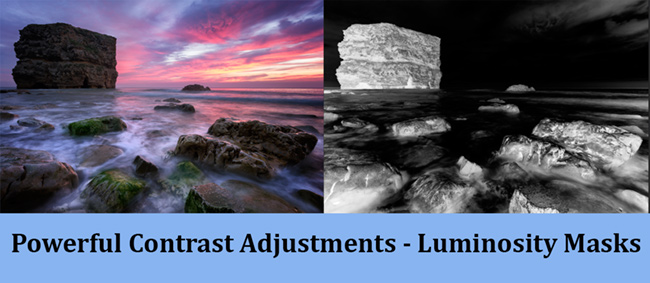
Luminosity Masks Tutorial – Specific Contrast Adjustments
Anyone who regularly uses luminosity masks knows exactly how powerful they are in producing beautiful imagery. Since they are an advanced selection technique, however, they can be used for much more than exposure blending. In fact, their power lies in their flexibility which we will touch on in this advanced luminosity mask tutorial.
If you’re reading this and thinking ‘what on earth are luminosity masks?’ feel free to check out this article: Introduction to Luminosity Masks.
One of the most straight forward, yet impacting ways to use luminosity masks is in making fine contrast adjustments. They allow us to target specific tonal ranges in an image and affect only that range. You can give your images more life and mood, while maintaining complete control.
Luminosity Masks Tutorial – Specific Contrast Adjustments
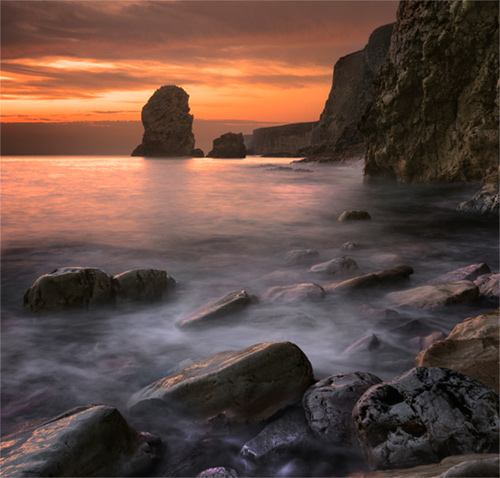
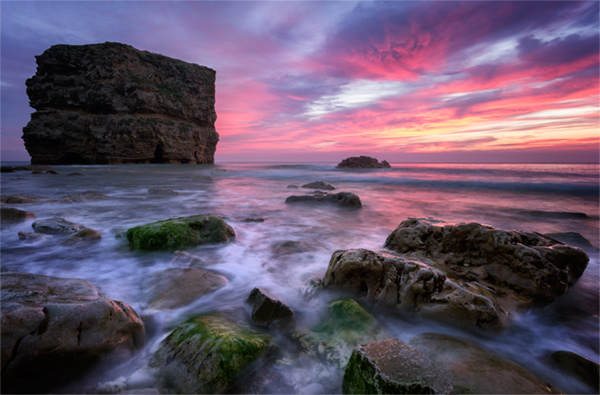
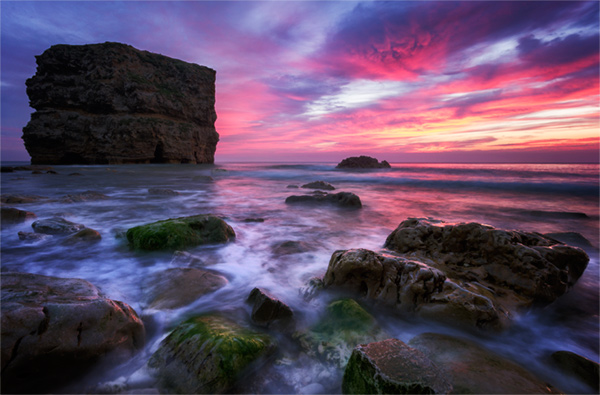
Take the image below, for example. The scene is nicely balanced, with no under or over exposed areas. This is because three exposures were blended using Luminosity masks, initially.
But now you want to select the brightest part of the sky, because it isn’t quite as moody as you’d like, and darken it. How would you do that? The lasso tool? No where near accurate enough. The Magic Wand tool? Possibly, but still untidy.

With luminosity masks, you can make a perfect selection of this region because it has a significantly different range of luminosity values than the surrounding regions – in other words, it’s brighter – and luminosity masks make selections through brightness/darkness values.
 |
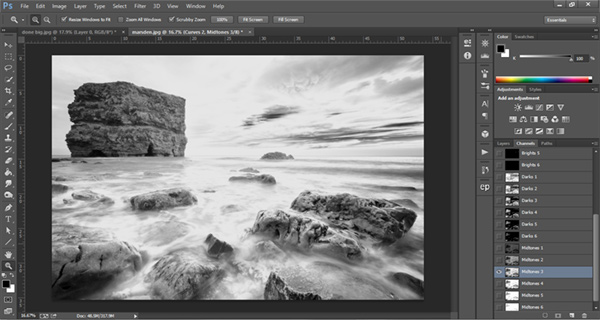
To make this selection you just need to run the luminosity mask actions that you use, or download our Easy Panel for FREE which will do it for you, and choose an appropriate channel. |
Output from the Easy Panel
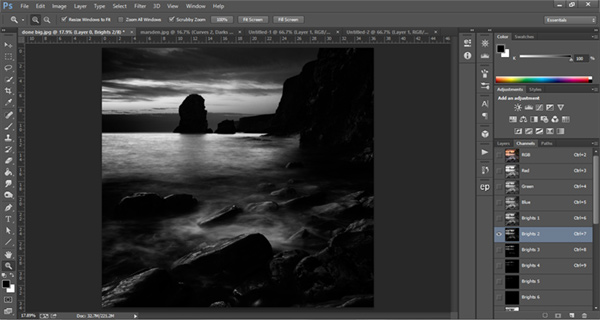
Brights 2 seems to fit this image well. Some mid-tones will also be affected slightly but not significantly. While holding Ctrl and hovering over the Brights 2 thumbnail, press the left mouse button. This will make the selection for you. Press Ctrl + H to hide the marching ants.
Go to your Layers panel and open up a curves layer. You’ll see a Brights 2 mask will appear on the curves layer. Now bring the highlights in the curves layer down. You’ll see that it is not affecting any area that you do not wish to change.
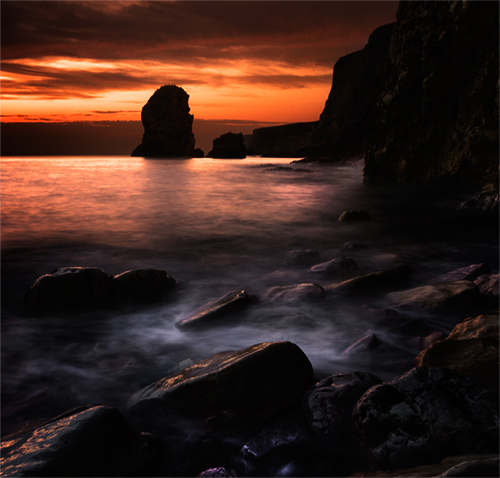
Image after darkening the sky
Before/After comparison
[compare]
[/compare]
Below is how the image appeared with the same curves adjustment layer but without the luminosity mask.
 -Tutorial Continued Below-
Enter your email below and join our community of more than 100,000 photographers who receive regular tutorials and have also

Subscribed to our newsletter,
Downloaded our FREE Photoshop Course
Got our FREE Easy Panel for Photoshop
And have our FREE Essential Guide To Luminosity Masks E-Book
What if you wanted to create greater contrast in your mid-tones?
An amazing way to bring life into an otherwise flat image is to stretch your mid tones out. But, as with the image above, it is very difficult to make contrast changes that will not affect the highlights and shadows. The image below, for example, already has some dark areas and strong highlights.
You need to isolate the mid-tones with a Midtones 3 selection, just as you did with the Brights 2 mask earlier.
Midtones 3
You can see that while the Midtones 3 selection includes your mid-tones, your darker areas are not completely black – in other words, they will be affected too. In order to remove the darker areas, you need to intersect this mask with a Darks mask.
Going up to Darks 4, you can see that all of your darker areas are visible, while nothing else is. Your job now is to subtract this mask from the Midtones 3 selection you just made.
Darks 4 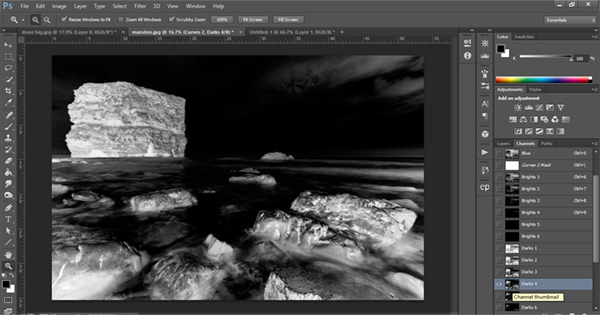
To do this you hold Ctrl+Alt (PC) or Cmd+Opt (Mac) and press the left mouse button on the thumbnail of Darks 4. This will subtract Darks 4 from your current selection. Although you won’t see it – you’ll just see marching ants – your new mask will look like this:
Midtones 3 minus Darks 4
Now you can see that the darker areas are completely black, so they will not be affected by the curves layer.
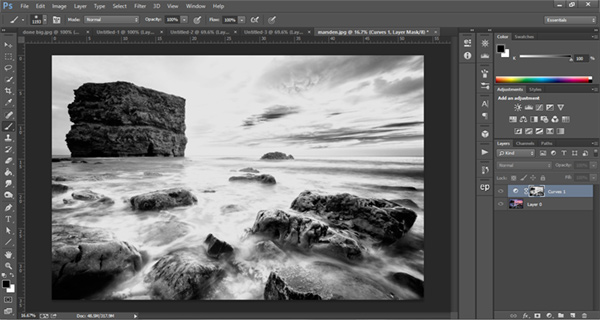
In your Layers panel you simply open up a curves adjustment layer and lift and drop the curve as you see fit. Below is the final image with the contrast adjustment applied. You have not added to your under-exposed areas, but have given more life to the overall image.
This is how the image appears with the same contrast adjustment but without the luminosity mask added – much of the image is too dark.
Making fine contrast adjustments like this is just one way that you can use luminosity masks to improve your images. From precise noise removal to selective sharpening, the list of benefits for luminosity mask users is huge. It isn’t an easy concept to grasp, but well worth the journey in the end.
[compare]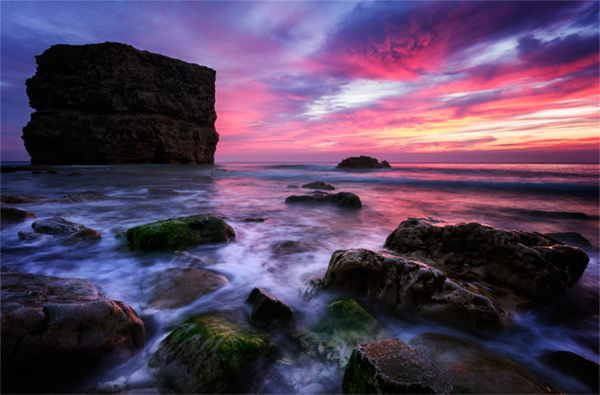
[/compare]
Thank you for reading this Luminosity Masks Tutorial. If you’re ready to join 1,000s of others in consistently creating stunning images, we have a complete Luminosity Masking Course available for instant download. You can preview the course on our YouTube Channel HERE
Enter your email below and join our community of more than 100,000 photographers who have also
Subscribed to our newsletter.
Downloaded our FREE Photoshop Course.
Got our FREE Easy Panel for Photoshop.
And, have our FREE Essential Guide To Luminosity Masks E-Book.
To go directly to any of our products, simply click on the image below.


